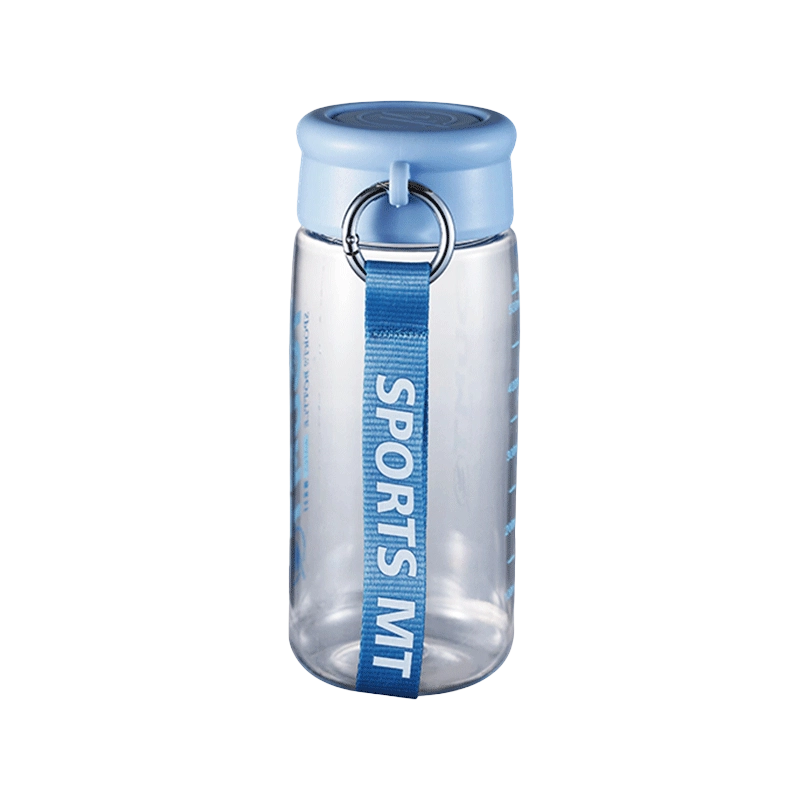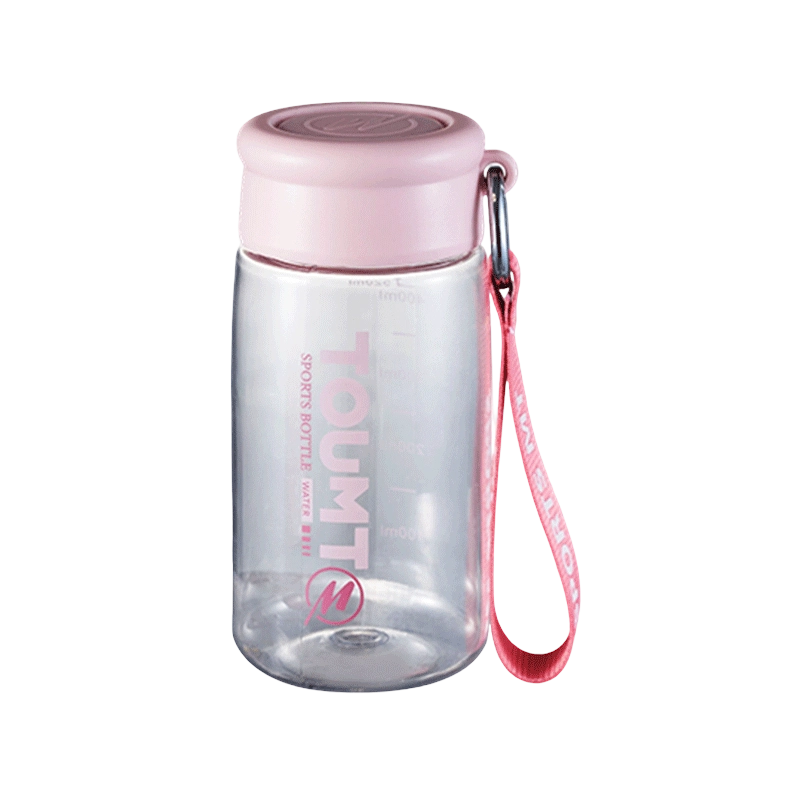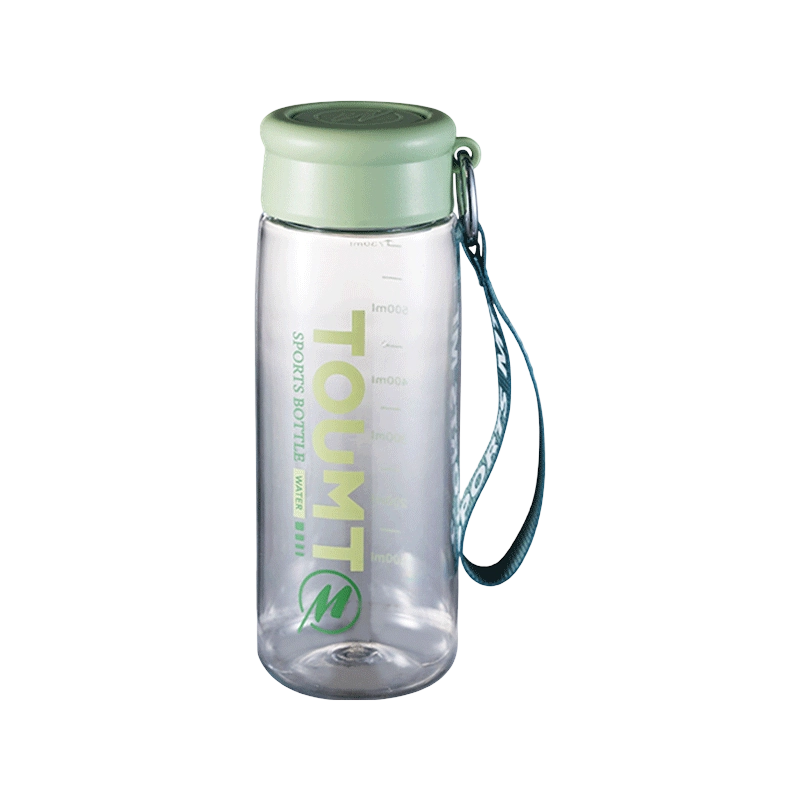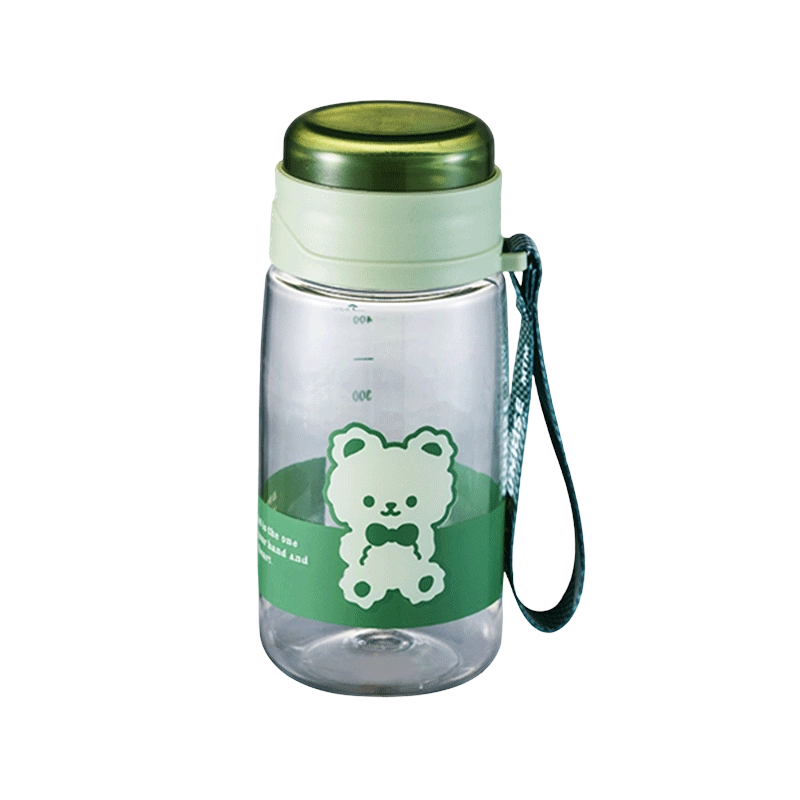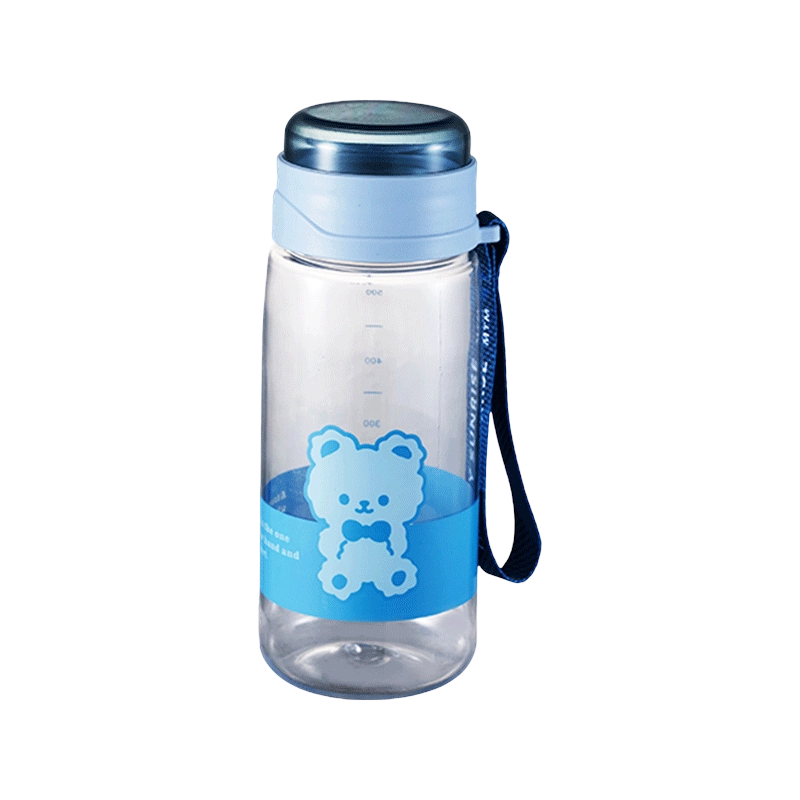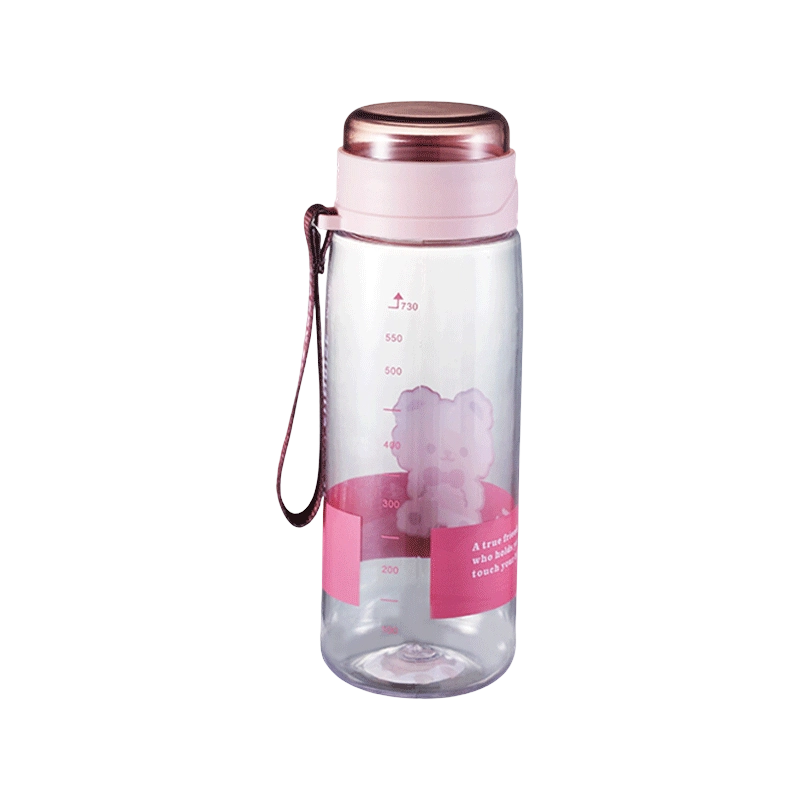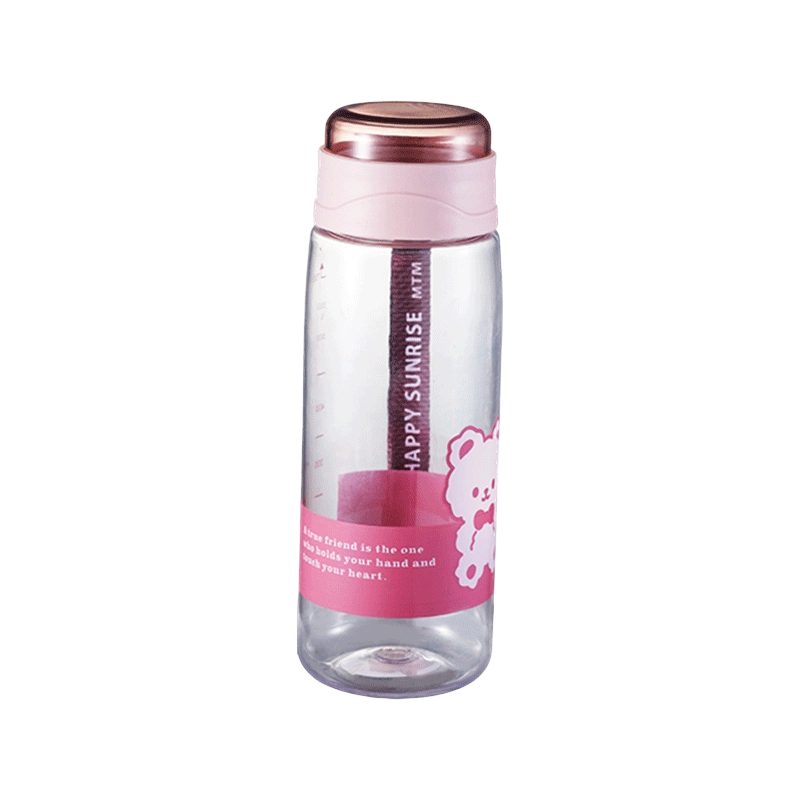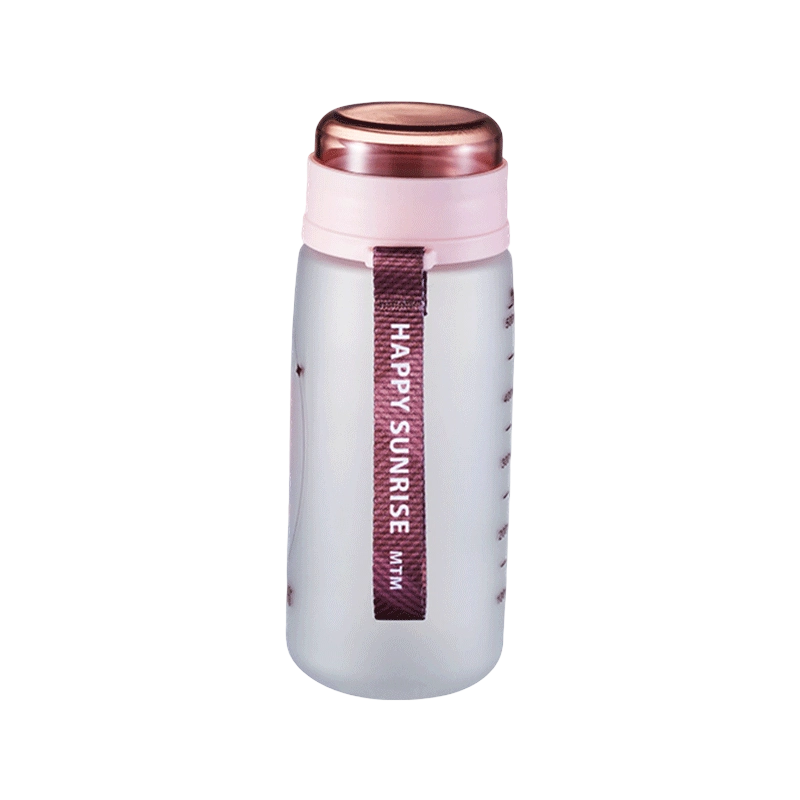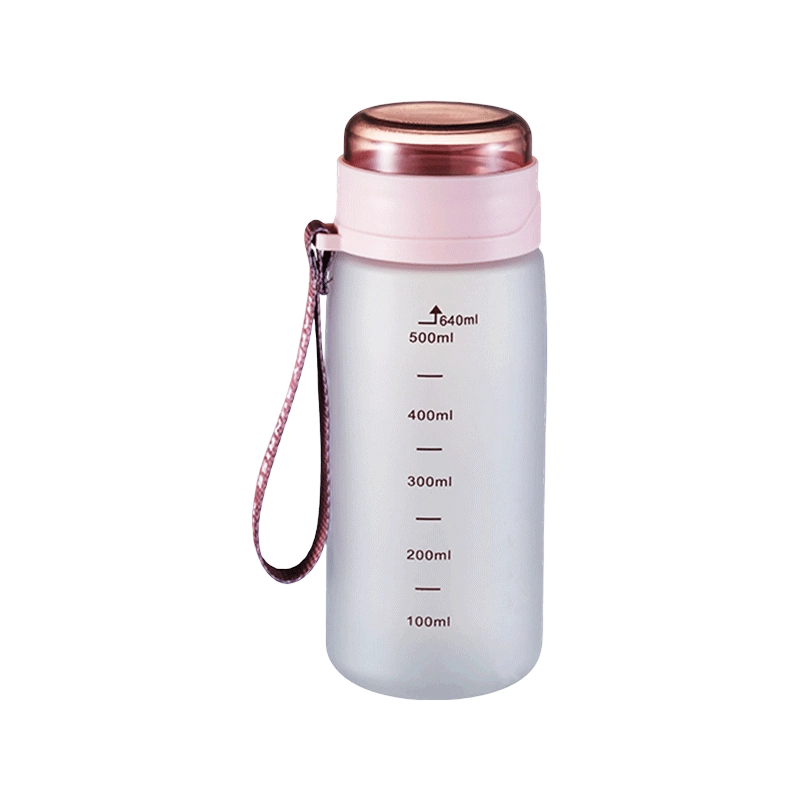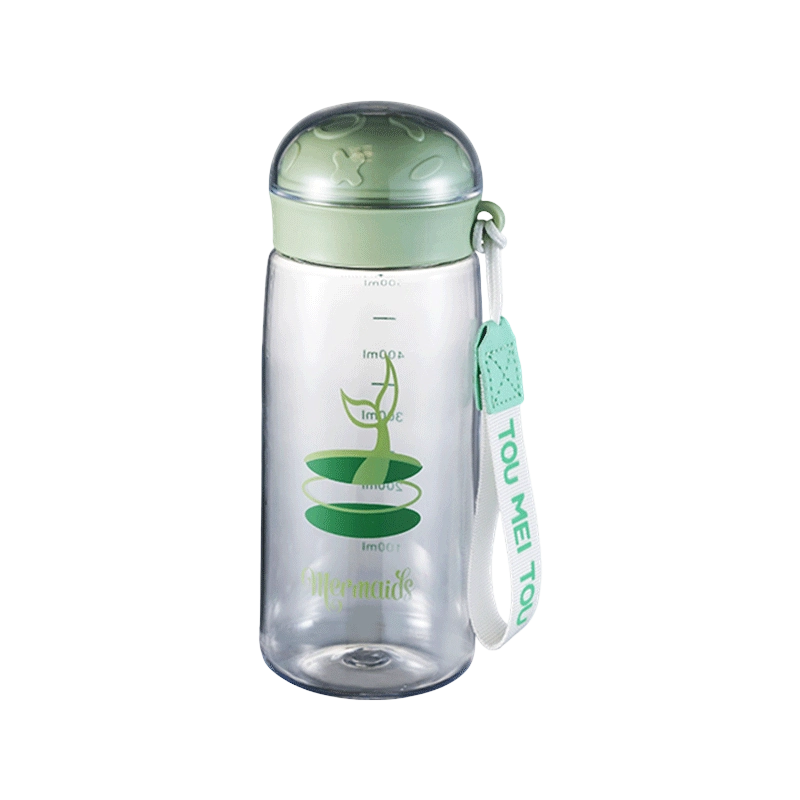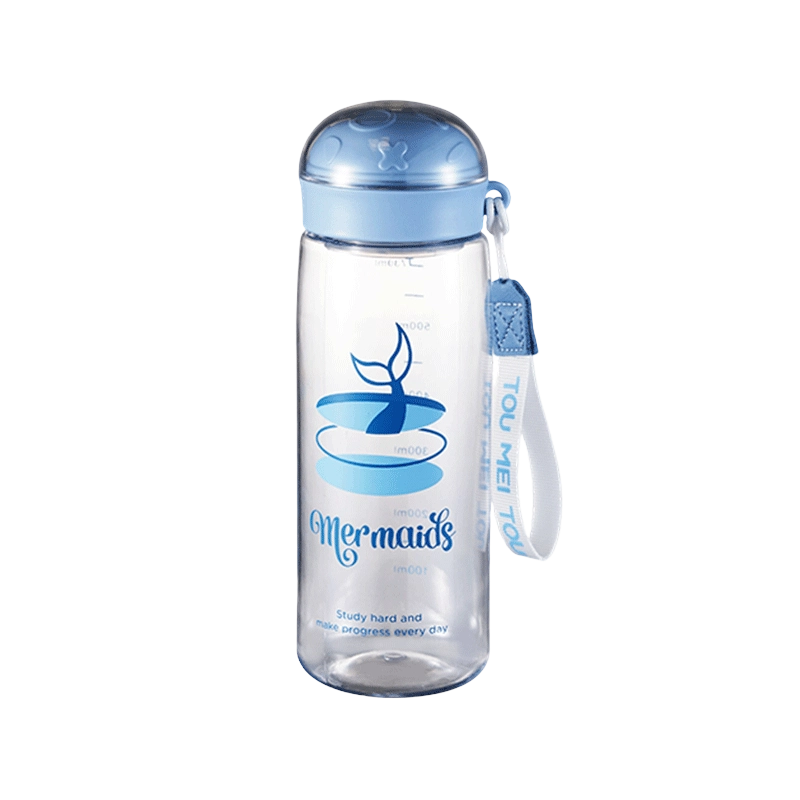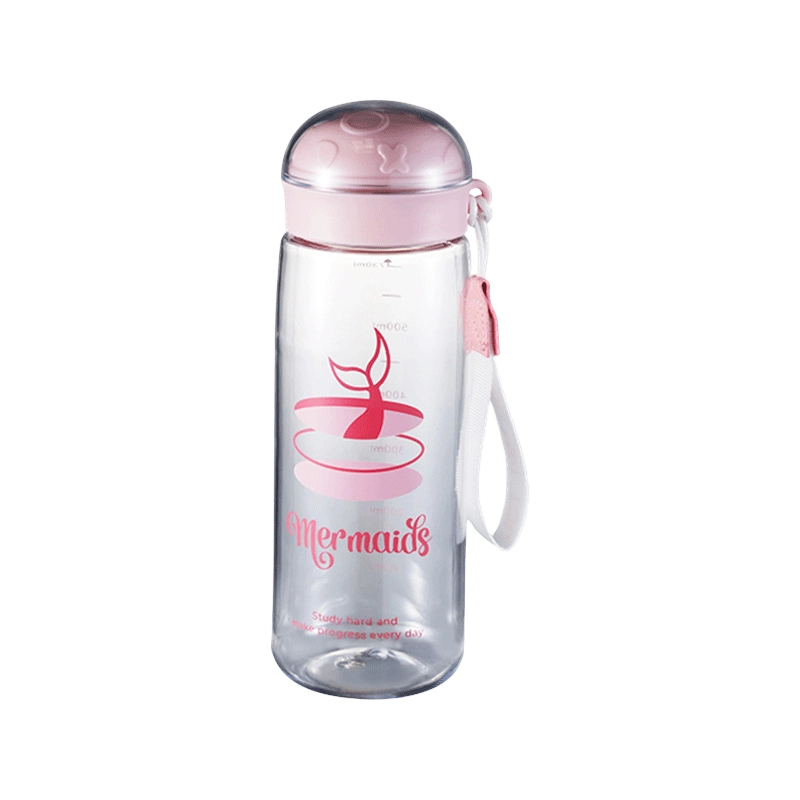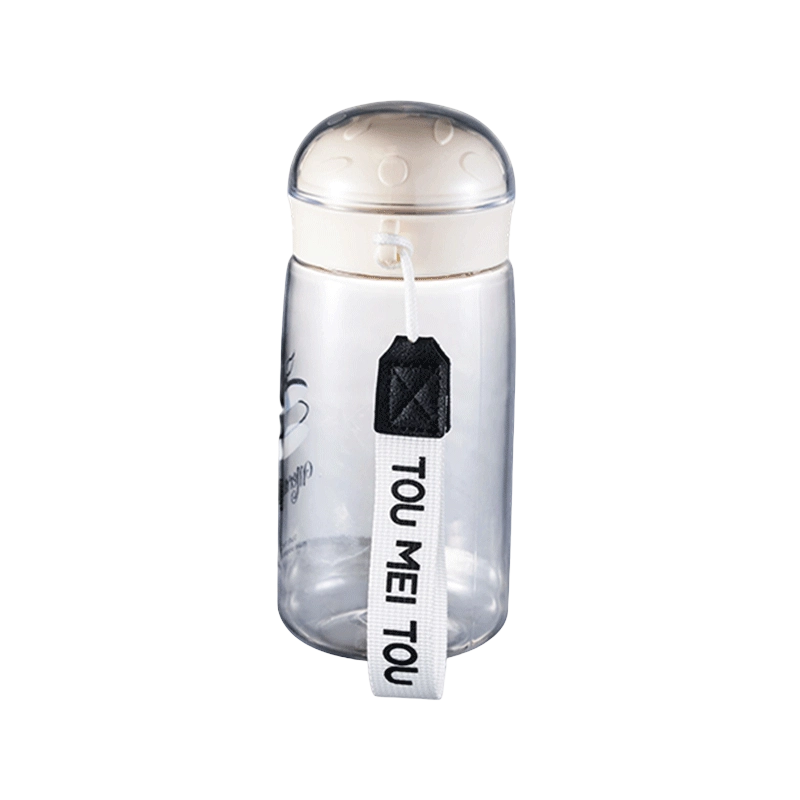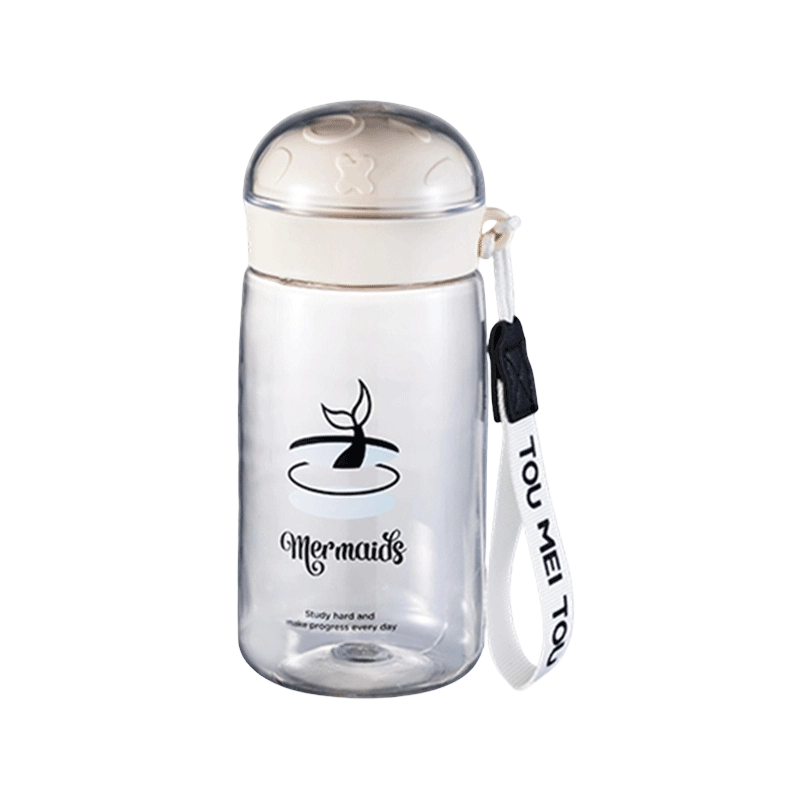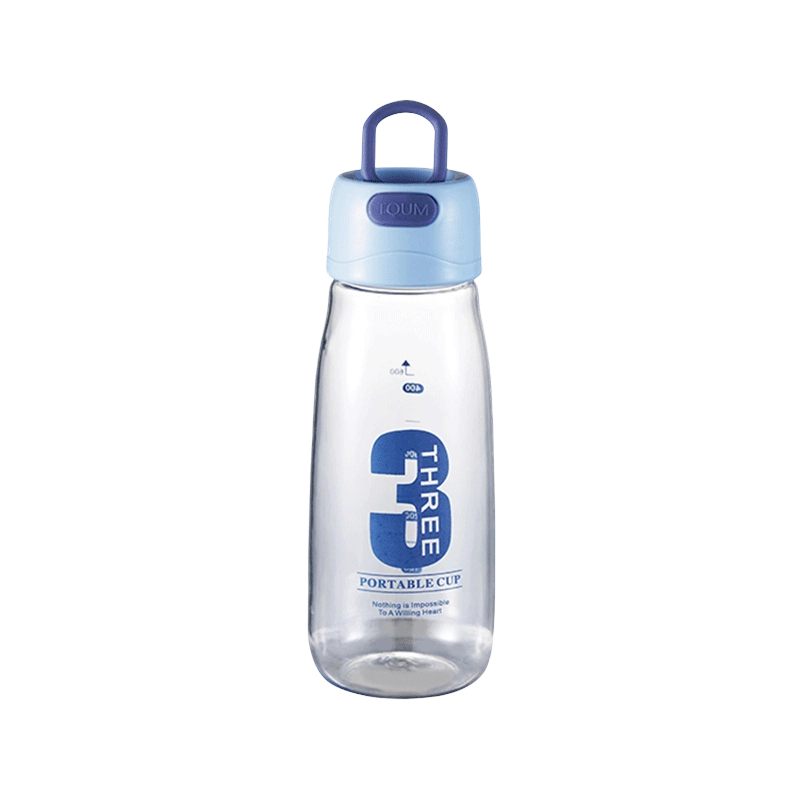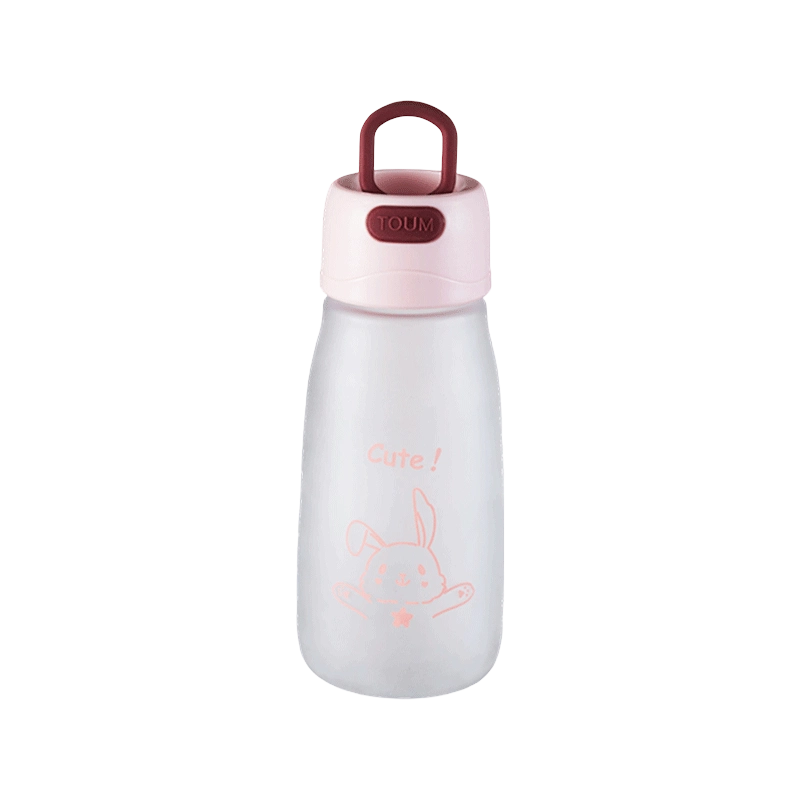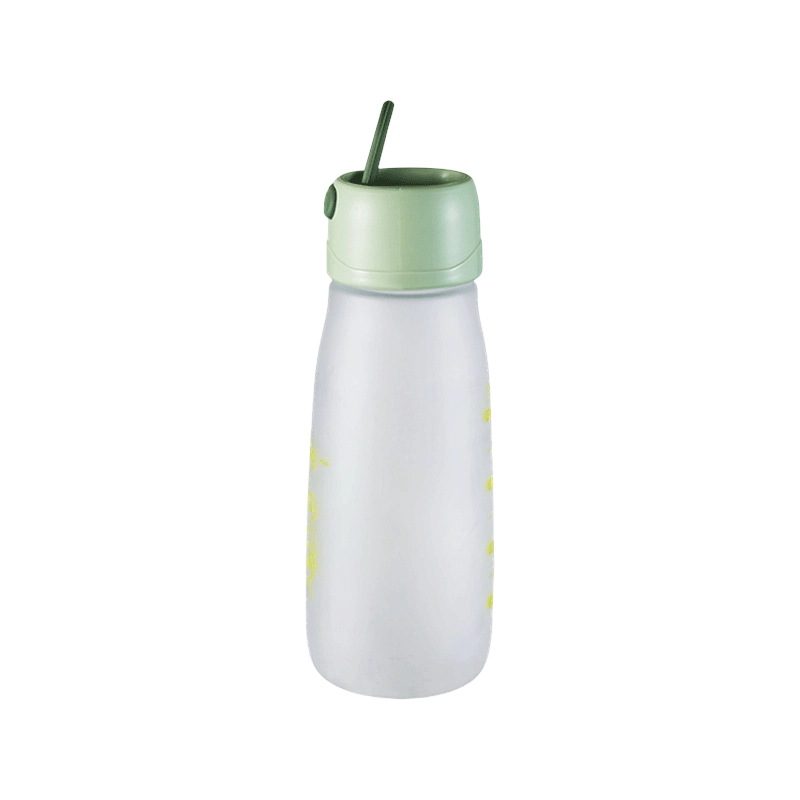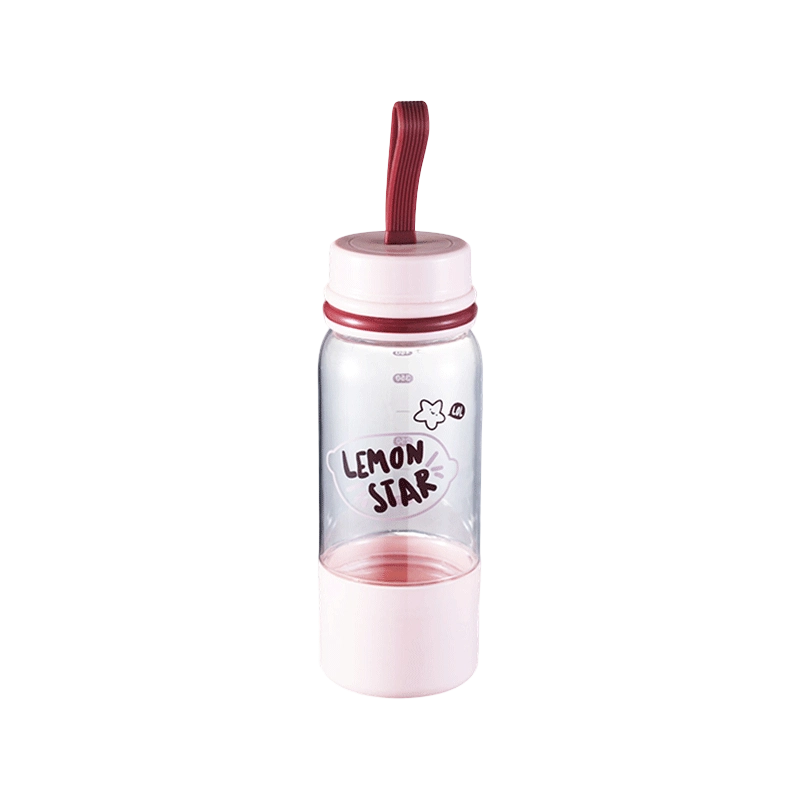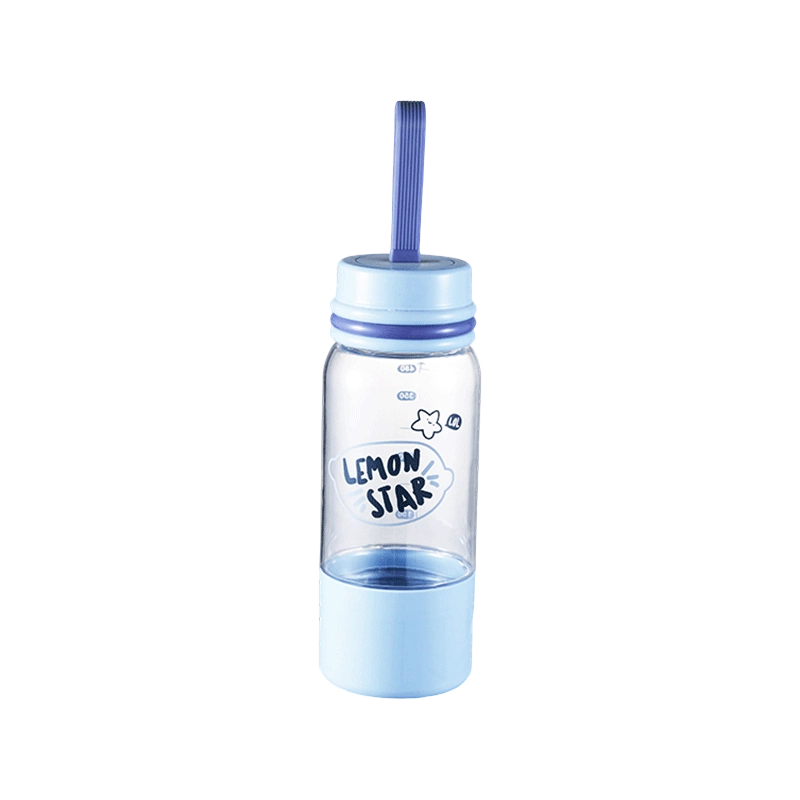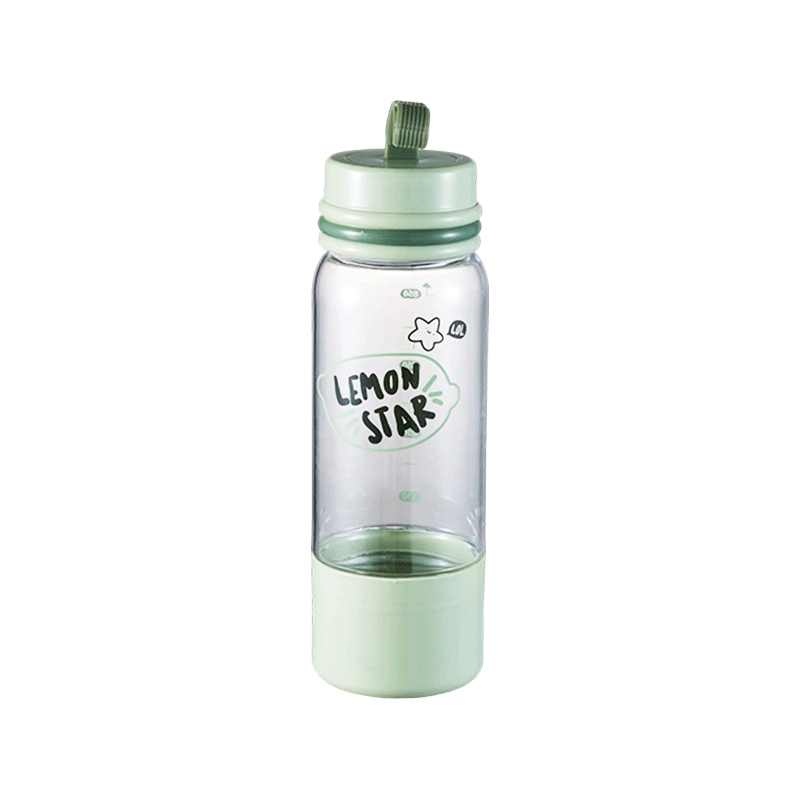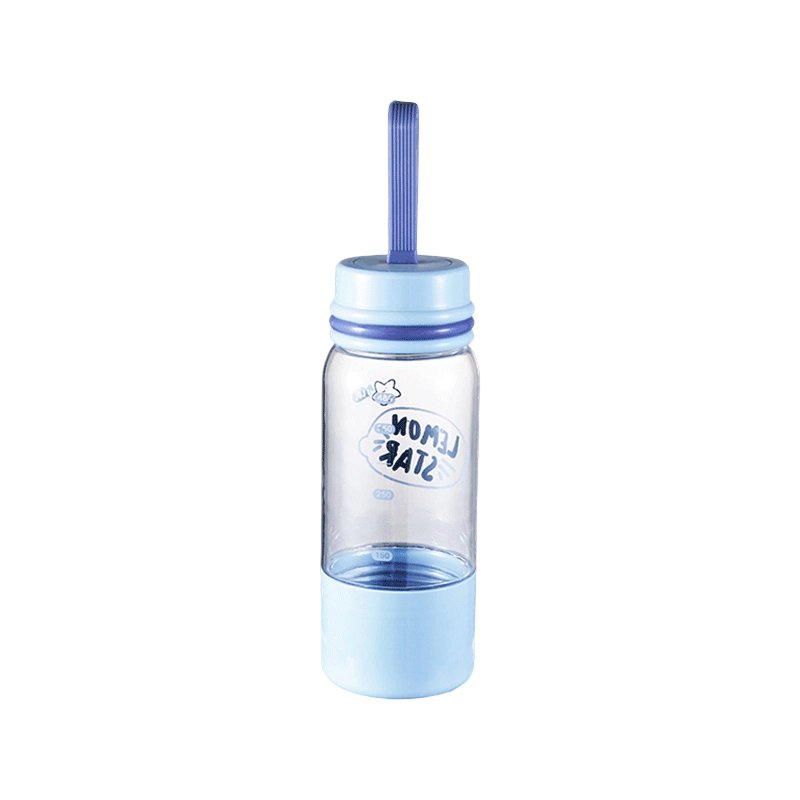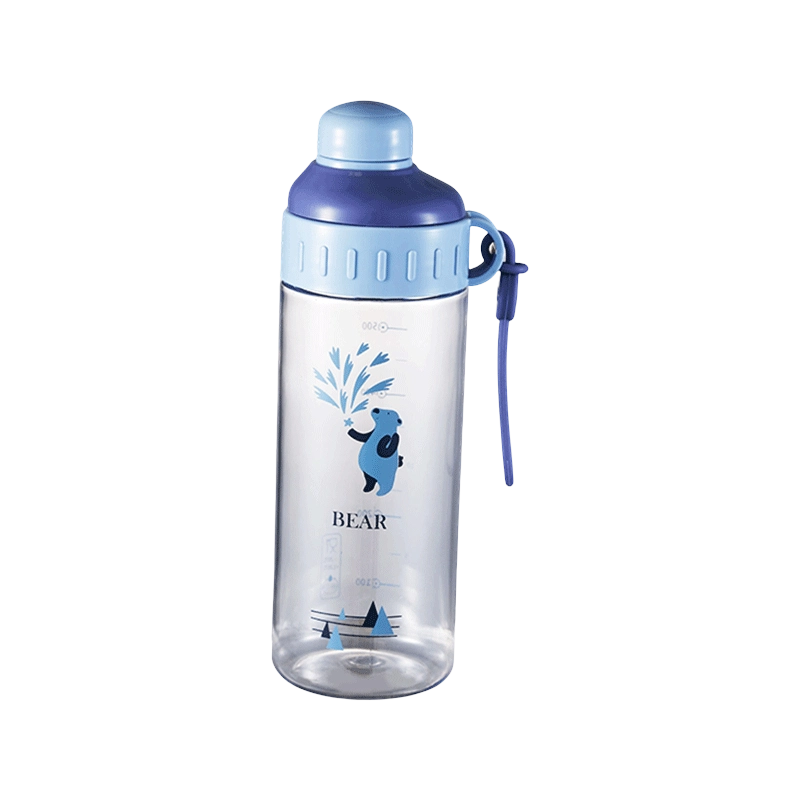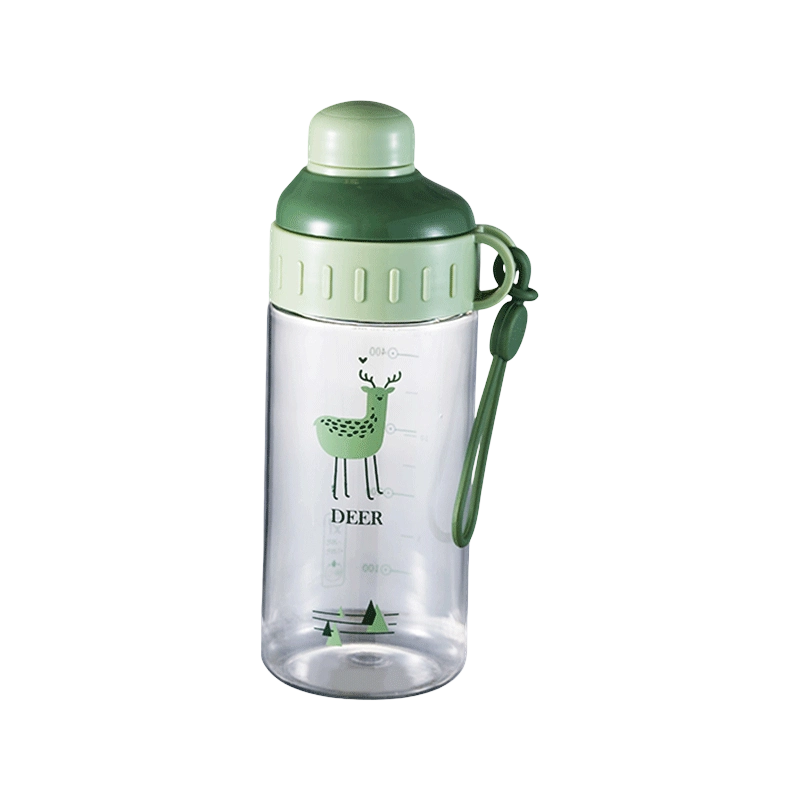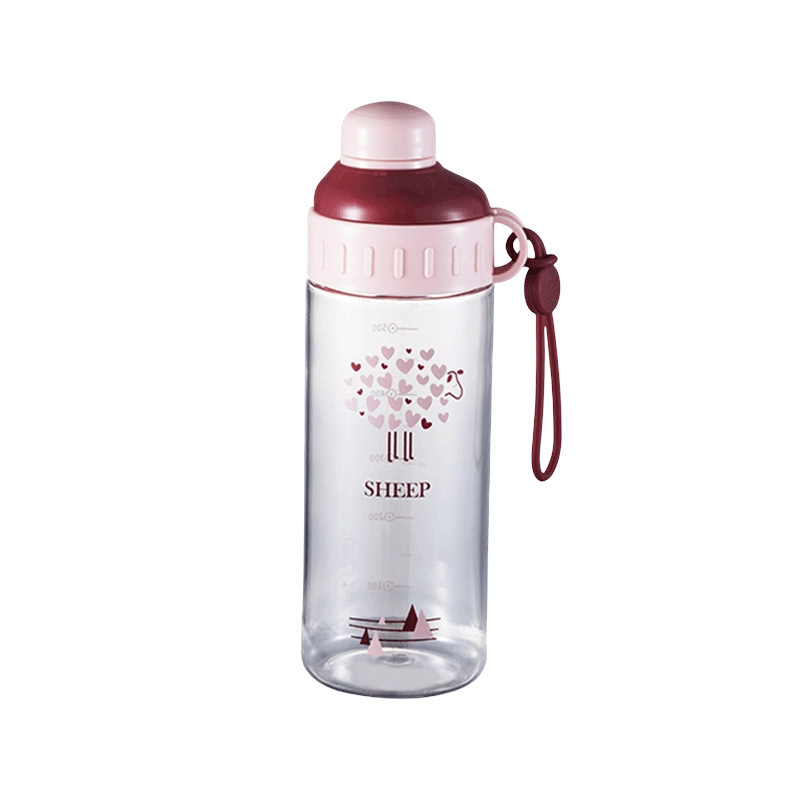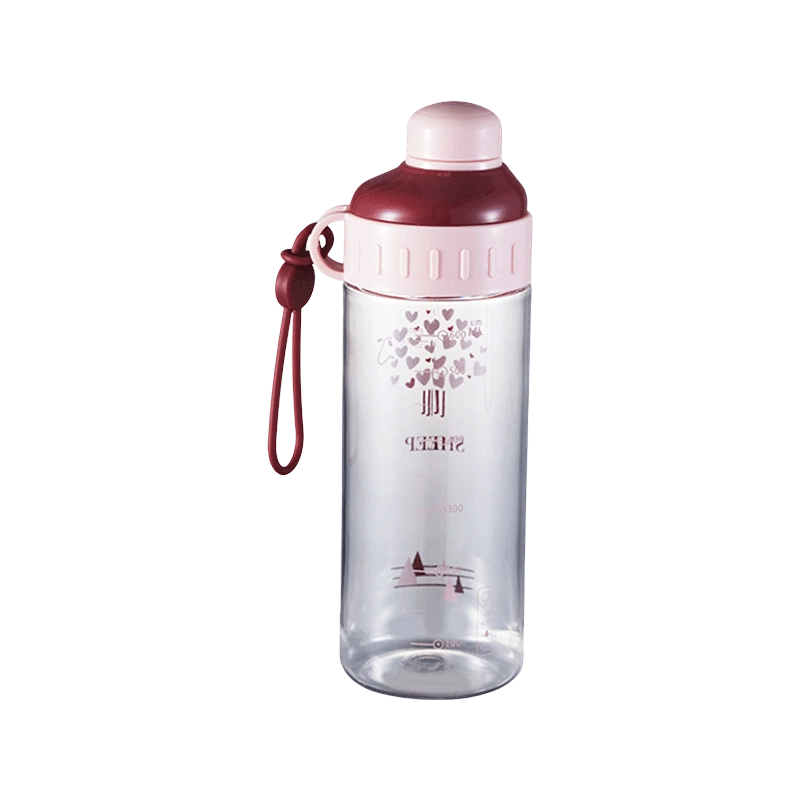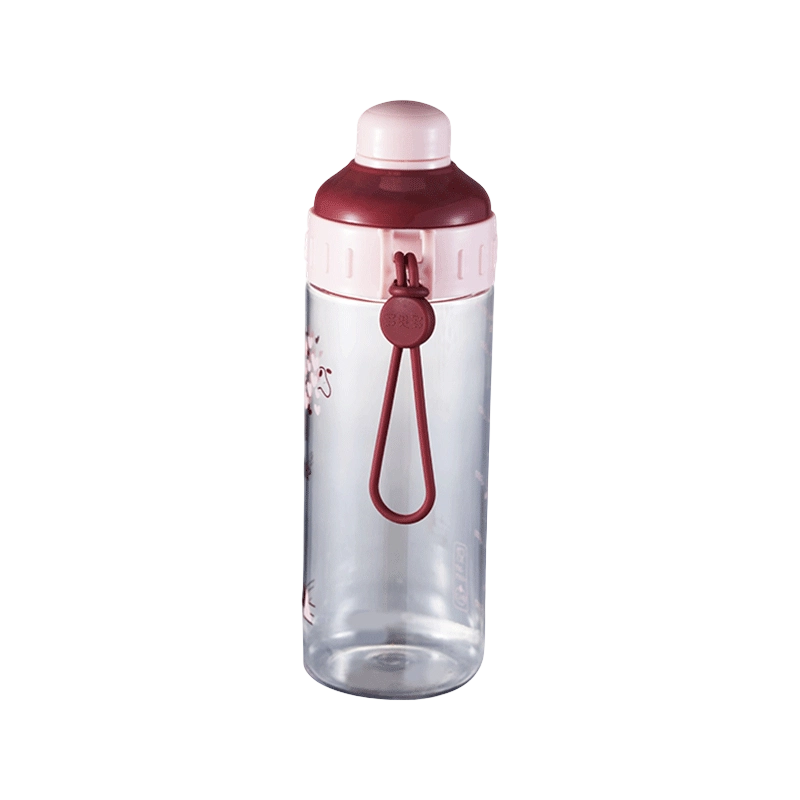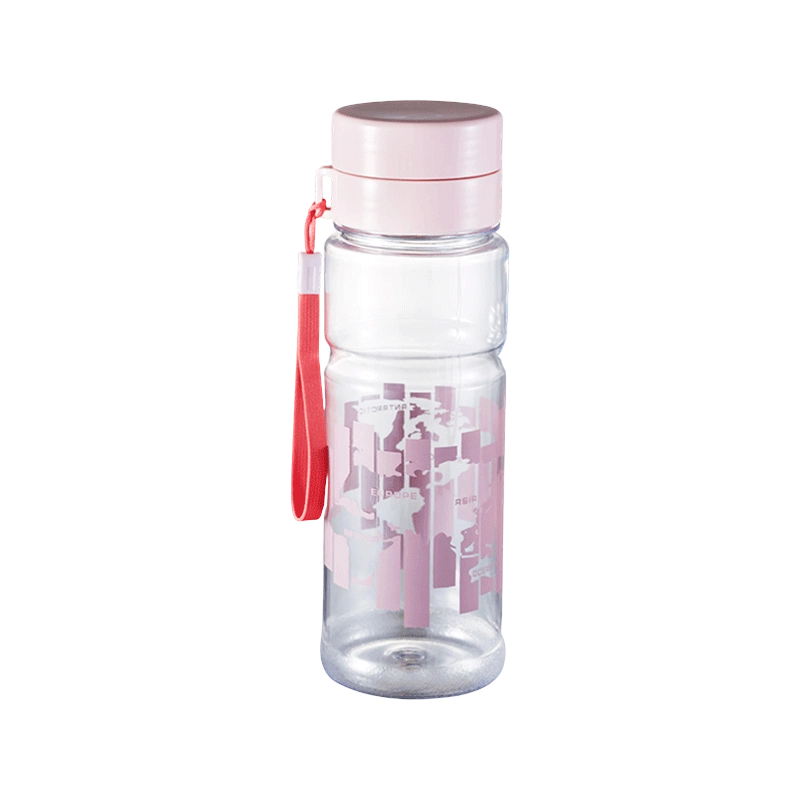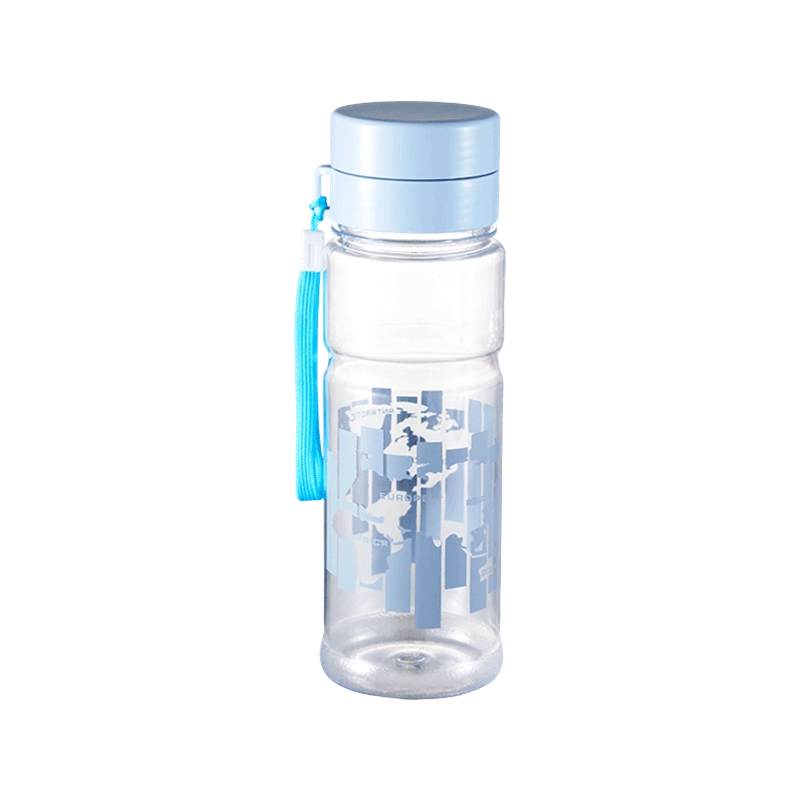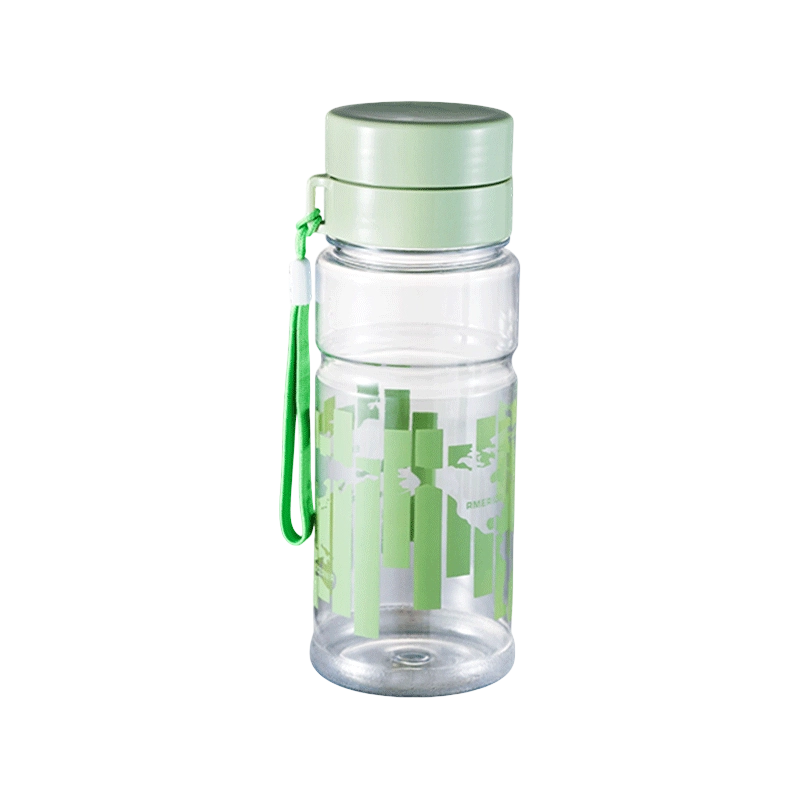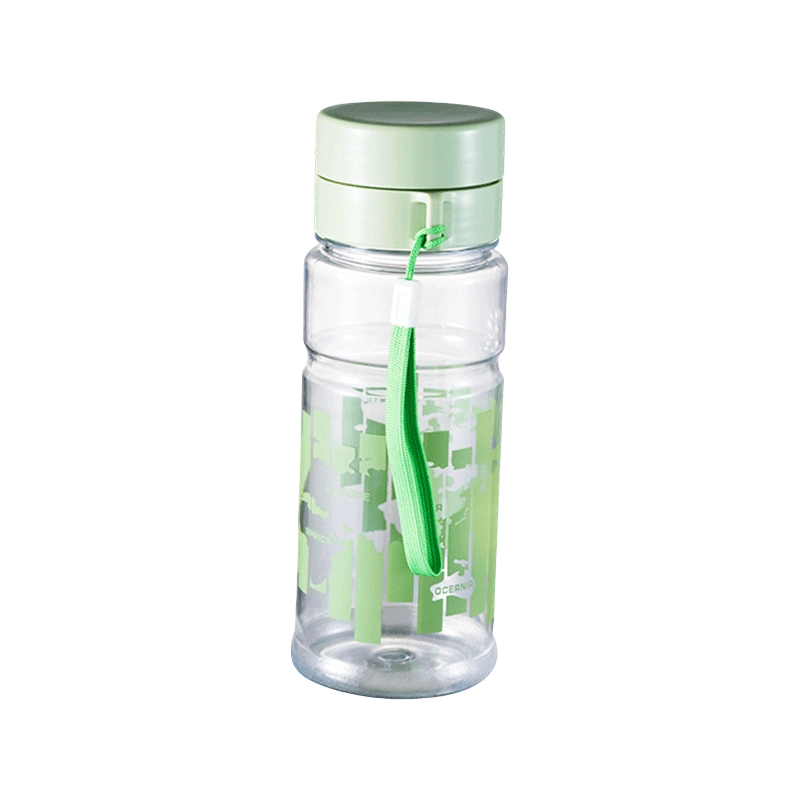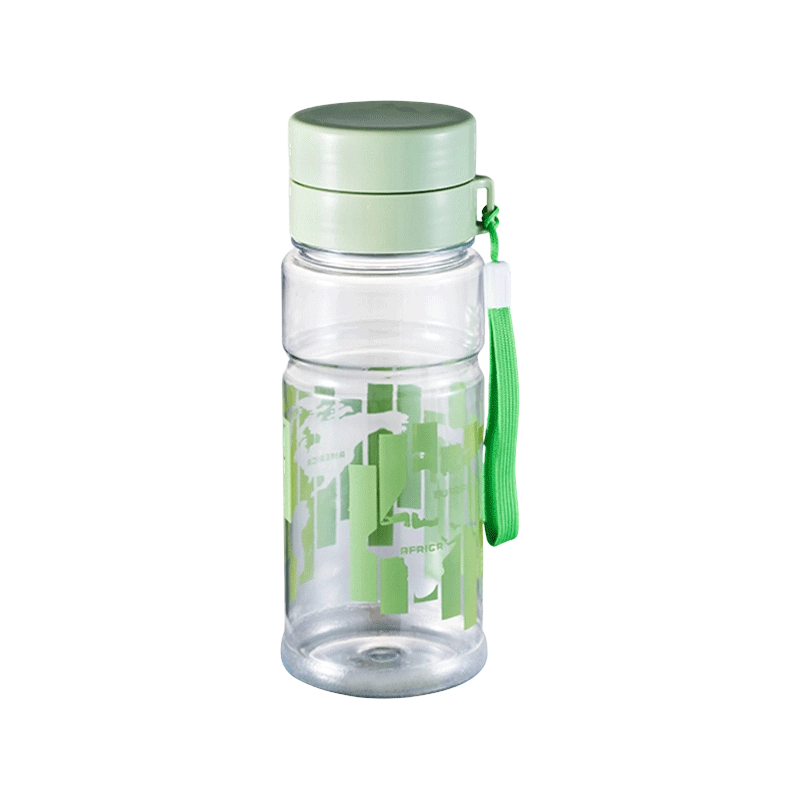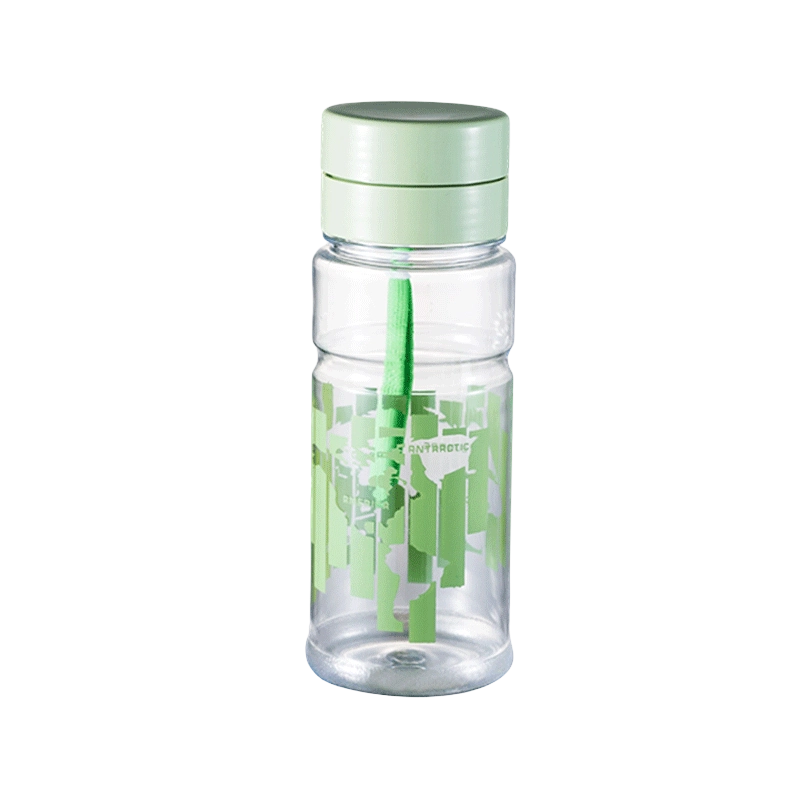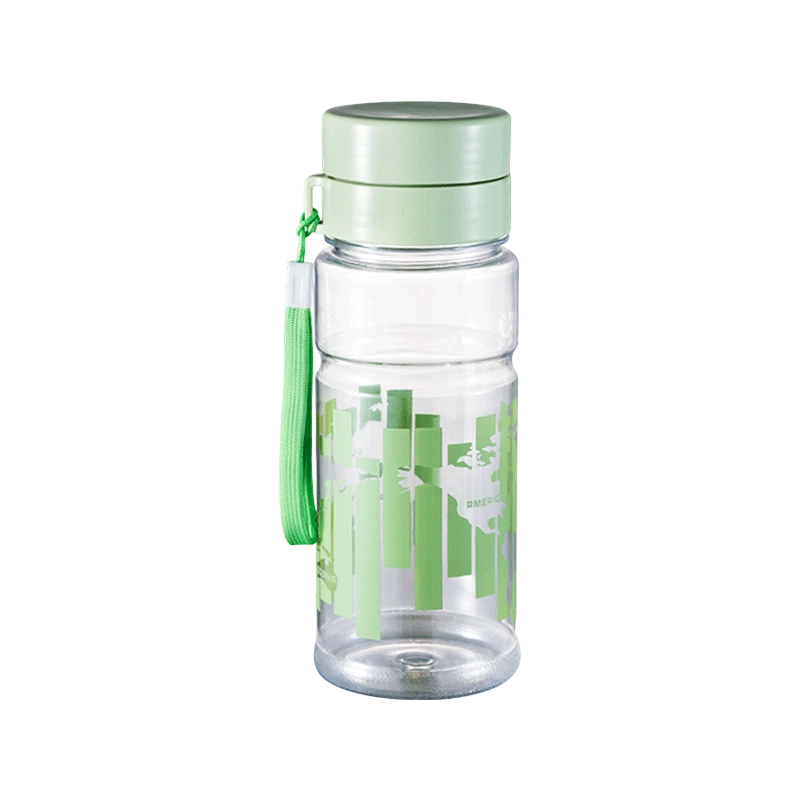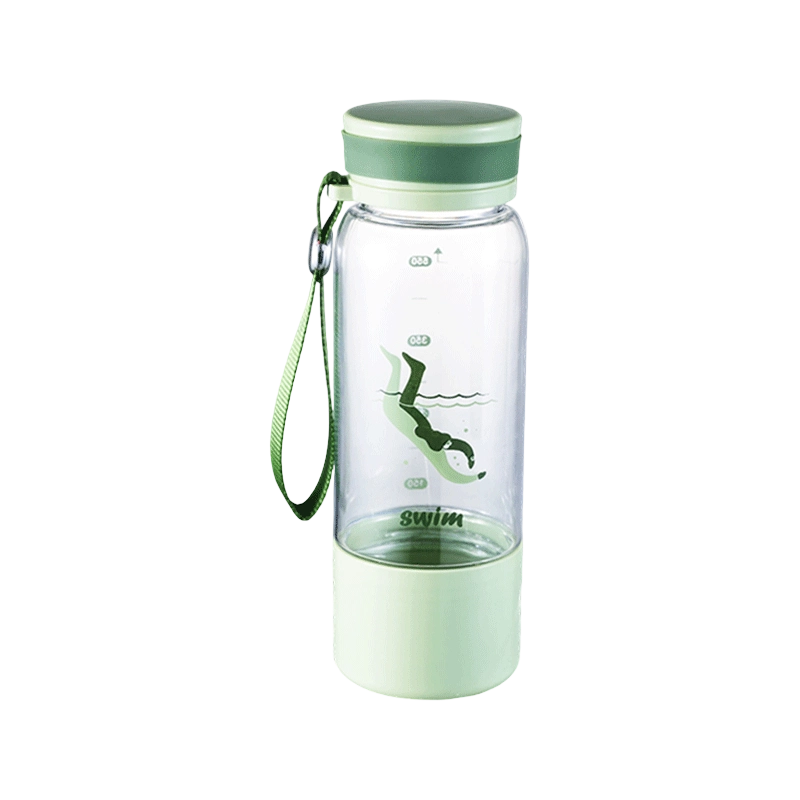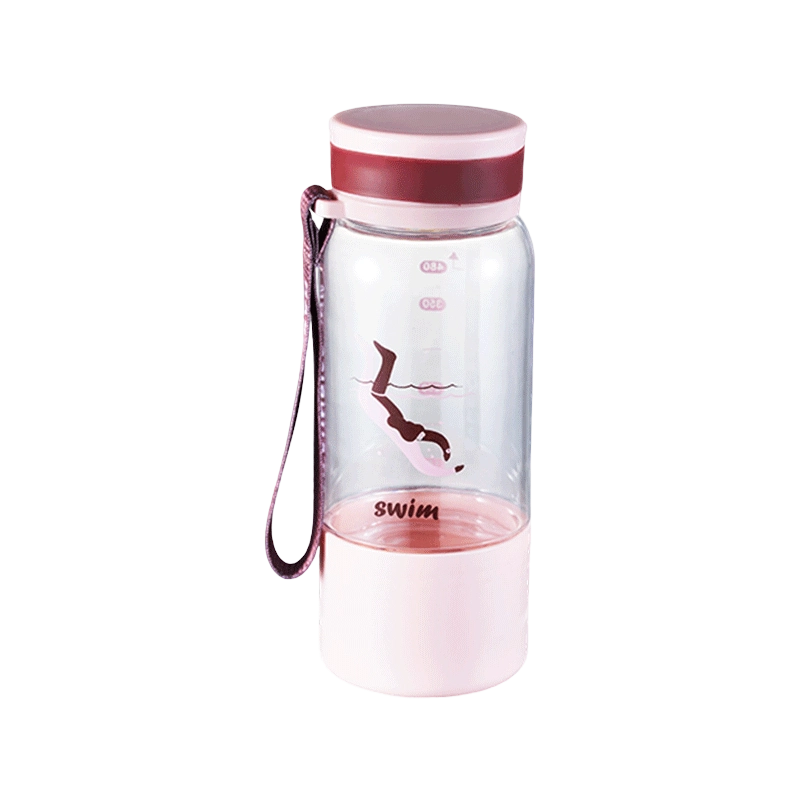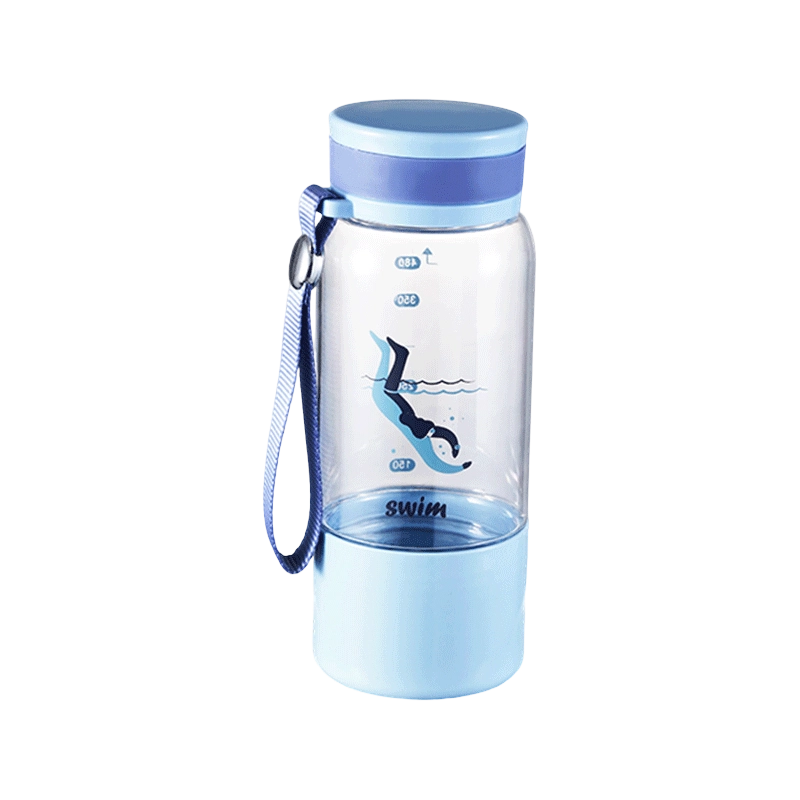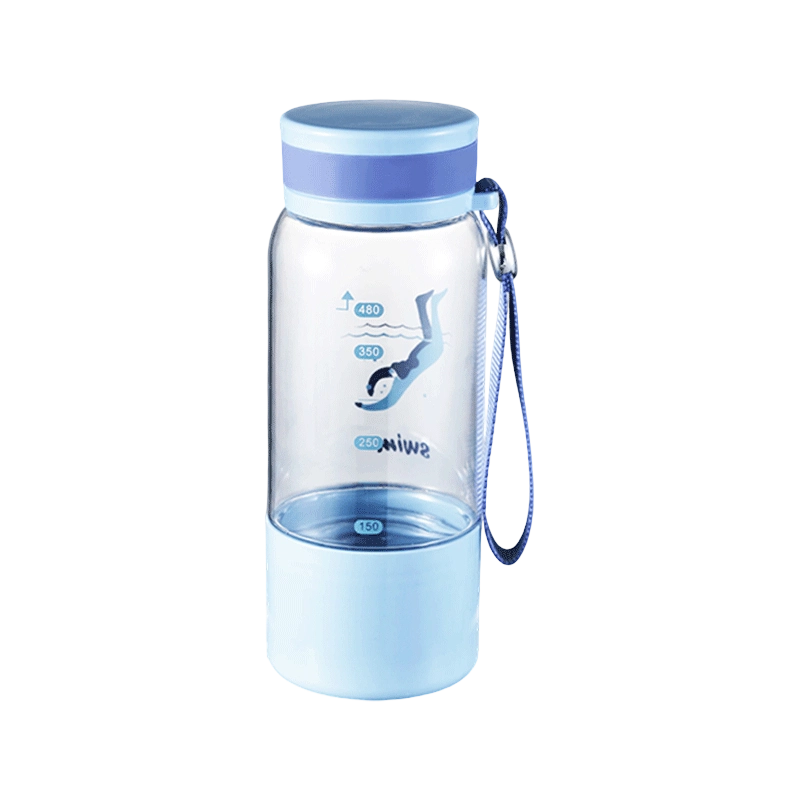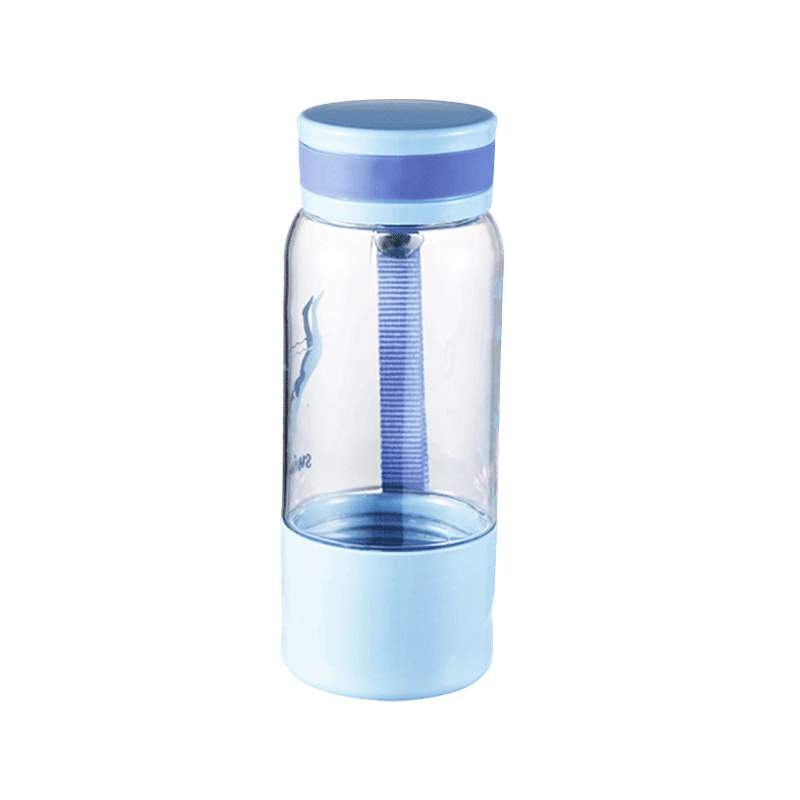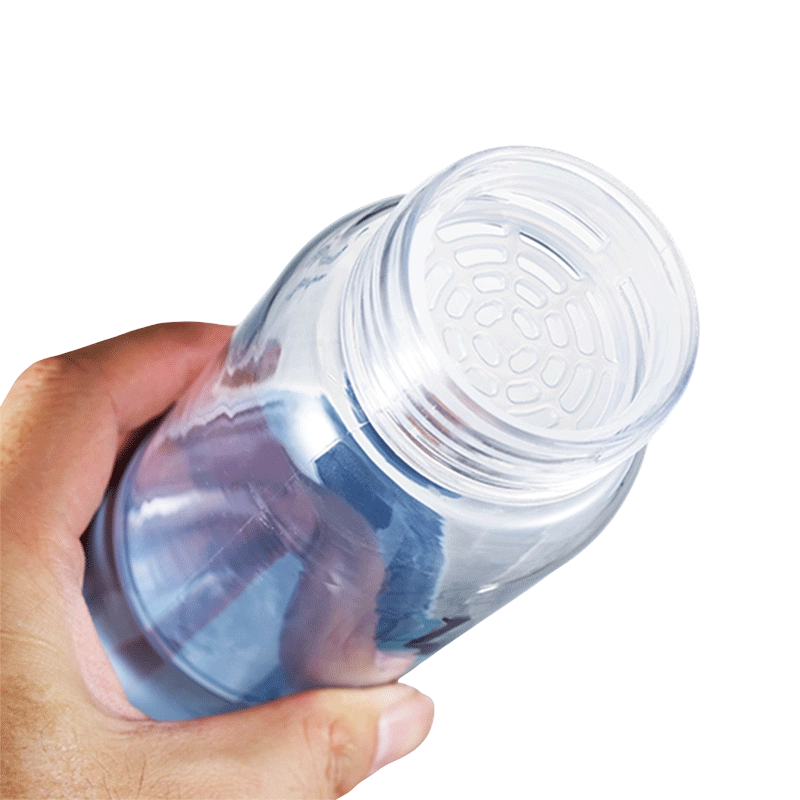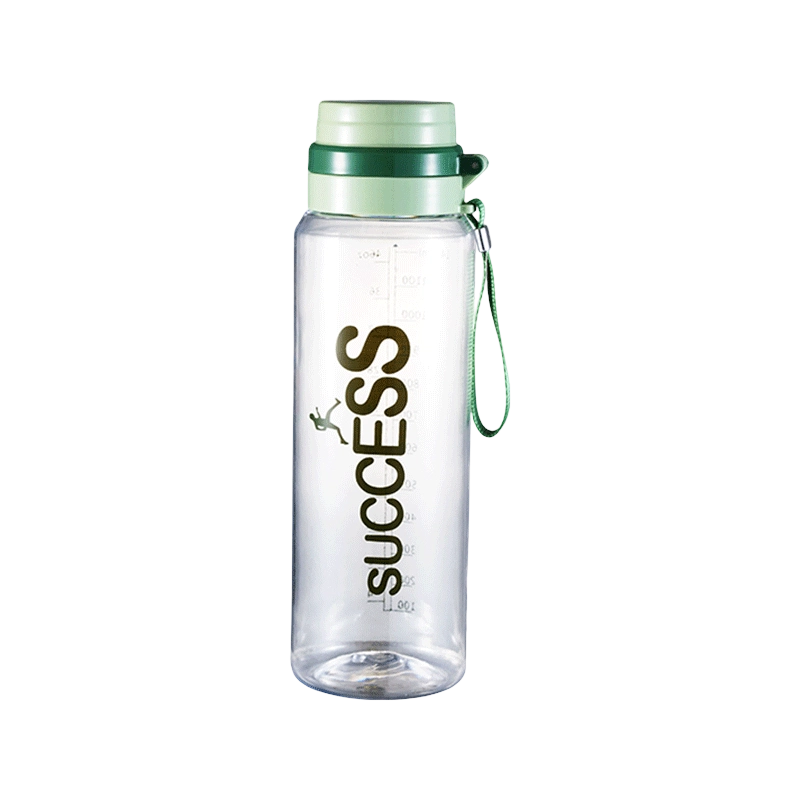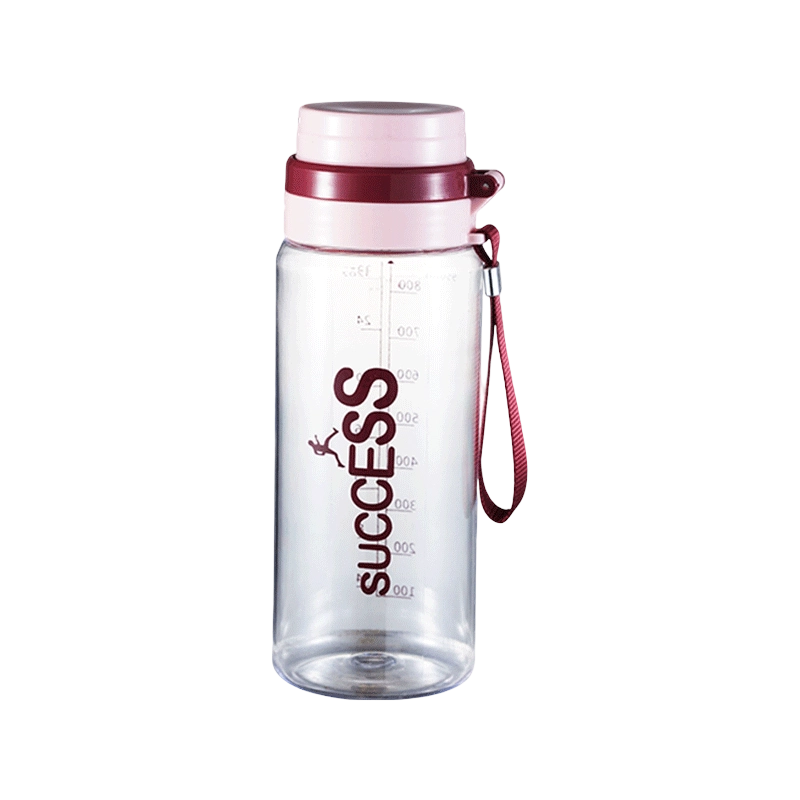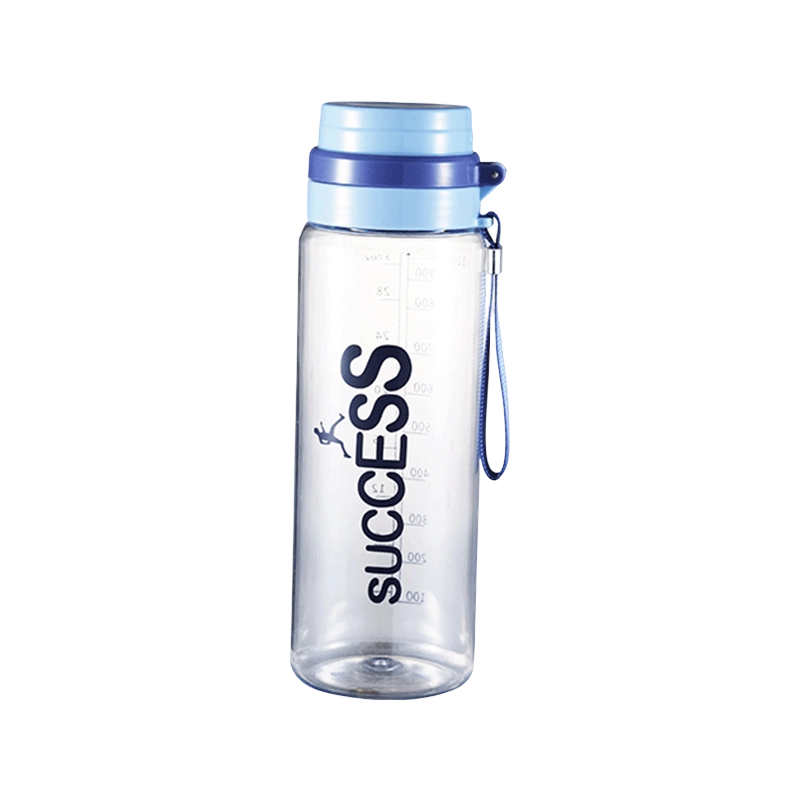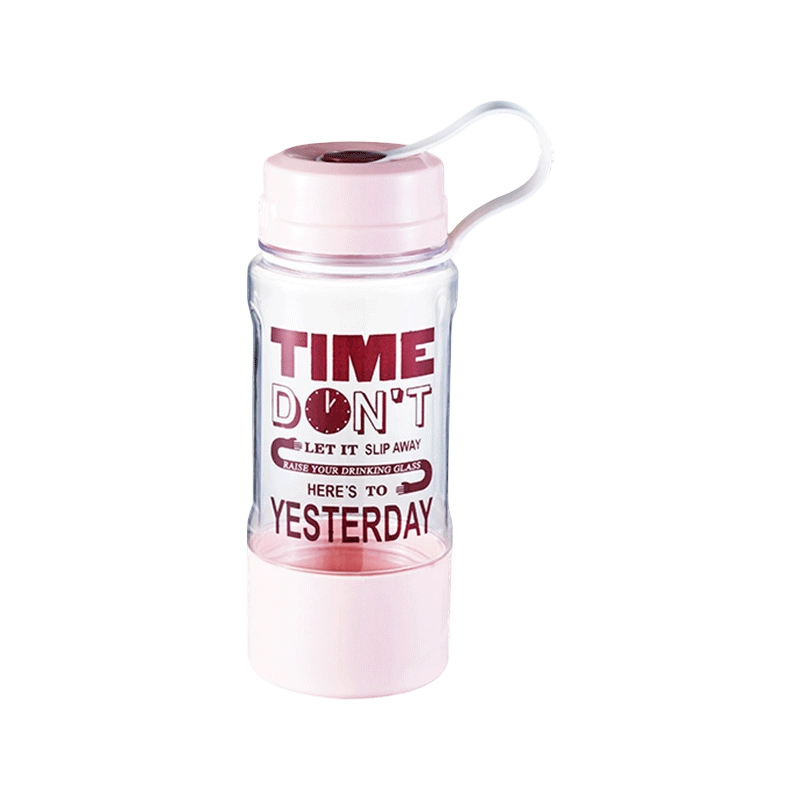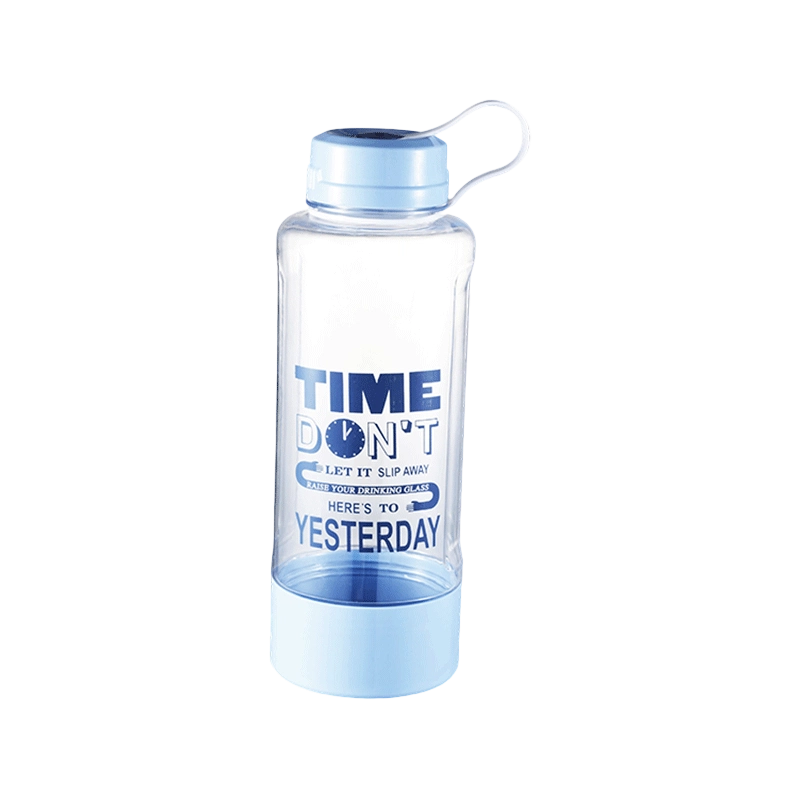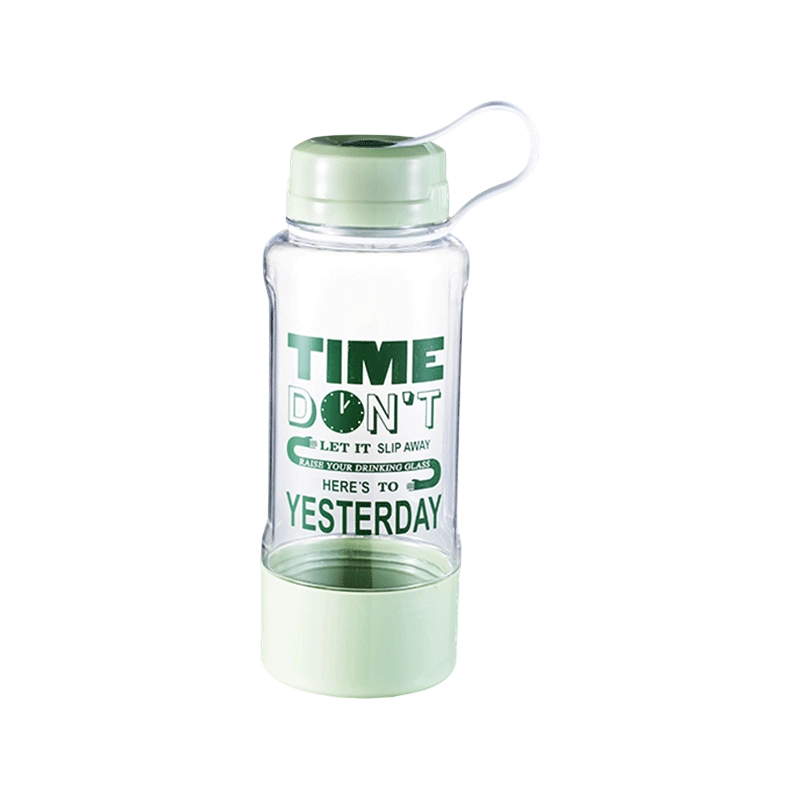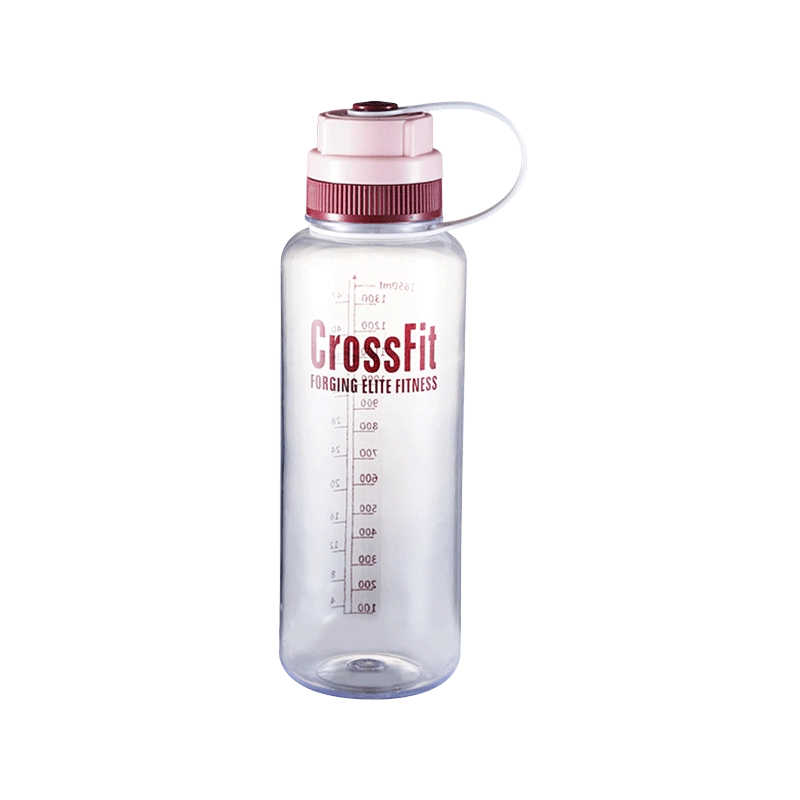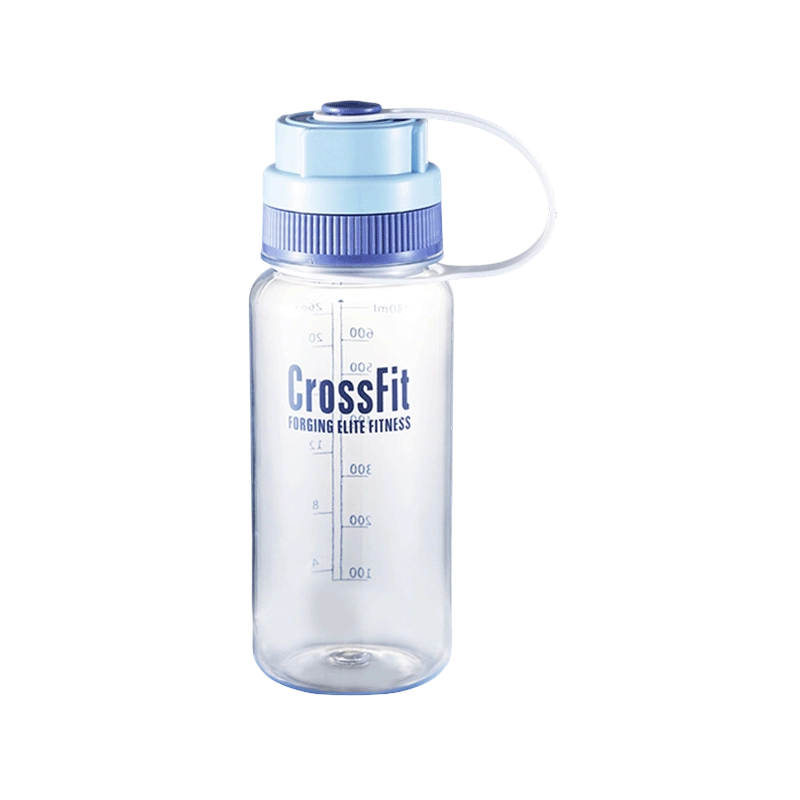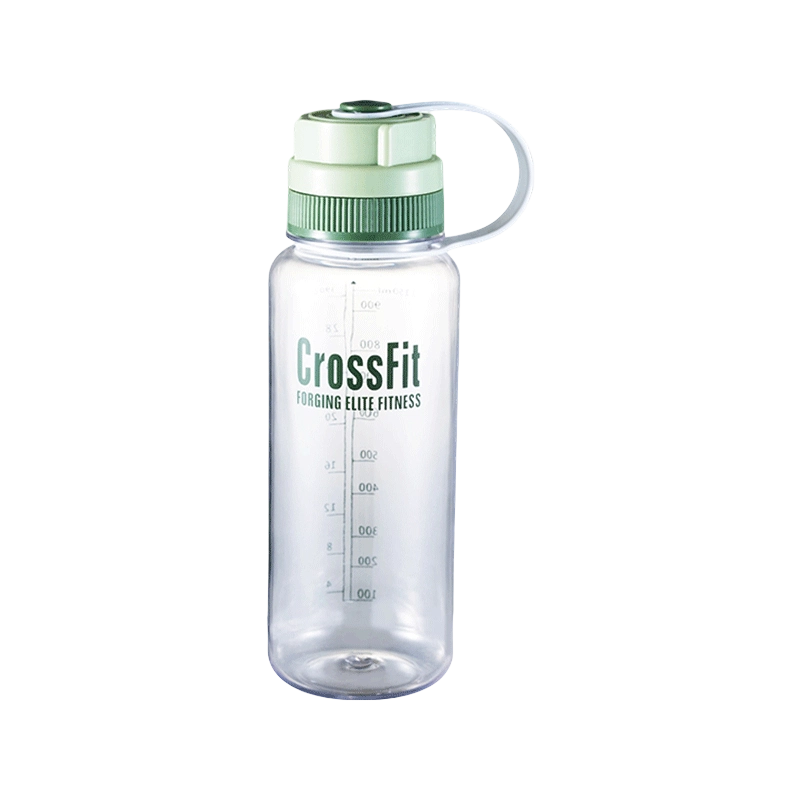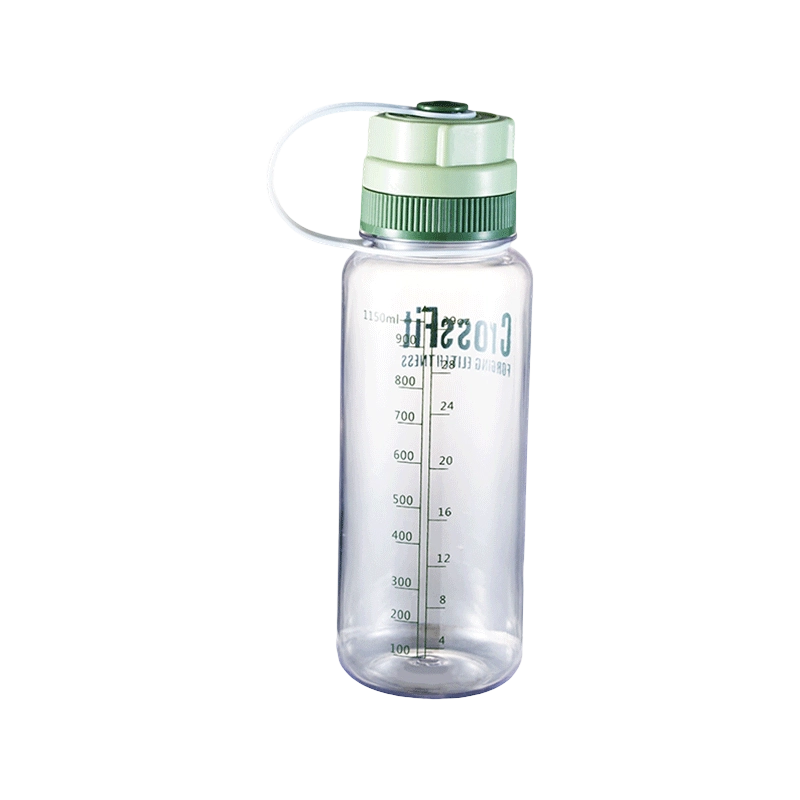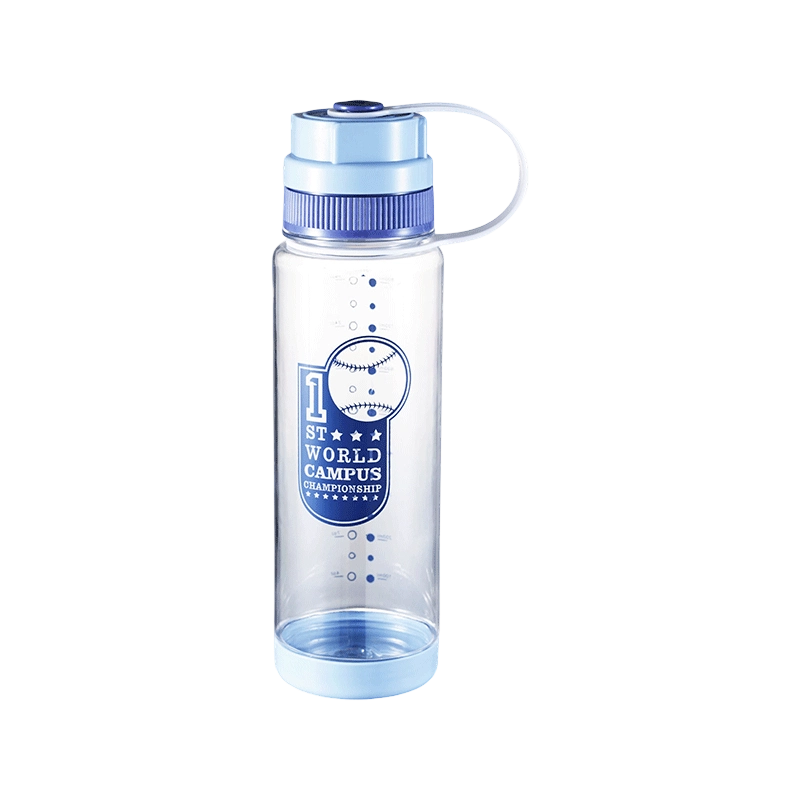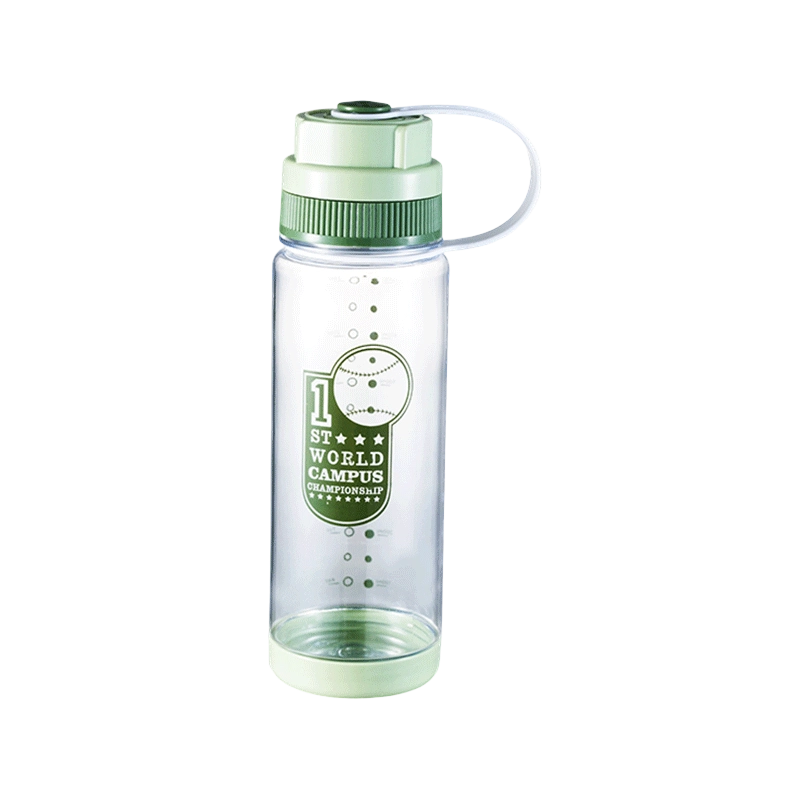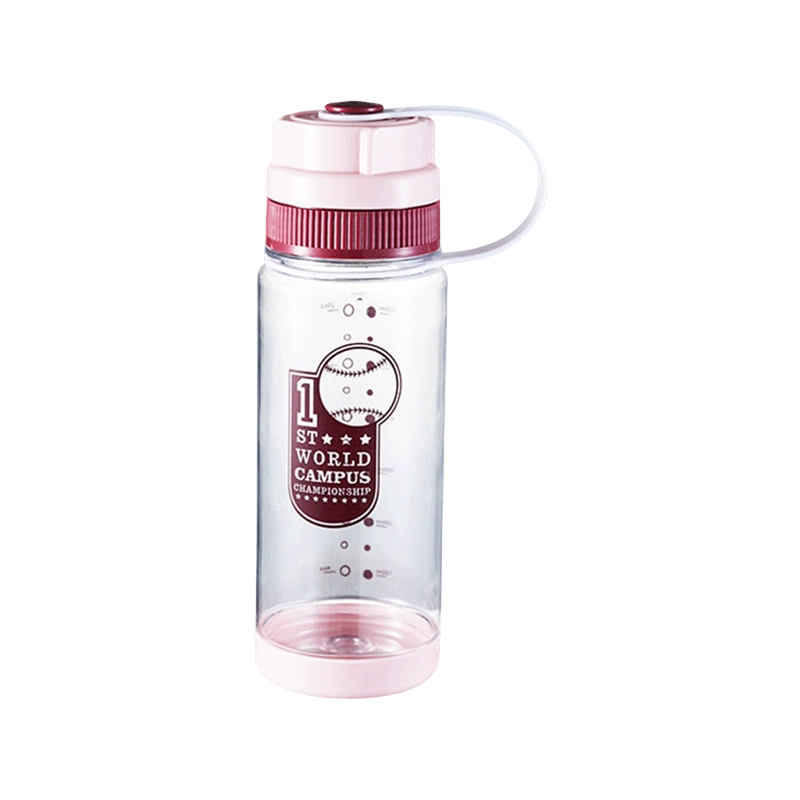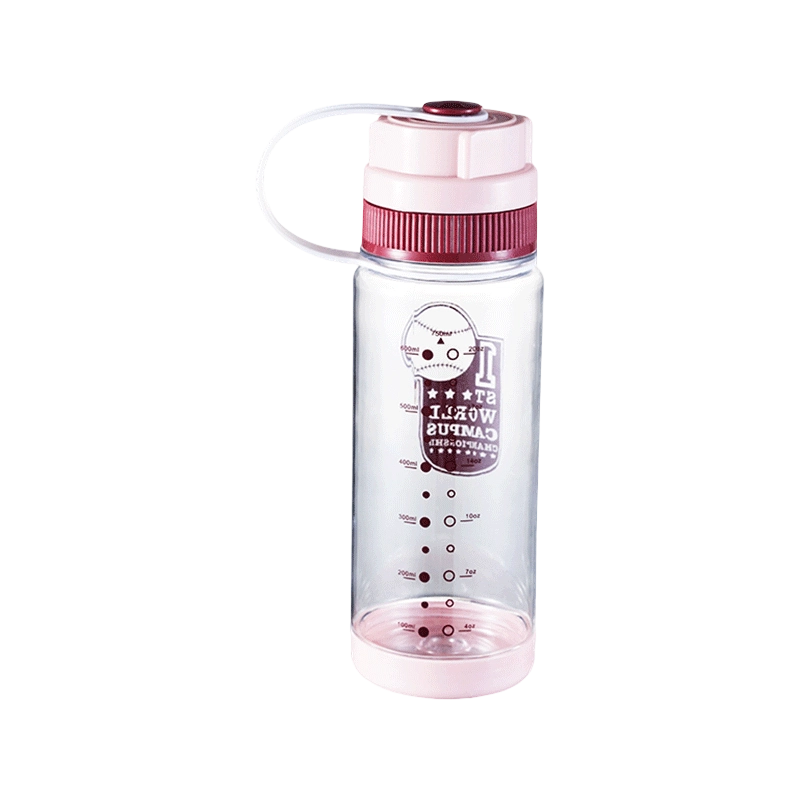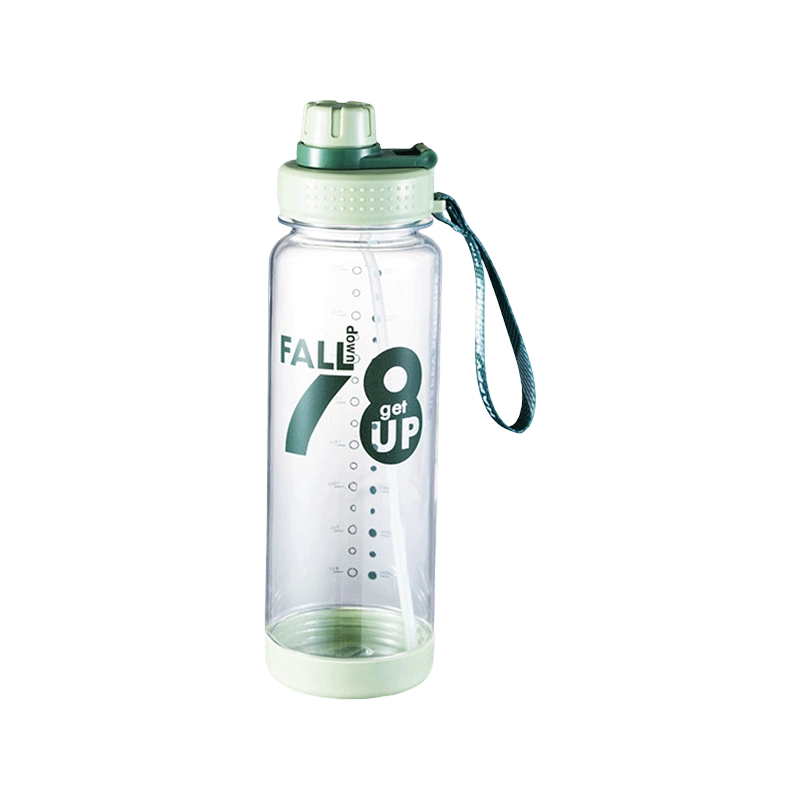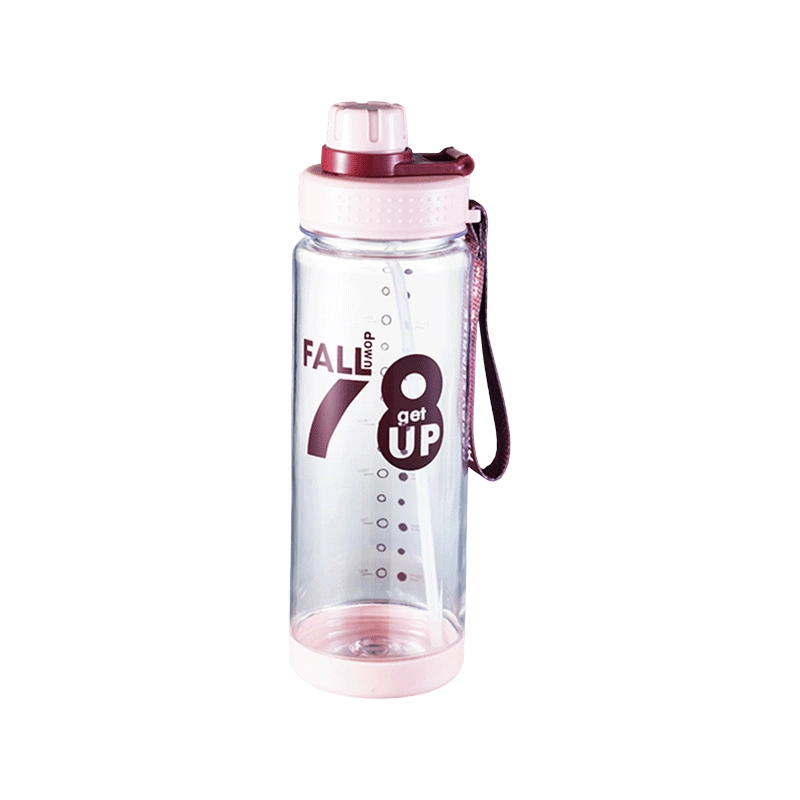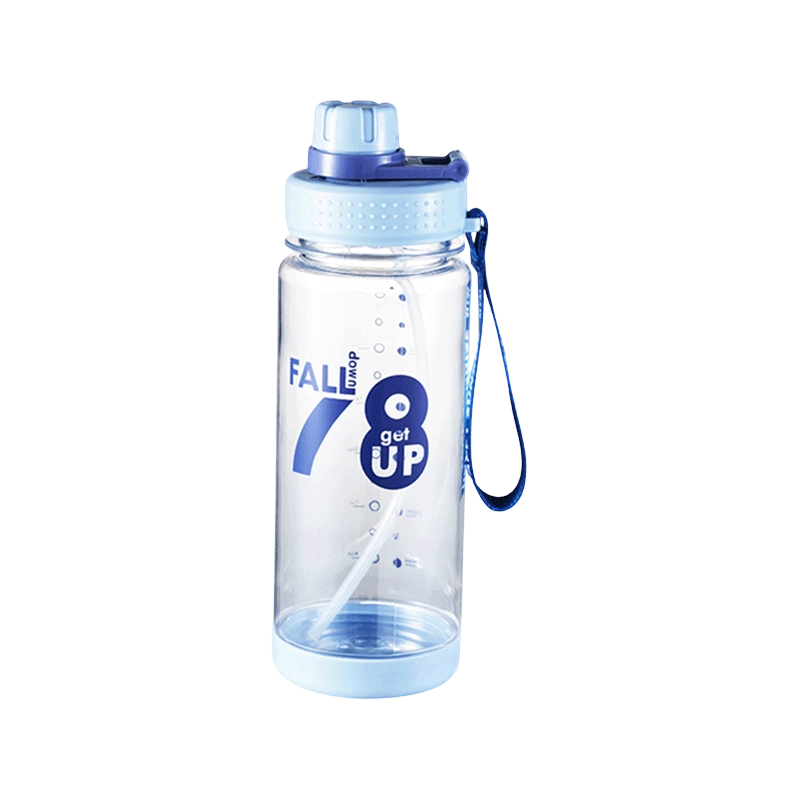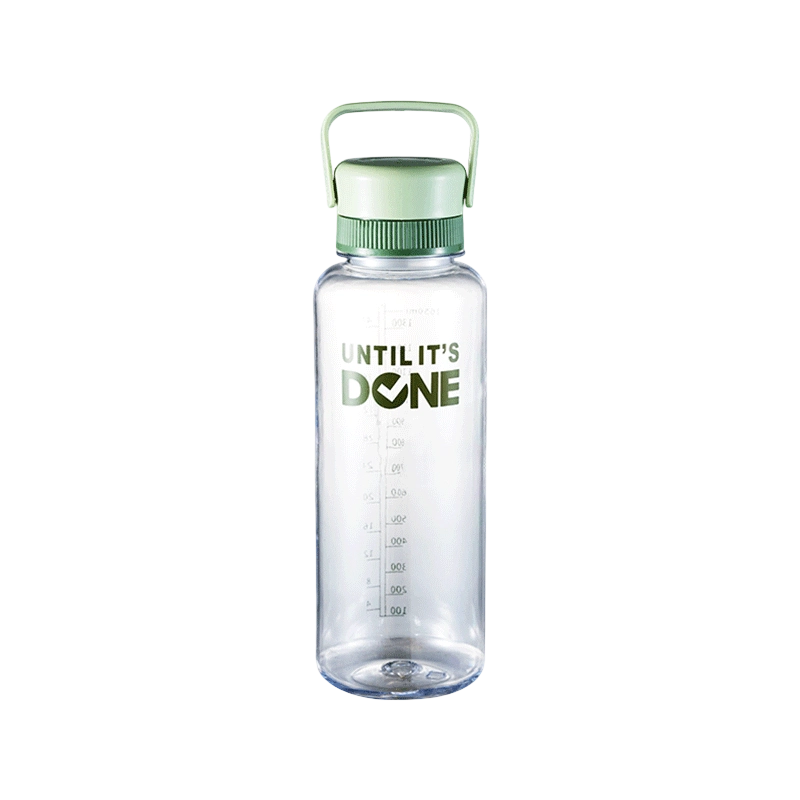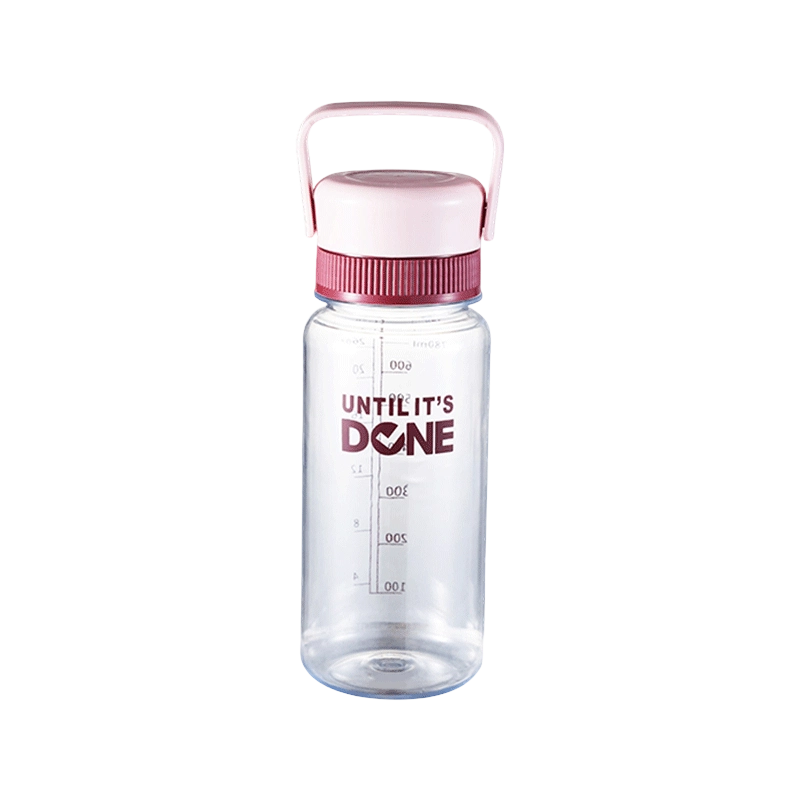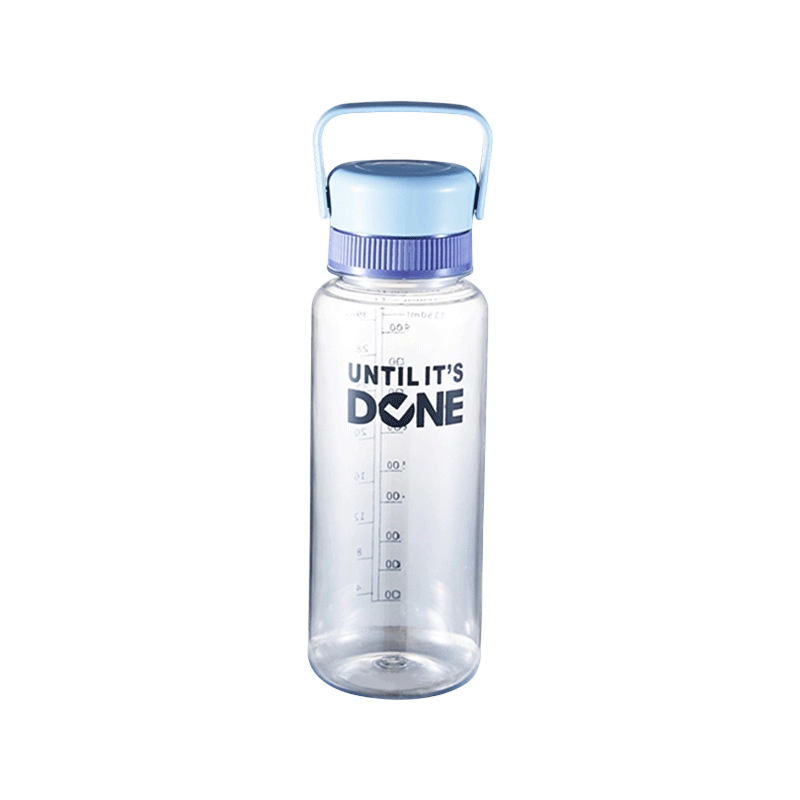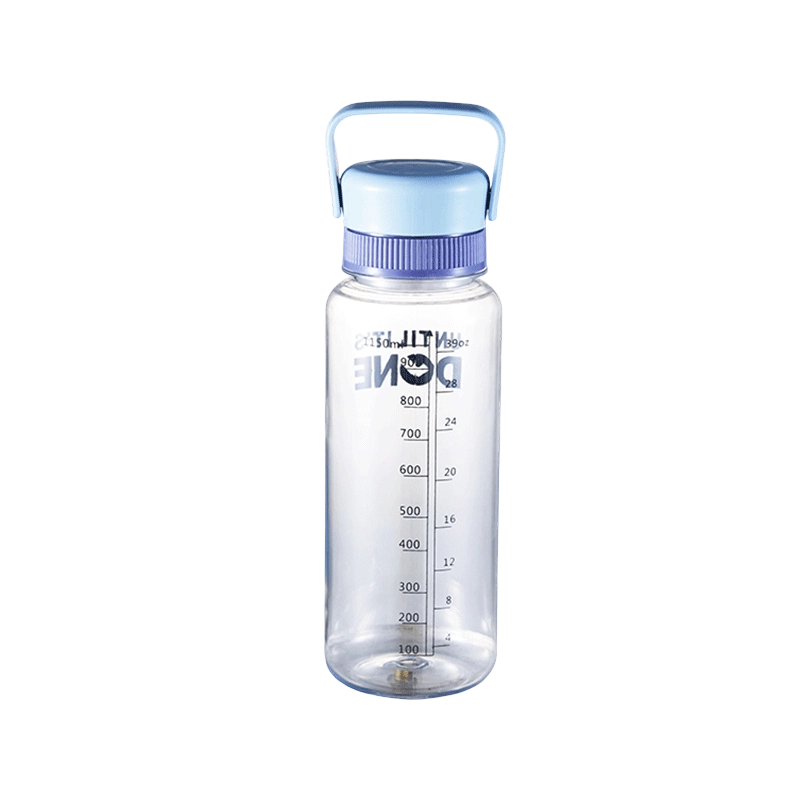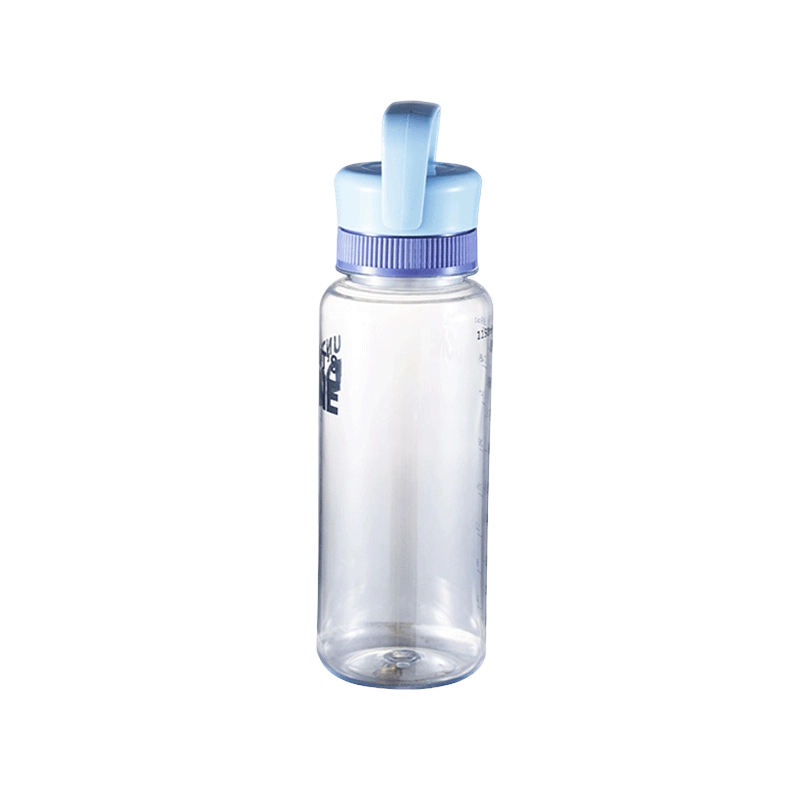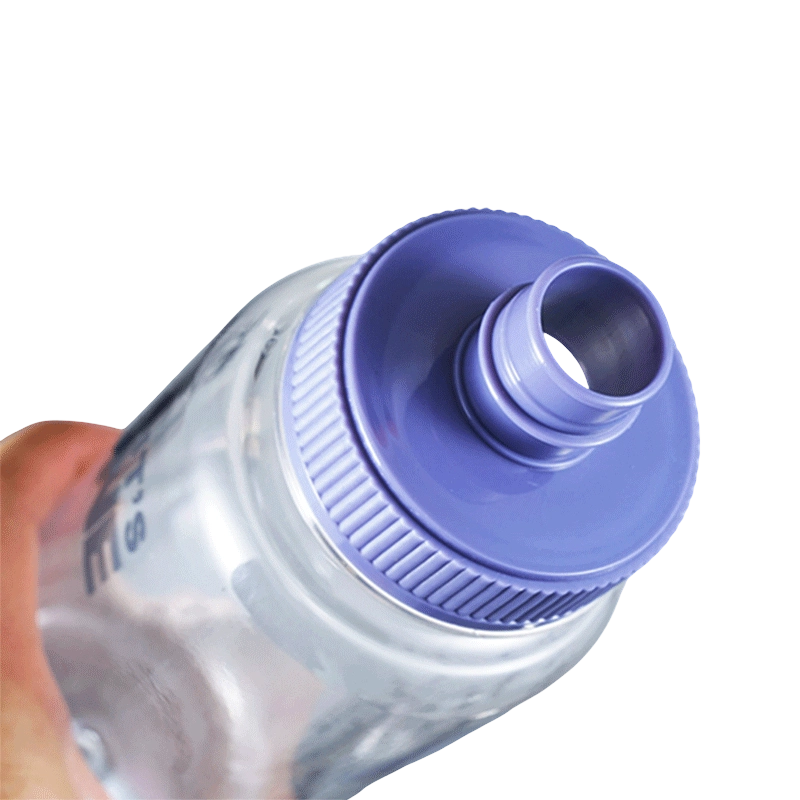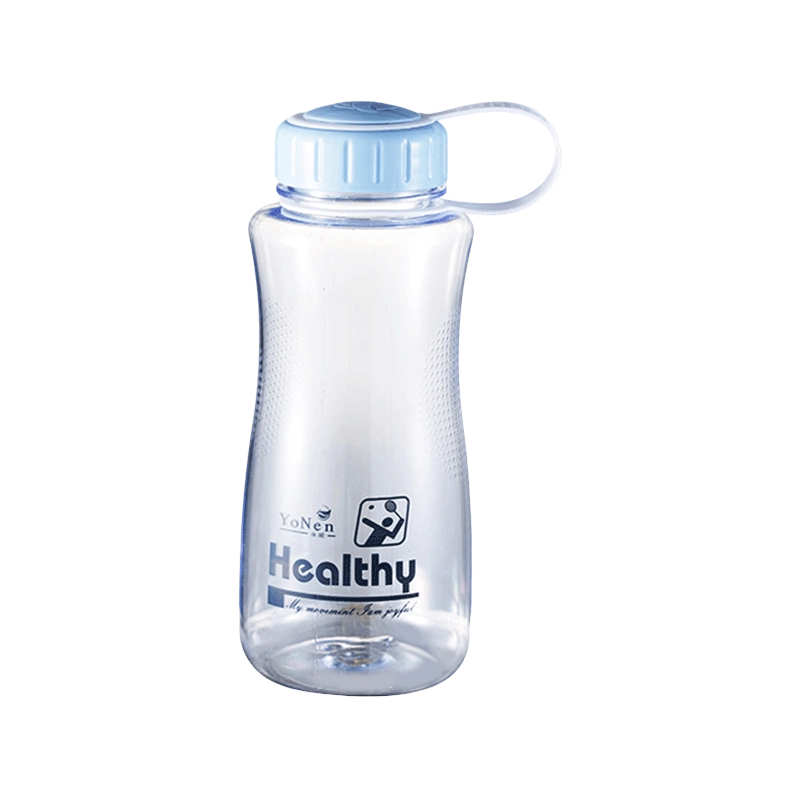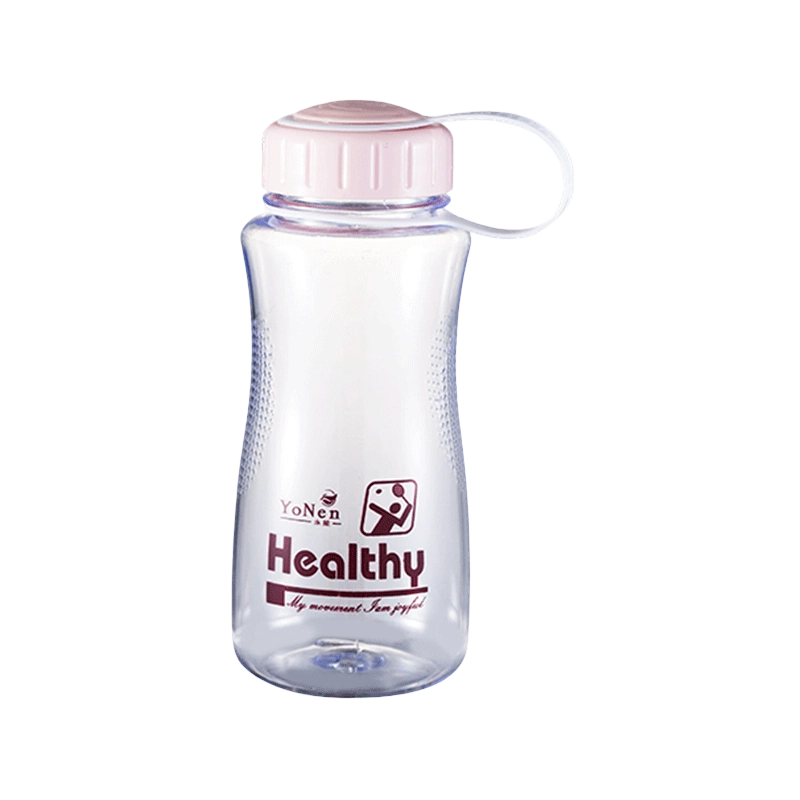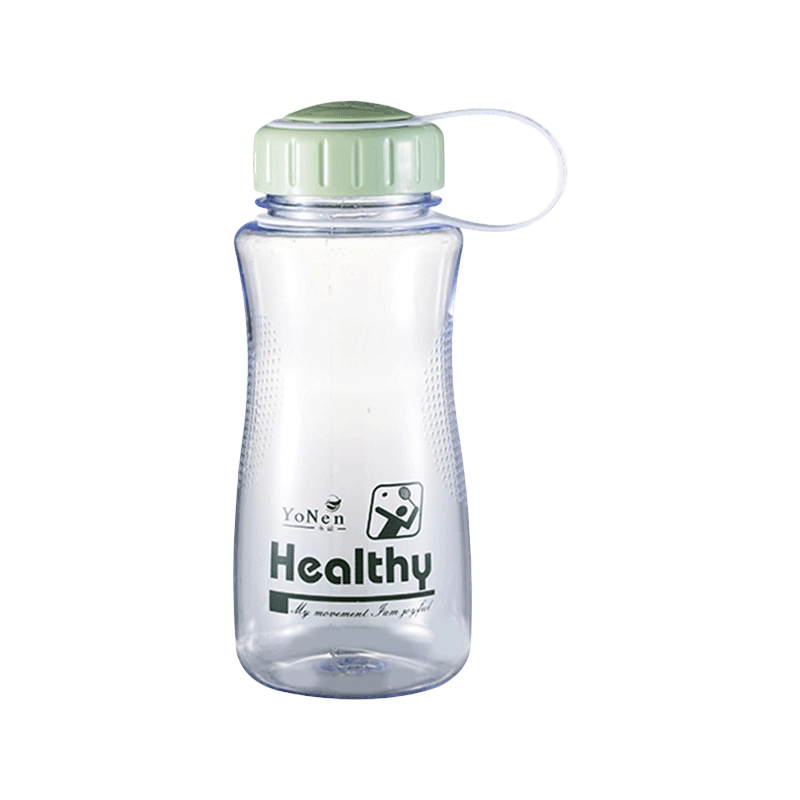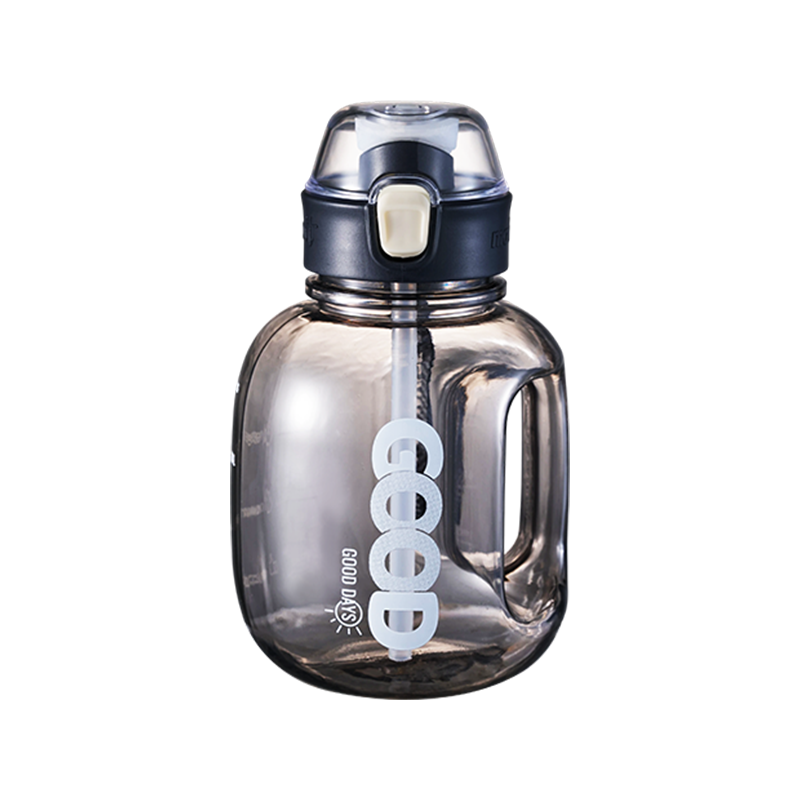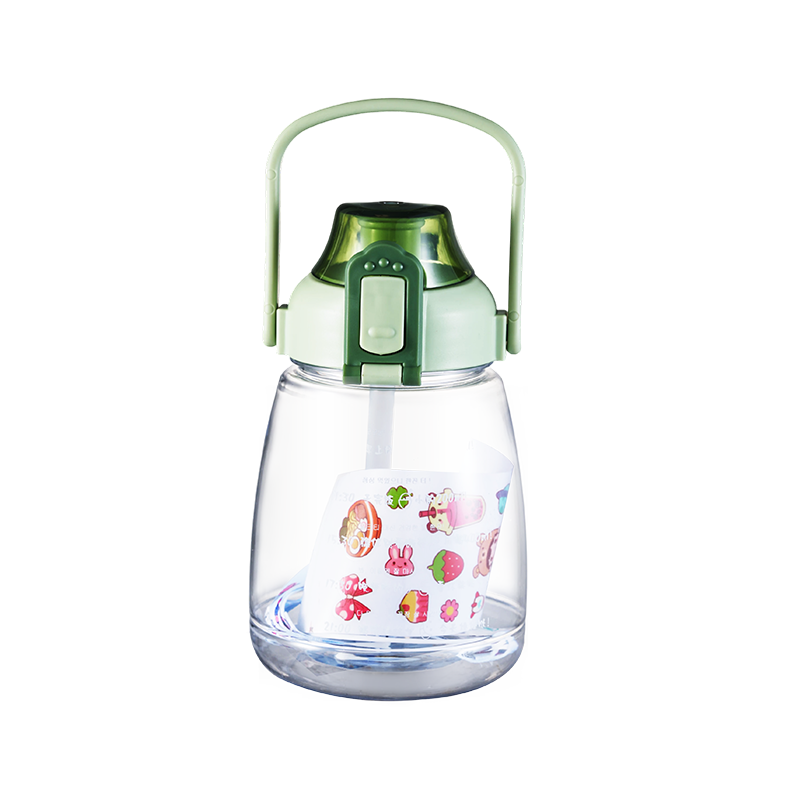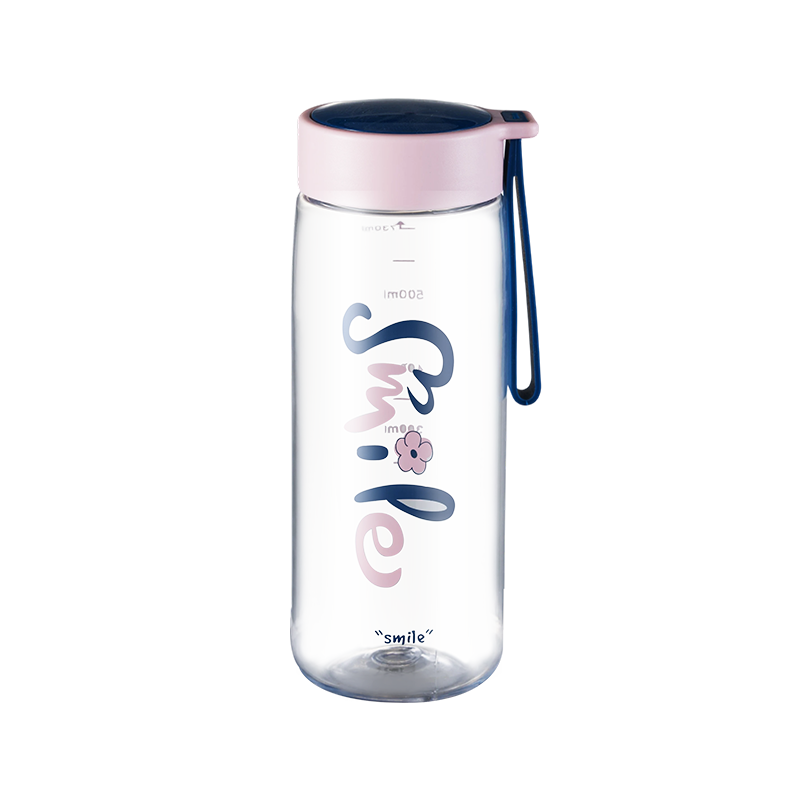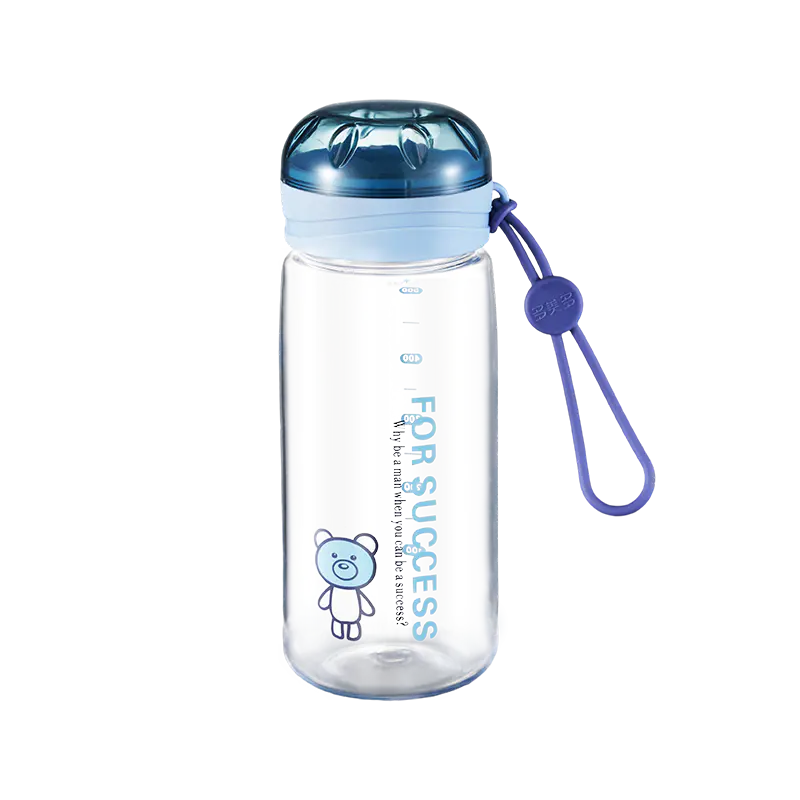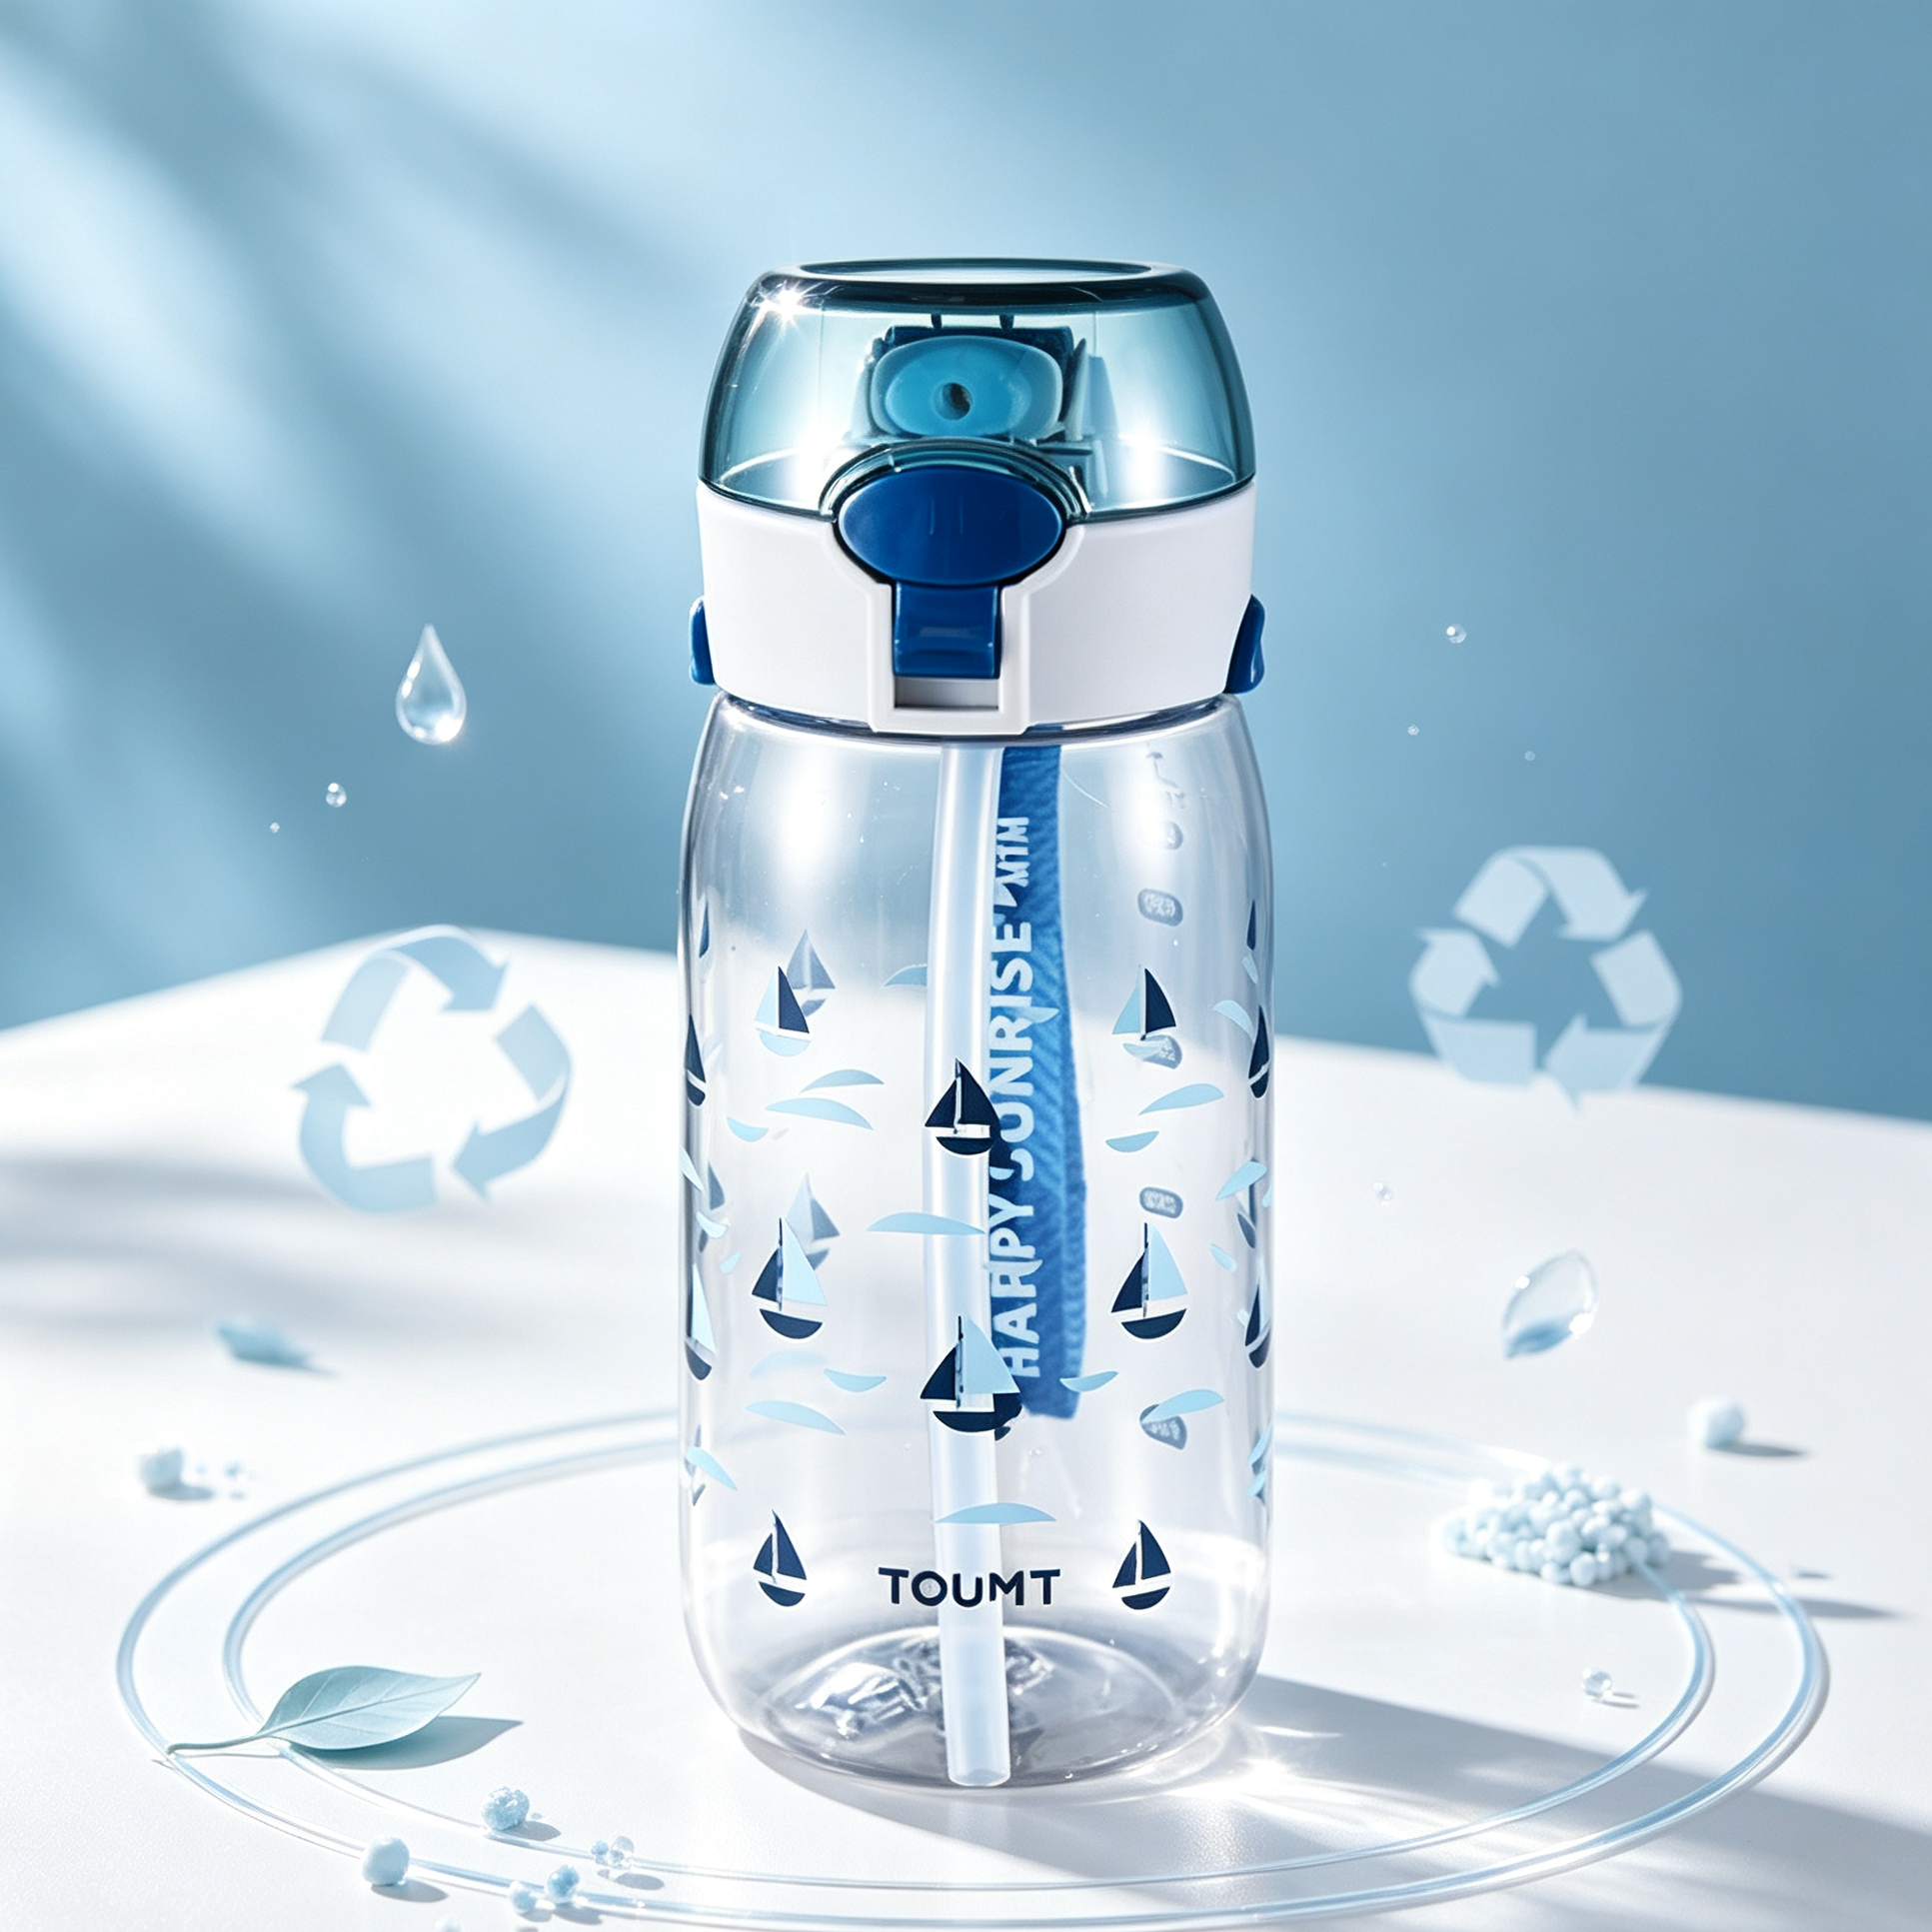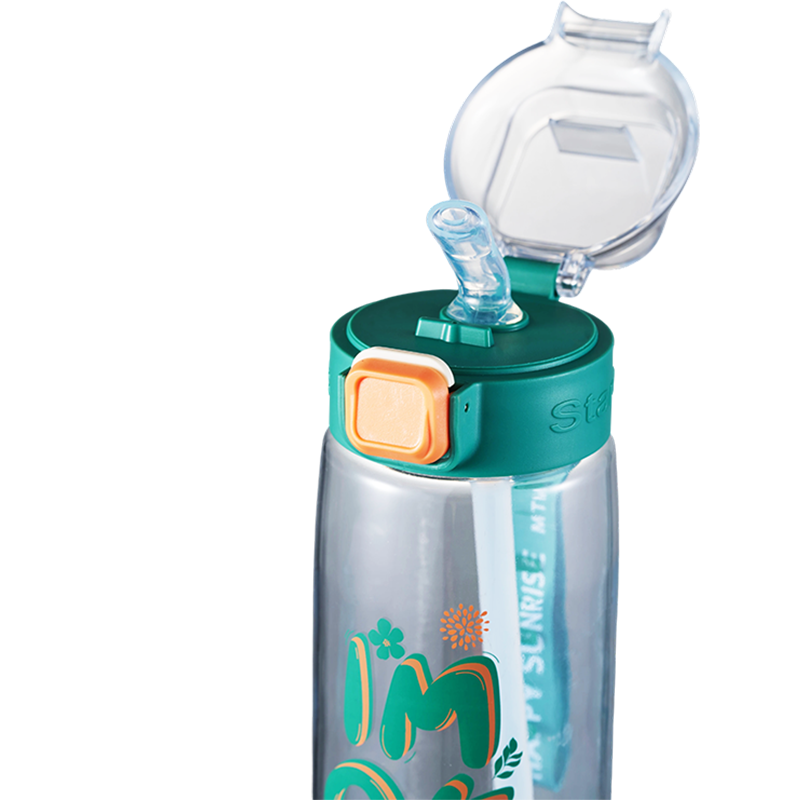
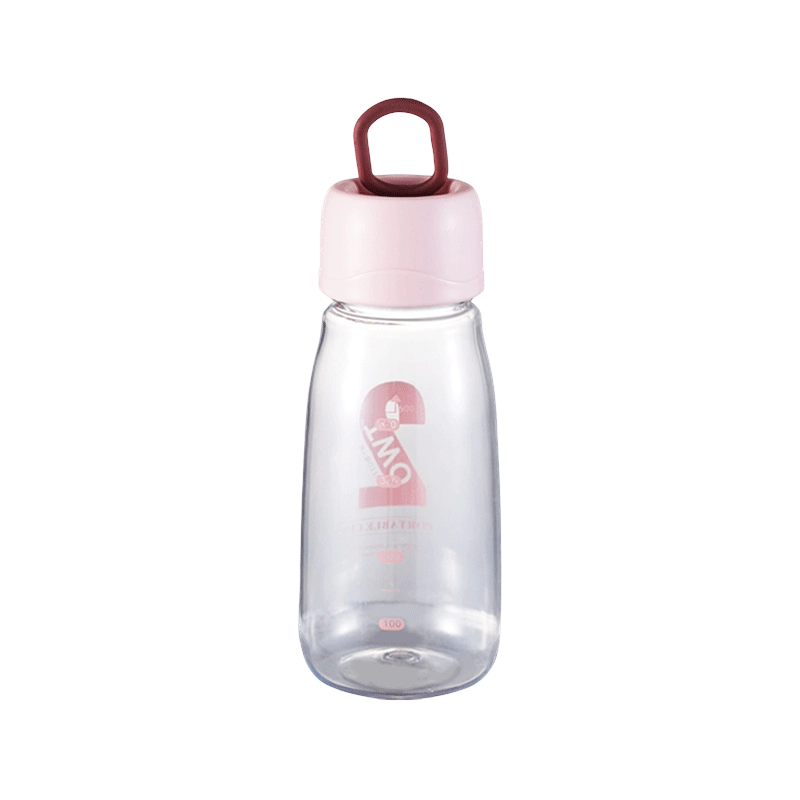
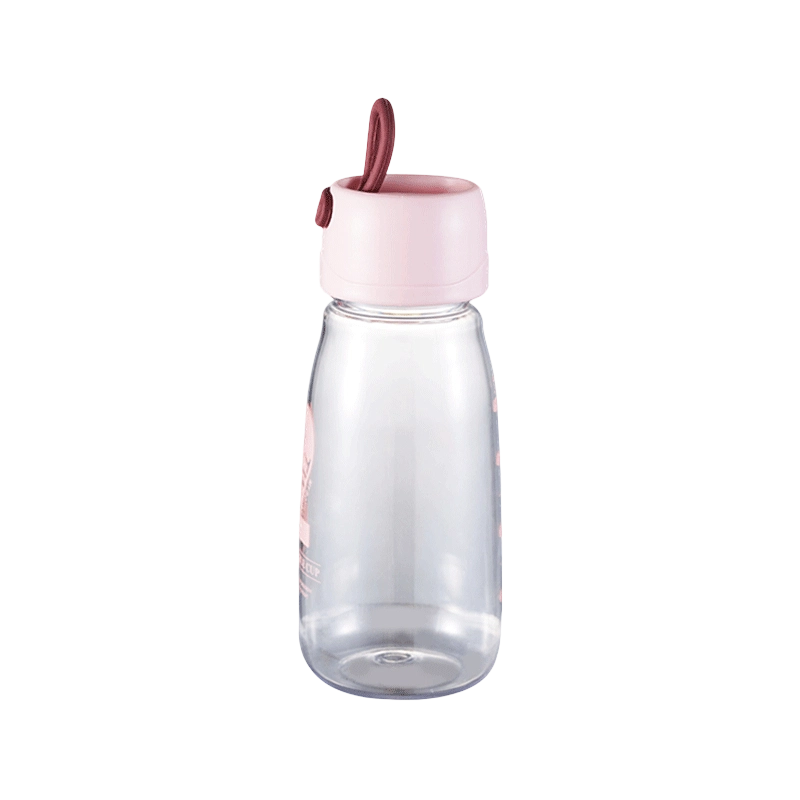
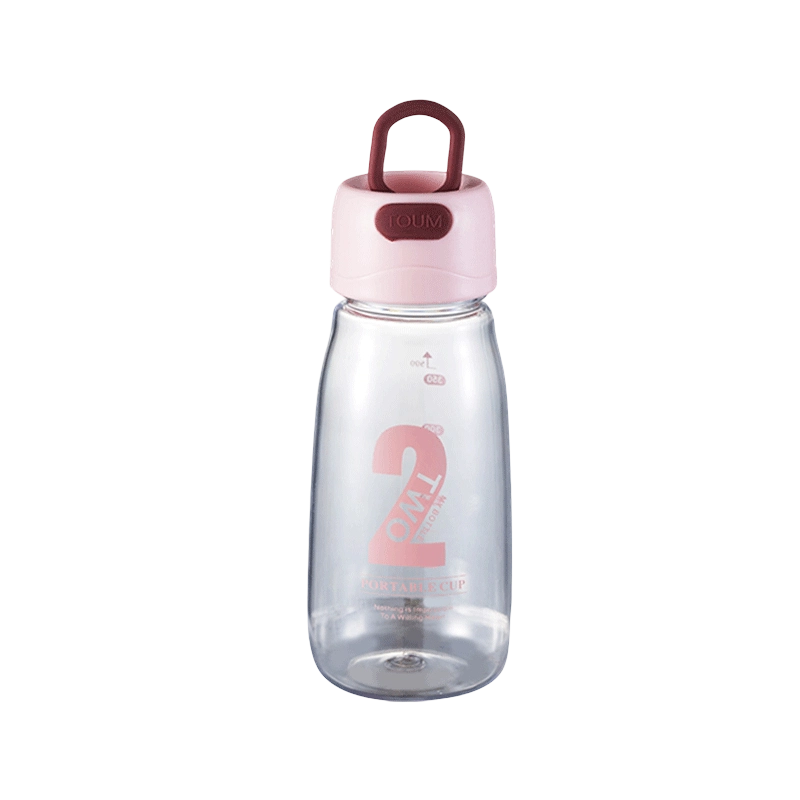
Stylish Measuring Pop-Up Lid Student Plastic Straw Bottle with Handle Loop
Home > Product > Plastic Space Bottle > Plastic Gift Space Bottle > Stylish Measuring Pop-Up Lid Student Plastic Straw Bottle with Handle Loop

Stylish Measuring Pop-Up Lid Student Plastic Straw Bottle with Handle Loop

- Specifications

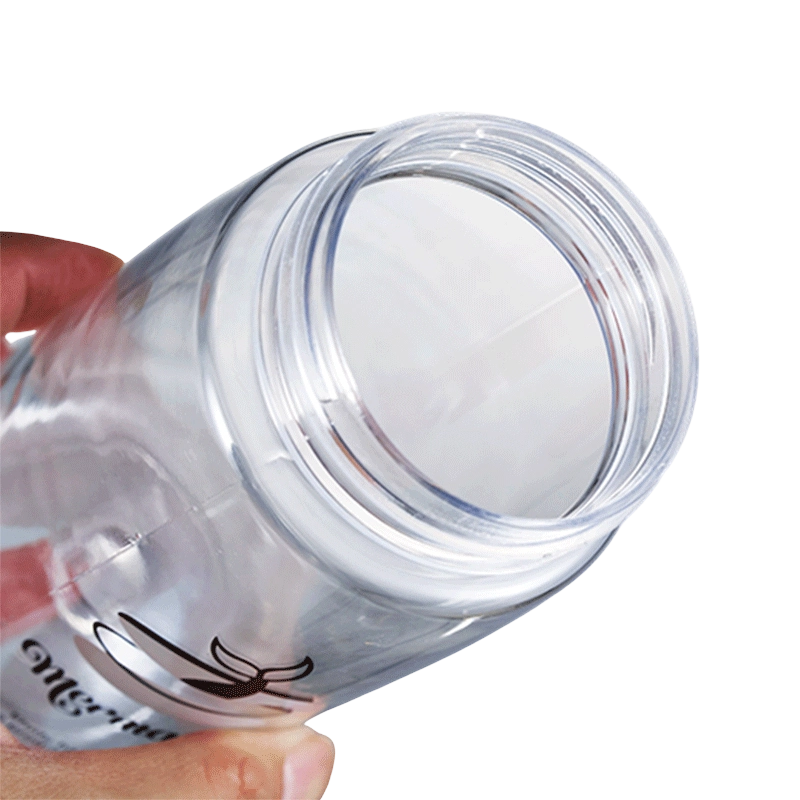
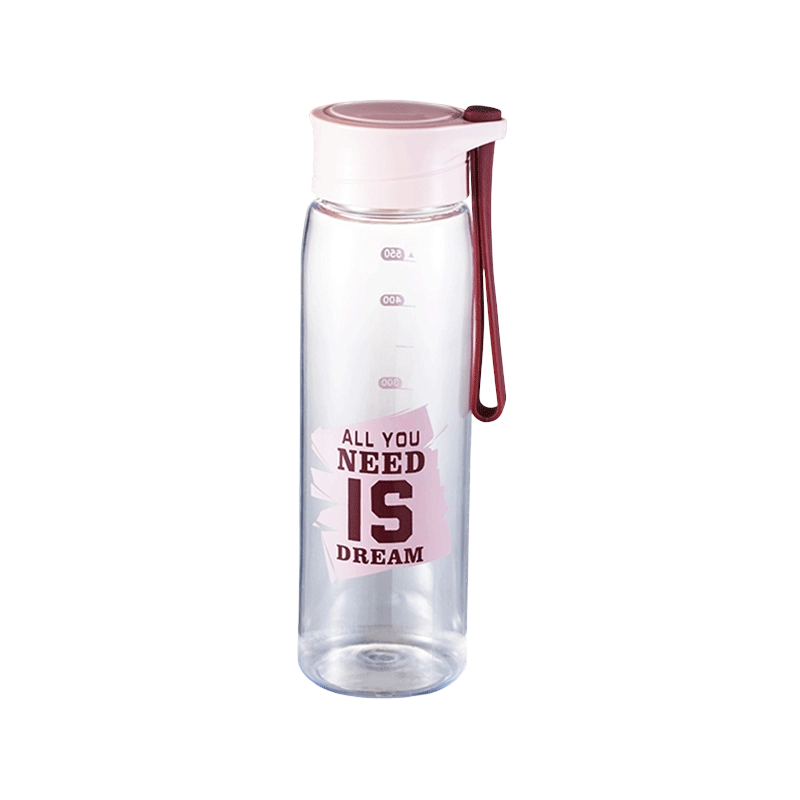
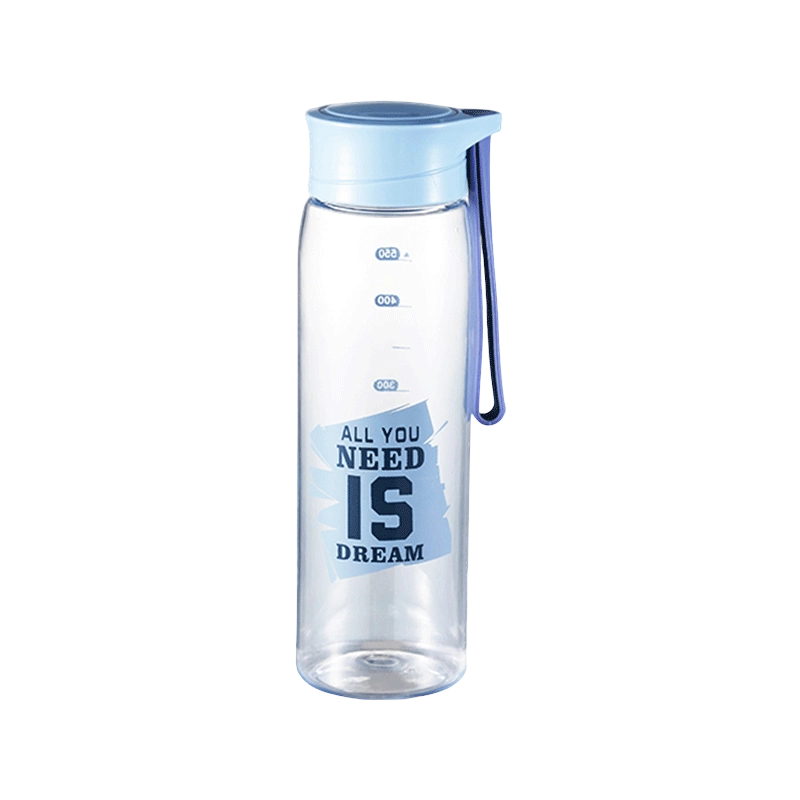
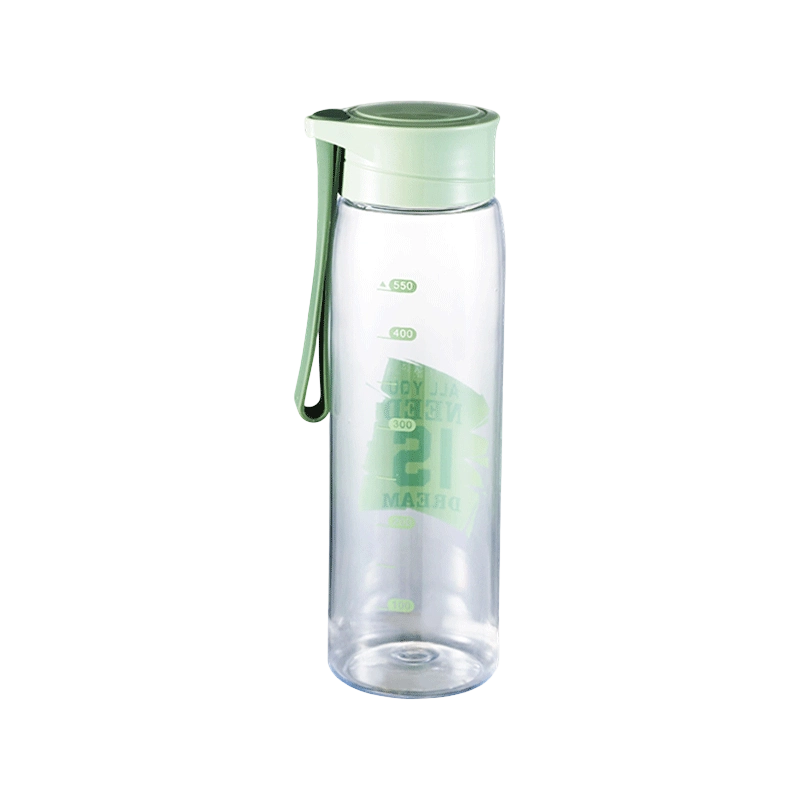
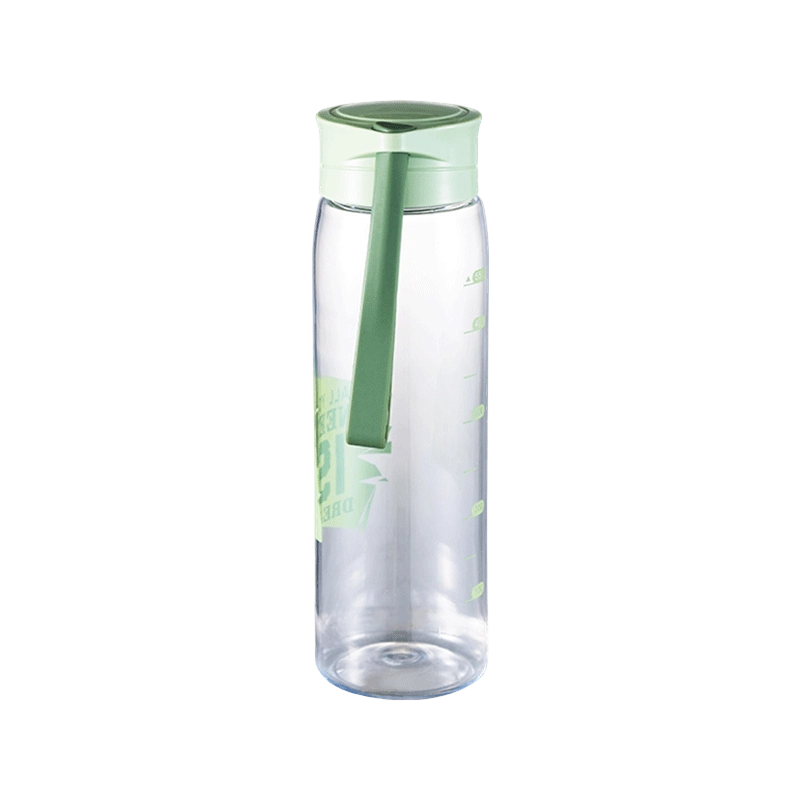
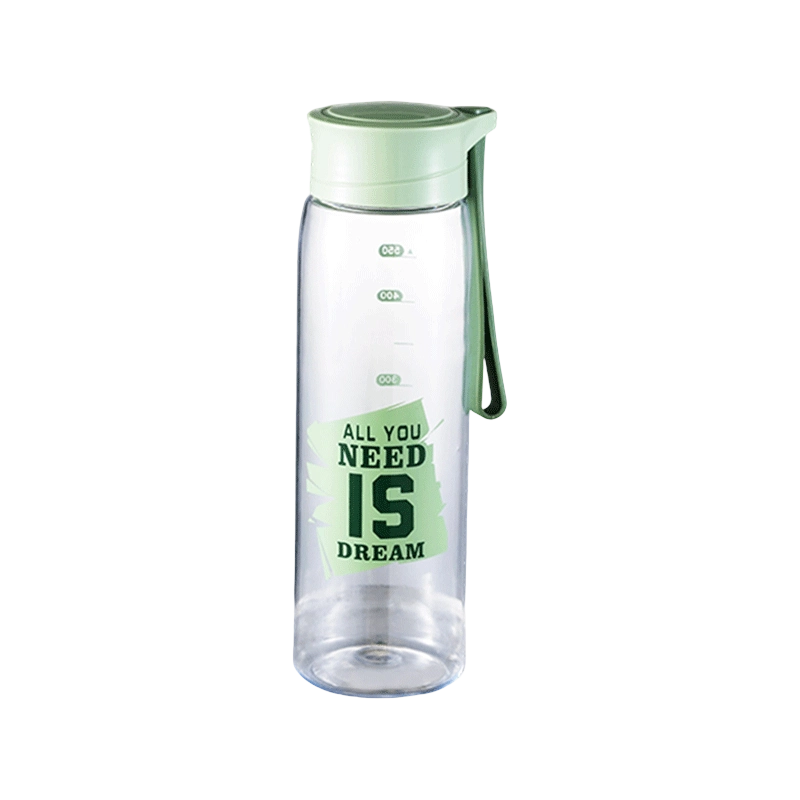
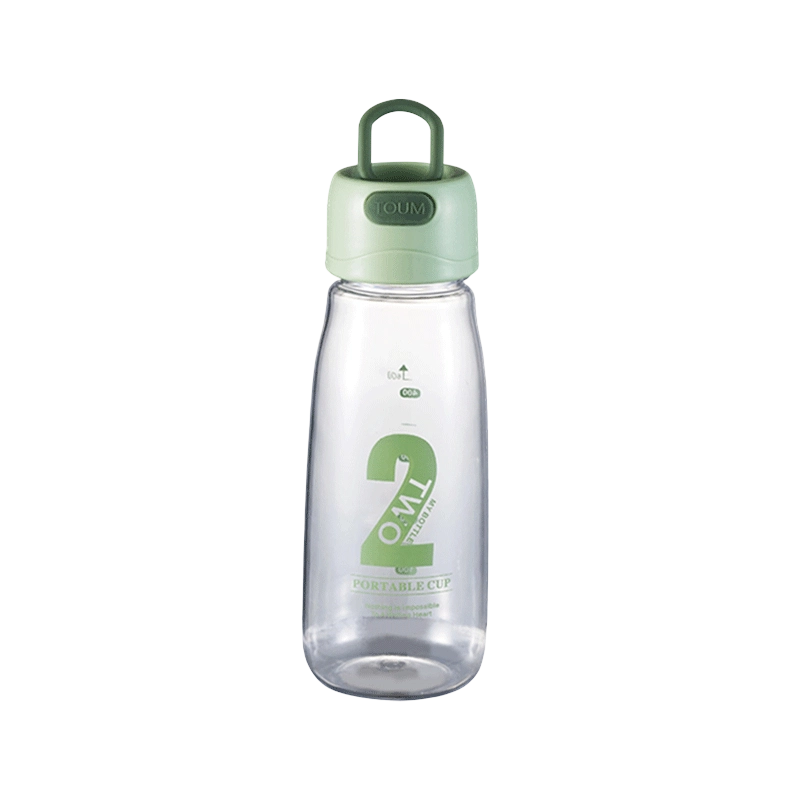
Combining the needs of students, children, and everyday office and outdoor use, this minimalist and cute student tumbler/straw bottle features a simple, space-themed design. It's lightweight, durable, and multifunctional, making it suitable for various life scenarios and highly popular in the market.

Design and Appearance:
The space theme and minimalist color scheme create a stylish and refreshing overall look, perfect for students and young people.
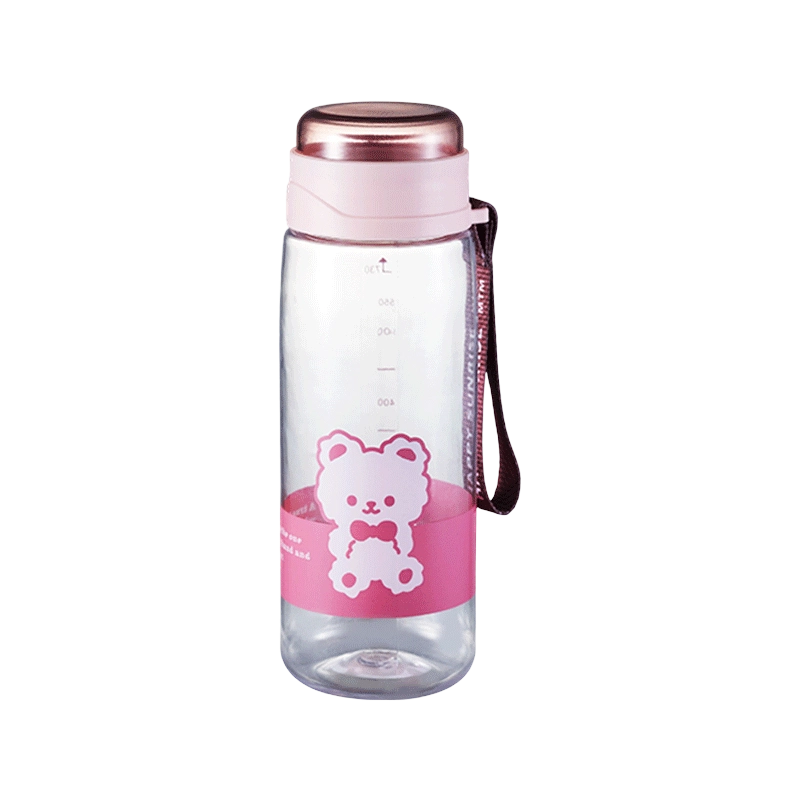
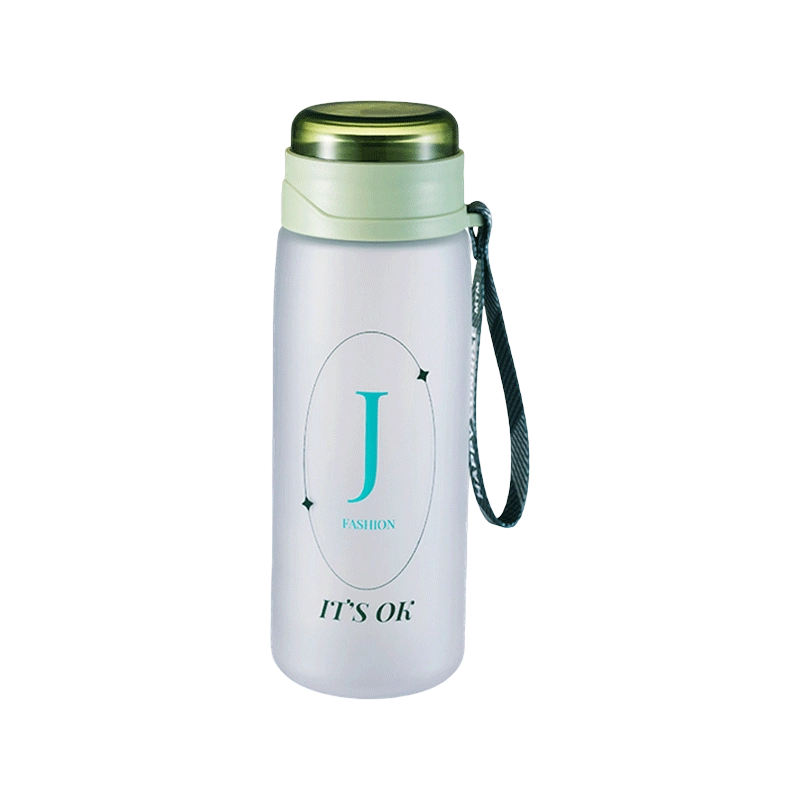
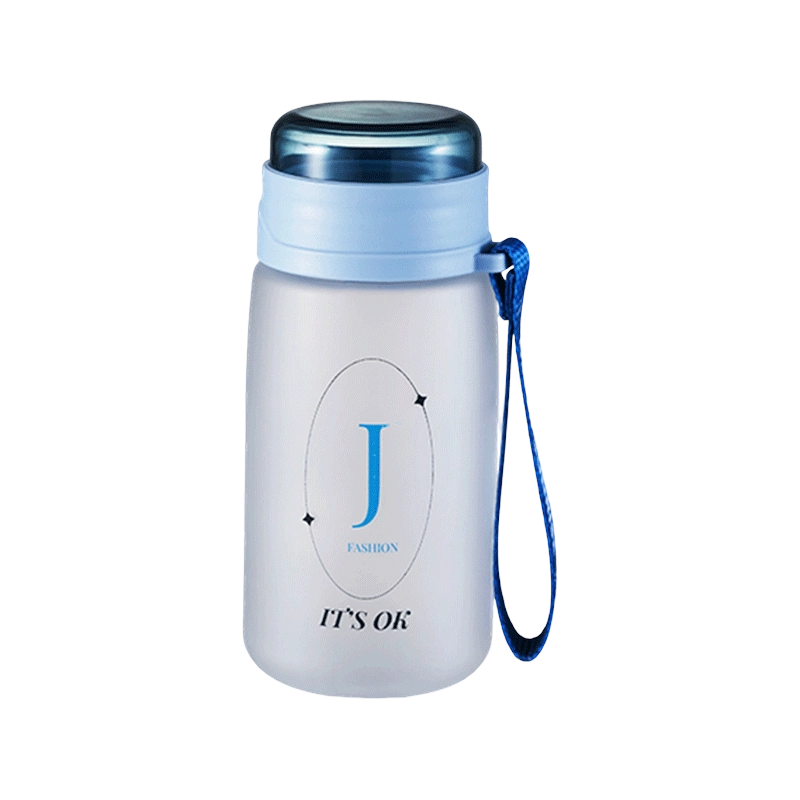
The cup body is available with a high-definition cartoon bear pattern or a minimalist letter design, combining childlike charm with trendy style.
The frosted texture of the cup body is non-slip, wear-resistant, and provides a delicate and comfortable feel.

Materials and Safety:
Made of food-grade, baby-safe plastic, BPA-free.
The cup body is drop-resistant and durable, not easily broken by everyday bumps.
Suitable for both hot and cold drinks, perfect for summer and everyday hydration.

Functional Highlights:
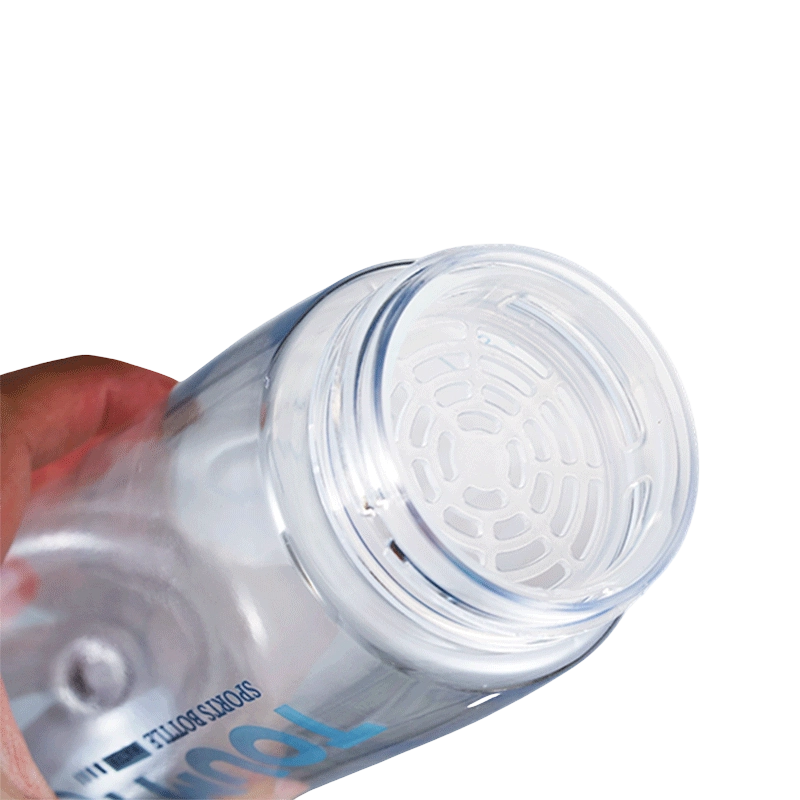
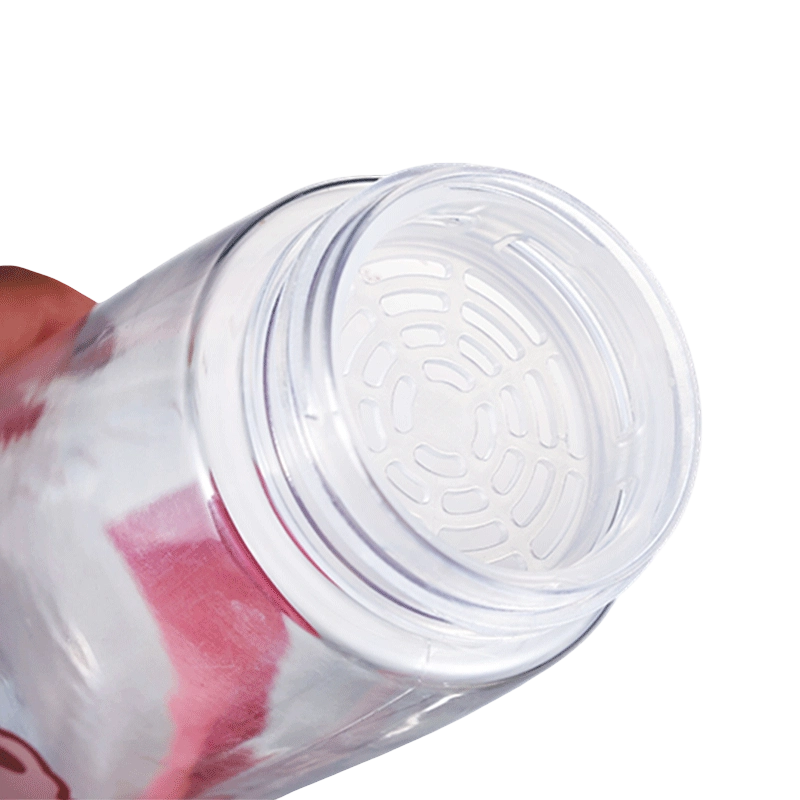
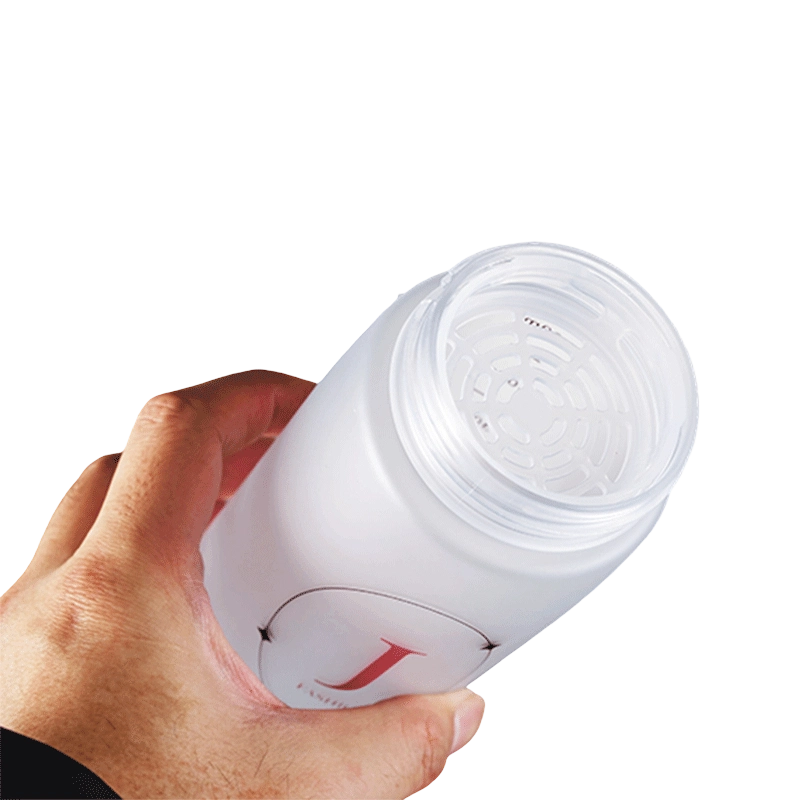
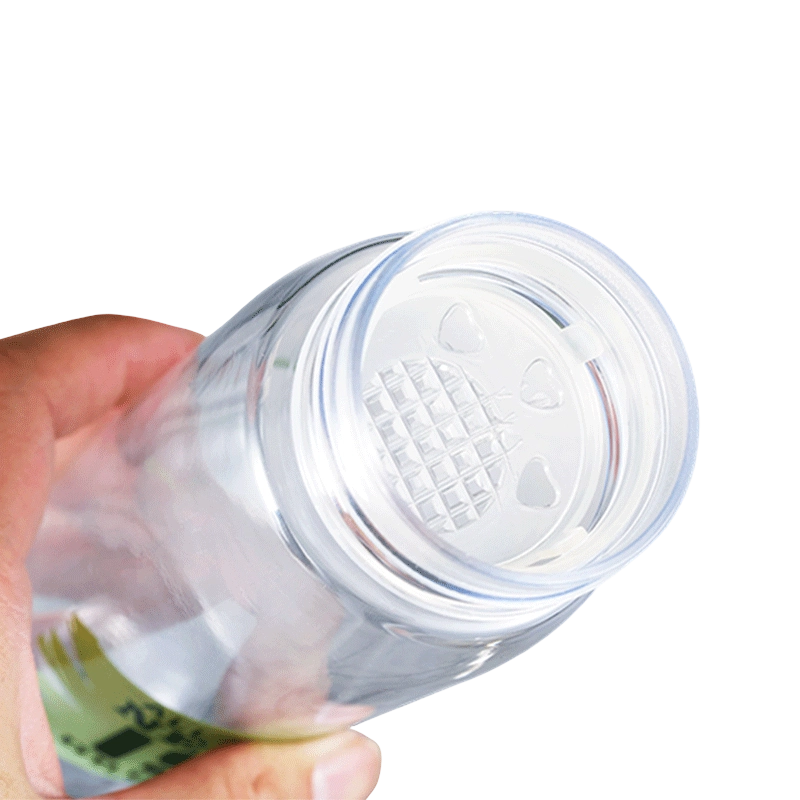
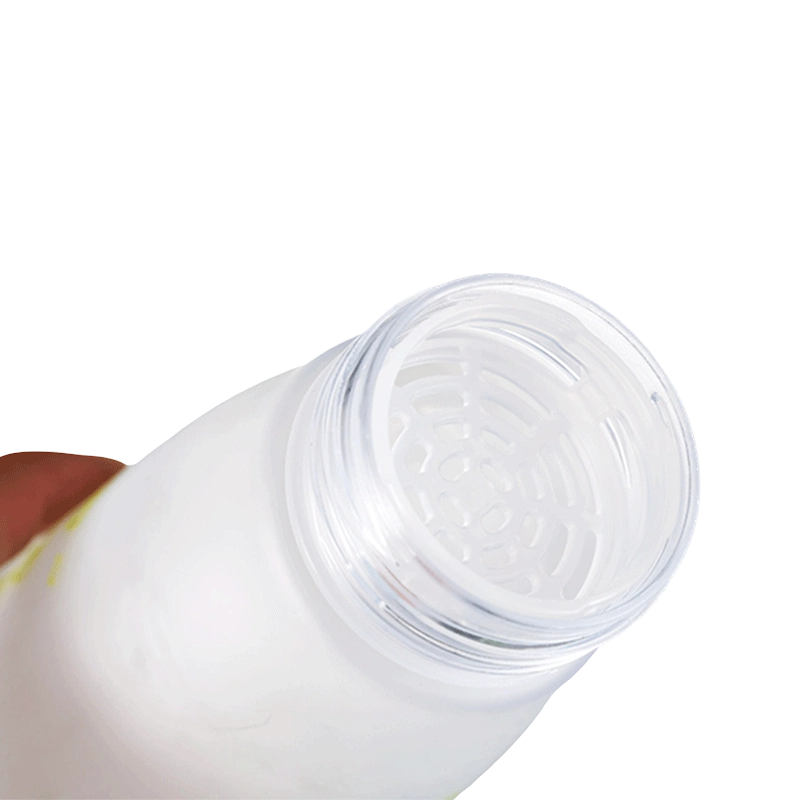
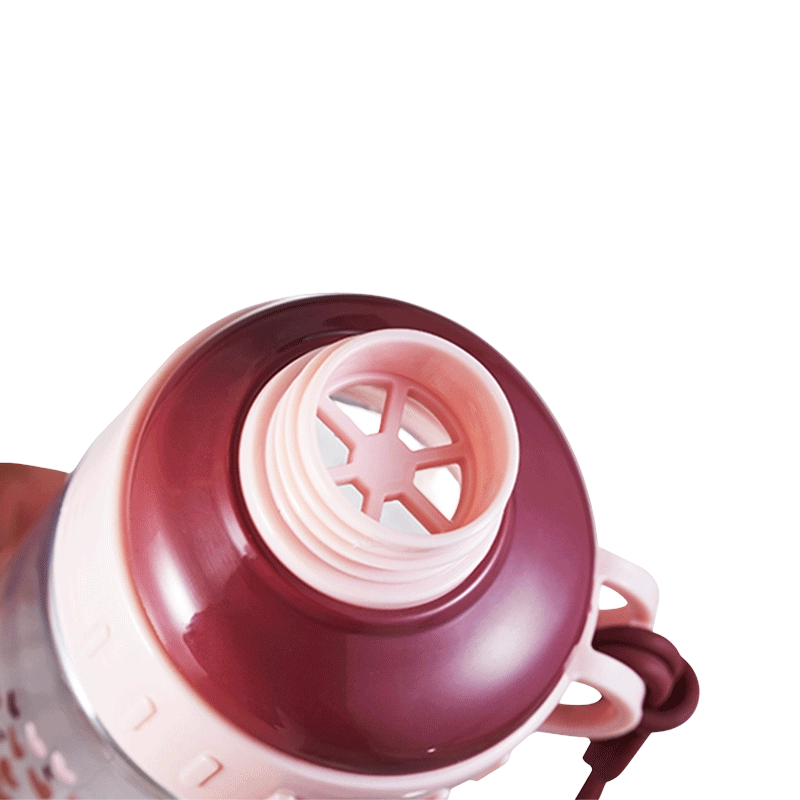
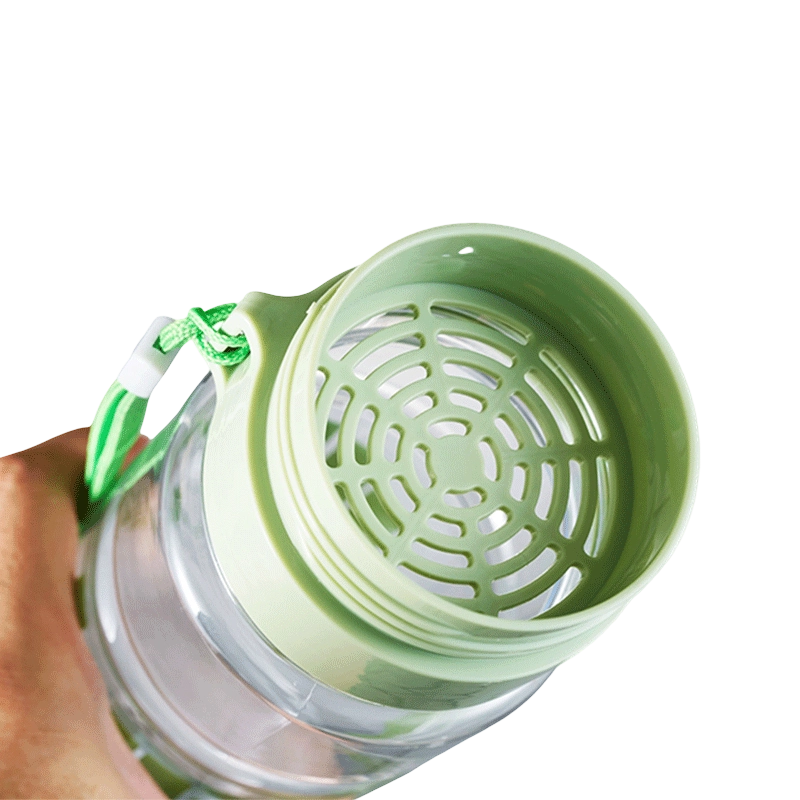
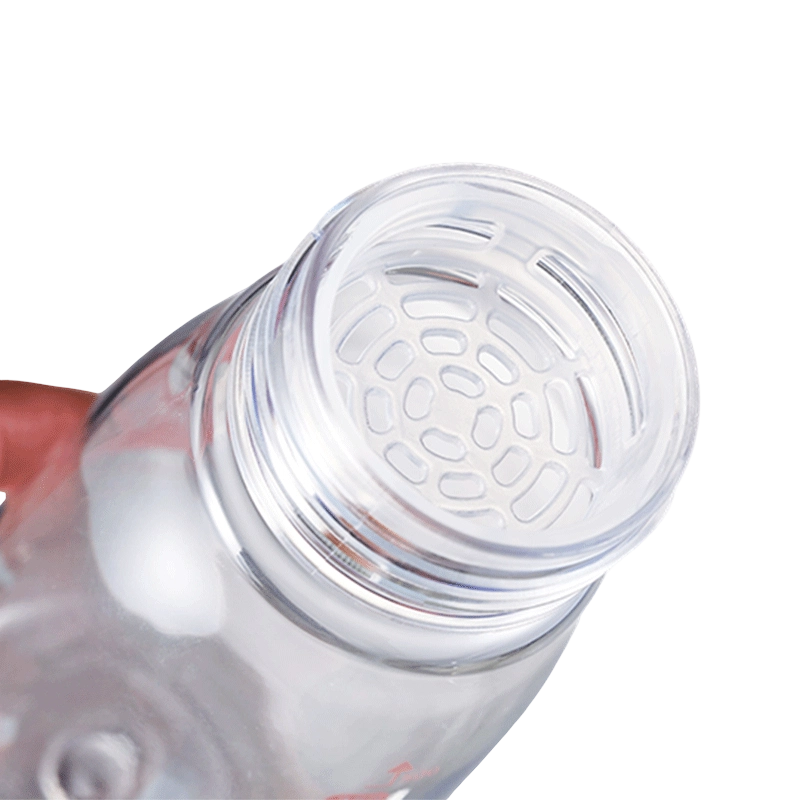
Built-in removable tea/coffee filter for easier and more convenient brewing of tea and fruit drinks.
Dual-use structure with straw or direct drinking options to suit different drinking habits.
Flip-top or screw-on lid design ensures excellent sealing and 100% leak-proof performance, making it worry-free to carry in a backpack.
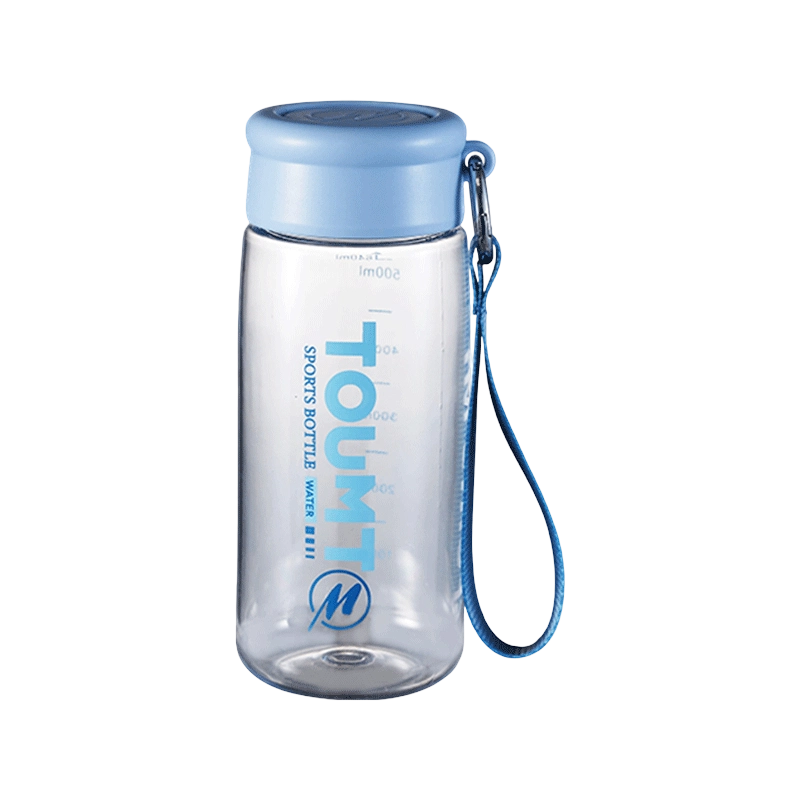
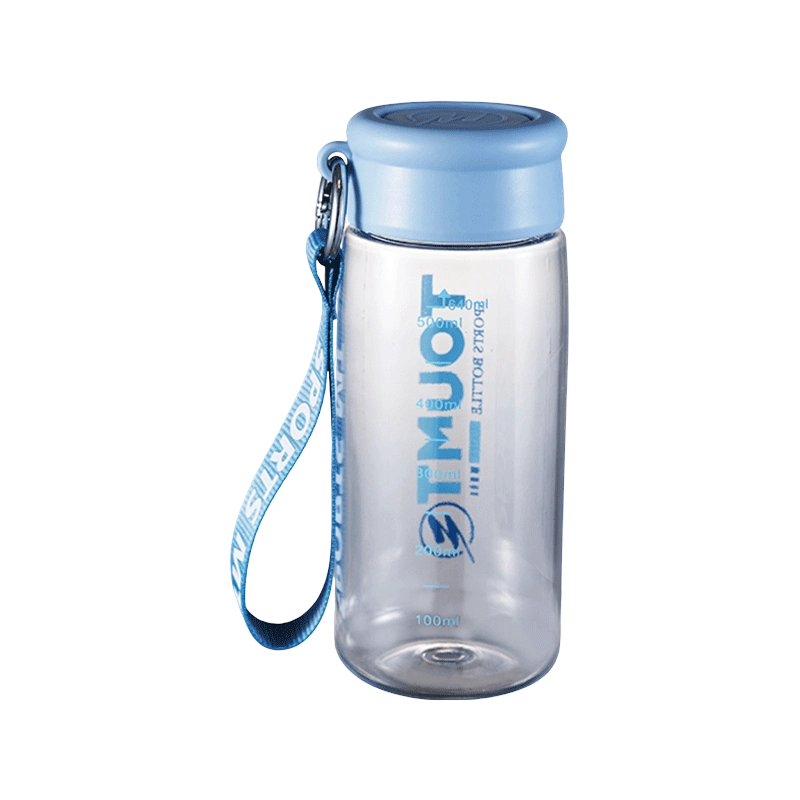
Clear scale markings for easy tracking of daily water intake.

Portability and Usage Scenarios:
Integrated handle or lanyard design on the lid for easy carrying during outings, picnics, and commutes.
Suitable for daily office hydration, school use, outdoor sports, park walks, and home use.
Multiple capacities available to meet the hydration needs of different people.

Customization and Gift Options:
Supports OEM/ODM customization: colors, capacities, patterns, logos, and lid structures can all be adjusted.
Can be paired with custom packaging, suitable as student gifts, promotional giveaways, or brand merchandise.

This is a best-selling summer student multi-functional water bottle that combines appearance, function, and safety, making it both practical and competitive in the market.
Contact Us
- Specifications
ITEM NO. Category CAPACITY QTY MOQ CTN SIZE Gross Weight (KG) Product Dimensions (cm)
1663 Straight cup 520ml 60 300 47*39*34 7.82 16cm*7cm
1665 Straight cup 640ml 60 300 47*39*39 8.6 18.5cm*7cm
1666 Straight cup 730ml 60 300 47*39*44 8.8 21cm*7.5cm
1770 Straight cup 520ml 60 300 47*39*37 7 7.1cm*16.5cm
1771 Straight cup 640ml 60 300 47*39*42 7.81 7.1cm*18.7cm
1772 Straight cup 730ml 60 300 47*39*47 7.89 7.1cm*21.2cm
1775 Straight cup 520ml 60 300 47*39*37 7.08 7.2cm*16.4cm
1776 Straight cup 640ml 60 300 47*39*42 7.9 7.2cm*19cm
1777 Straight cup 730ml 60 300 47*39*47 7.96 7.2cm*21.5cm
1903 Straight cup 520ml 60 300 47*39*37 7.96 6.5cm*16.6cm
1905 Straight cup 640ml 60 300 47*39*42 8.32 6.5cm*19.2cm
1906 Straight cup 730ml 6 30 47*39*47 8.56 6.5cm*22.4cm
1206 Straight cup 500ML 60 300 40*34*44 6.28 21cm*6.5cm
1318 Straight cup 500ml 60 300 46*39*38 6.49 7cm*18cm
1319 Straight cup 600ml 60 300 46*39*43 6.93 7cm*20cm
1375 Straight cup 500ml 60 300 46*39*38 5.34 7cm*17cm
1376 Straight cup 600ml 60 300 46*39*43 5.76 7cm*17.5cm
1150 Straight cup 480ml 60 300 43*36*42 7.32 6.6cm*18cm
1151 Straight cup 550ml 60 300 43*36*47 7.71 6.6cm*20.2cm
1198 Straight cup 550ml 60 300 46*39*42 6.09 7cm*19.5cm
1199 Straight cup 650ml 60 300 46*39*47 6.57 7cm*22cm
1815 Straight cup 830ml 60 300 51*43*48 7.14 8cm*22cm
1816 Straight cup 950ml 60 300 51*43*53 7.86 8cm*24.5cm
1355 Straight cup 480ml 60 300 43*36*39 6.6 6.2cm*17.5cm
1356 Straight cup 550ml 60 300 43*36*42 7.02 6.2cm*19.5cm
1255 Straight cup 950ml 60 300 52*43*48 9.6 8cm*23cm
1256 Straight cup 1100ml 60 300 42*43*53 10.62 8cm*25cm
1297 Straight cup 1400ml 60 300 56*46*59 11.46 8.5cm*28cm
1121 Straight cup 750ml 60 300 50*41*44 8.58
1122 Straight cup 1150ml 60 300 56*46*50 10.29
1123 Straight cup 1500ml 60 300 61*52*58 12.81
1267 Straight cup 780ml 60 300 50*42*47 11.04
1268 Straight cup 1150ml 60 300 55*46*55 9.24
1269 Straight cup 1650ml 60 300 61*5163 11.7
1274 Straight cup 750ml 60 300 49*41*49 7.02 7.4cm*22.6cm
1275 Straight cup 900ml 60 300 49*41*53 7.62 7.5cm*25cm
1276 Straight cup 1000ml 60 300 50.5*41.5*57.5 8.88 7.7cm*27cm
1261 Straw cup 750ml 60 300 48*41*48 7.92 7.4cm*22.5cm
1262 Straw cup 900ml 60 300 49*40*52 8.4 7.4cm*24.4cm
1263 Straw cup 1000ml 60 300 50*41*56 9.6 7.7cm*26.5cm
1257 Straw cup 780ml 60 300 50*42*47 8.52 7.8cm*21.5cm
1258 Straw cup 1150ml 60 300 50*46*54 10.2 8.2cm*25cm
1259 Straw cup 1650ml 60 300 61*51*61 12.54 9cm*29cm
2202 Straight cup 620ml 60 300 47*39*39 4.86
2203 Straight cup 720ml 60 300 51*42*41 5.04 8.5*20cm
2204 Straight cup 950ml 60 300 55*46*46 5.52 9*22cm
Our Company
Taizhou Huangyan Zuohao Plastic Factory.

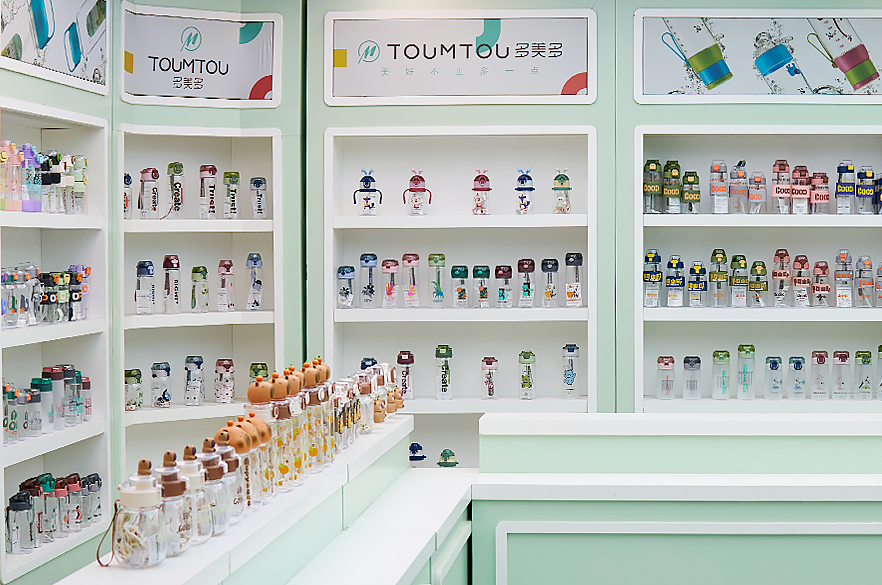
Taizhou Huangyan Zuohao Plastic Factory is a professional plastic water bottle manufacturer with over ten years of industry experience.  We also own an import/export company: Taizhou Huangyan Duomeiduo Import & Export Co., Ltd. We have a 4,000-square-meter production base and more than 100 skilled employees. We adhere to strict quality control standards to ensure that our products achieve superior quality at every stage. We are committed to continuous new product development every year, winning market share with innovative and forward-looking designs, while providing fully customized solutions to meet the diverse needs of our customers.

Latest News
  • Nov 20, 26
    Why Are Measurement Markings Valuable in Gym Plastic Water Bottle Development?
    For people who train regularly, a water bottle is often used for more than carrying a drink. Some users keep track of how much water they consume during a workout, while others use the bottle to mix protein powder or sports drinks. Measurement markings make these tasks easier without requiring a separate measuring cup. For manufacturers, adding a graduated scale is a relatively simple way to give a Gym Plastic Water Bottle more practical value. The challenge is getting the details right: the numbers must be easy to read, the volume positions must be accurate, and the markings need to survive repeated washing and handling. Make Daily Water Intake Easier to Track A bottle with visible volume markings lets users check how much water remains and estimate how much they have consumed. For example, markings at 250 ml intervals give a quick reference during training without the need to measure every refill separately. This is useful for gym members, athletes and people who carry a bottle throughout the working day. Larger bottles can also use wider graduation intervals to avoid crowding the scale, while smaller bottles may benefit from closer markings. It is worth keeping the purpose of the scale clear. These graduations help users estimate their intake; they are not a substitute for individual hydration advice. Make Mixing Drinks More Convenient Protein shakes, electrolyte drinks and powdered supplements often require a particular amount of water. A graduated bottle gives users a convenient way to estimate the liquid volume before adding the powder. The scale should use clearly labeled units. Milliliters are common in many markets, while fluid ounces are useful for products sold in the United States and other regions that use imperial measurements. Manufacturers also need to be realistic about accuracy. A regular sports bottle is not a precision measuring container. The graduations should be checked against actual liquid volumes, and the product should not claim a level of precision that its shape and manufacturing tolerances cannot support. Select a Marking Method That Can Withstand Regular Use The way graduations are applied affects their appearance, durability and production cost. Molded markings are formed as part of the bottle, while printed scales offer more freedom in color and layout. Marking method Main advantages Potential limitations Molded-in markings Durable and not easily rubbed off Requires appropriate mold design and tooling Screen printing Clear graphics and flexible color choices May wear with repeated washing Heat-transfer printing Suitable for detailed decorative designs Adhesion and wash resistance need testing Applied labels Convenient for small design changes Can peel or deteriorate during cleaning For bottles intended for frequent gym use, durability deserves particular attention. Molded graduations avoid the problem of printed ink wearing away, although they offer less freedom in appearance. Printed scales are easier to customize but need to be tested after repeated washing and abrasion. Match the Plastic and Marking Colors The bottle material affects how clearly users can see both the liquid level and the printed scale. Tritan copolyester is often used for transparent reusable bottles where visibility and impact resistance are important. PP is another option for lightweight bottle designs, while PE is used in some flexible squeeze bottles. The best choice depends on the bottle's construction, intended use and temperature requirements. Transparent walls make it easier to judge the liquid level directly. For colored or translucent bottles, the scale needs enough contrast to remain visible. Pigments, inks and other marking materials should also meet applicable requirements for their intended use. This is particularly important when the markings are located on surfaces that may come into contact with drinking liquid. Keep the Scale Simple and Readable A bottle covered in numbers, lines and decorative graphics can be difficult to read. Users should be able to find the volume they need without turning the bottle repeatedly. A few design details make a noticeable difference: Use consistent spacing between graduation marks. Make major volume values larger or more prominent. Choose colors that contrast with the bottle material. Position the scale where hands and handles are unlikely to cover it. Include both ml and fl oz where the target market requires them. The scale should also fit the bottle's overall appearance. Decorative graphics and branding are useful, but they should not compete with the measurement numbers. Check Graduation Accuracy During Production Placing markings at equal vertical intervals does not always produce equal volume intervals. A bottle with curved or tapered walls may hold different amounts of liquid at different heights. Manufacturers need to calculate graduation positions using the bottle's internal shape, then verify them with actual liquid measurements. A typical validation process includes: Set the required volume range and graduation intervals. Calculate the corresponding positions inside the bottle. Produce samples with the proposed scale. Fill them with measured quantities of water. Compare the liquid levels with the markings. Set acceptable tolerances for production inspection. This check is especially important when changing bottle dimensions or mold designs. Even a small change to the internal profile can affect where a particular volume sits. Test Whether the Markings Last Gym bottles are carried in bags, washed frequently and handled throughout the day. Printed graduations that look good on a new sample may become faint after repeated use. Test What it checks Repeated washing Resistance to detergents and cleaning cycles Abrasion Wear caused by rubbing and handling Temperature exposure Changes after specified heating or cooling conditions Adhesion Whether printed markings remain attached Volume verification Accuracy of the graduation positions Impact testing Structural condition of the bottle and its markings after handling Testing should follow the product's intended care instructions. For example, dishwasher compatibility should only be claimed after the complete bottle has been tested under the specified washing conditions. Offer More Options for OEM Customers Graduated scales give OEM buyers room to customize a bottle without changing its basic structure. Options can include different measurement intervals, colors, unit systems and logo placement. Some customers may also request time-based hydration prompts alongside volume markings. These should be arranged carefully so that the scale remains easy to understand. Before mass production, buyers should review physical samples and check the graduation accuracy, readability and resistance to washing. A measurement scale may look like a minor detail, but poorly positioned numbers or markings that fade quickly can undermine an otherwise good bottle. For manufacturers, getting the volume layout, material and marking process right makes the Gym Plastic Water Bottle more useful in everyday training and gives OEM customers another practical way to distinguish their products.
    READ MORE
  • Nov 16, 26
    How Can Manufacturers Prevent Mold and Bacteria Buildup in Straw Plastic Water Bottle Systems?
    Straw-equipped water bottles are convenient, but their design can make cleaning more difficult than it looks. Liquid often remains inside the straw after drinking, while small amounts of residue can collect around silicone mouthpieces, valves and lid connections. When these parts stay damp between uses, they can become places where mold and bacteria grow. For manufacturers, this problem starts long before a bottle reaches the customer. The shape of the straw, the way components connect and the materials used all affect how easily the bottle can be cleaned. A hygienic Straw Plastic Water Bottle should be designed so that users can reach the parts that come into contact with beverages, wash them properly and let them dry. Identify the Areas Where Residue Gets Trapped Not every part of a straw bottle is equally easy to clean. The open surfaces of the bottle body are usually accessible, but narrow passages and small connections can retain liquid. Common trouble spots include: Straw interiors: Small amounts of water or beverage can remain inside after use. Lid connections: Gaps around the straw opening may collect liquid and residue. Silicone mouthpieces: Folds and valve structures can be difficult to clean thoroughly. Threaded joints: Liquid may collect between the lid and bottle body. Sealing rings: Deep grooves can hold moisture and beverage deposits. These areas deserve attention during product development. Simply rinsing the bottle may not remove residue from narrow tubes or concealed joints. If moisture and organic matter remain for long periods, microbial growth becomes more likely. Make the Straw and Lid Components Removable A bottle with a permanently assembled straw system can be frustrating to clean. Users may rinse the bottle body regularly while overlooking the inside of the straw or the underside of the mouthpiece. Detachable components make these areas easier to reach. Manufacturers can consider removable straws, separate silicone mouthpieces, accessible valve assemblies and sealing rings that can be taken out for washing. There is a balance to maintain, however. Parts should come apart without excessive force but remain firmly connected during normal drinking. Loose fittings can cause leaks or allow components to detach unexpectedly. It also helps to consider how consumers will clean the parts. A straw with an opening too narrow for commonly available cleaning brushes may still be difficult to maintain, even if it can be removed from the lid. Choose Materials That Tolerate Repeated Washing The materials used in a straw bottle need to withstand regular contact with beverages and cleaning products. Polypropylene (PP), polyethylene (PE) and other food-contact polymers are commonly used for bottle components. Silicone is often selected for flexible mouthpieces, valves and seals. Manufacturers should check more than food-contact suitability when selecting these materials. Chemical resistance: The material should tolerate the detergents recommended for cleaning. Surface durability: Repeated washing should not cause excessive scratching, cracking or deterioration. Temperature resistance: Components must withstand the stated washing conditions. Material compliance: Polymers, pigments and additives should meet applicable food-contact requirements. Food-grade material does not automatically prevent mold or bacterial growth. Scratched surfaces, inaccessible joints and poor drying conditions can still create hygiene problems. Material selection needs to be considered alongside the actual product design. Avoid Complicated Internal Structures Straw geometry has a direct effect on cleaning. Long, narrow passages and unnecessary bends make it harder to remove residue with a brush. Small cavities around valves and connectors can create similar problems. During design, manufacturers should look for ways to simplify the internal structure. A suitable straw diameter, fewer sharp transitions and accessible connections can make routine cleaning easier. Smooth internal surfaces also help, while molding defects, excess plastic and rough edges may create places where residue collects. Design teams should physically disassemble and clean prototypes before approving the structure. A component may look easy to clean in a 3D drawing but prove awkward to reach once assembled. Design Features That Make Cleaning Easier Design feature Hygiene benefit What manufacturers should check Removable straw Gives access to the entire straw interior Connection strength and ease of removal Detachable silicone valve Allows residue to be cleaned from hidden areas Avoid complicated folds and gaps Smooth internal surfaces Reduces places where deposits can collect Control molding quality and surface finish Accessible sealing rings Makes cleaning around seals easier Keep grooves simple and easy to reinstall Brush-compatible straw Allows cleaning along the full tube Balance diameter with drinking comfort Dishwasher-compatible parts Provides another cleaning option Verify temperature and detergent resistance No single feature can guarantee a mold-free bottle. The complete assembly needs to be considered, including the areas where separate components meet. Test How Well the Bottle Can Actually Be Cleaned Material tests alone cannot show whether a finished bottle is easy to keep clean. Manufacturers should test the assembled product using representative beverages and realistic cleaning routines. A practical evaluation can include residue removal tests, repeated washing cycles, leakage checks and inspections of the straw, mouthpiece and valve after use. Where microbiological performance is being assessed, appropriate laboratory testing should be carried out under controlled conditions. Test records should specify the beverage, contact time, cleaning method and washing temperature. This makes it easier to compare different designs and identify components that need to be changed. Repeated washing tests are particularly useful. They can reveal whether silicone parts become damaged, seals lose their fit or plastic surfaces deteriorate after regular cleaning. Keep Manufacturing and Assembly Clean Even an easy-to-clean design can have hygiene problems if components are contaminated during production or packed before they are properly cleaned. Manufacturing inspections should cover incoming materials, injection-molded parts, component cleaning and final assembly. Particular attention should be paid to flash, rough edges, residue around connectors and defects on beverage-contact surfaces. For larger production runs, manufacturers should retain batch records and establish clear inspection procedures. If a problem appears in finished bottles, traceability makes it easier to investigate whether it came from a material batch, molding process or assembly stage. Give Consumers Practical Cleaning Instructions The bottle's design can make cleaning easier, but everyday care still matters. Manufacturers should explain which parts can be removed, how to clean the straw and whether the components are suitable for dishwasher use. Instructions should cover washing with suitable detergent, using an appropriately sized brush for internal passages, rinsing thoroughly and allowing all parts to dry completely before reassembly. Damaged or deteriorated mouthpieces, valves and seals should be replaced rather than continued in use. Dishwasher instructions also need to be specific. Not every plastic or silicone component can tolerate the same washing temperature, so consumers should follow the limits stated for the product. Design Hygiene Into the Bottle From the Start Mold and bacterial buildup in straw bottles is often associated with the places users find hardest to clean: narrow tubes, valve assemblies and concealed lid connections. Making these parts accessible, choosing durable materials and avoiding unnecessary cavities can reduce many of the practical cleaning difficulties. For manufacturers, prototype cleaning trials are worth carrying out before tooling and mass production are finalized. They reveal whether consumers can actually reach and wash the internal components, rather than simply assuming that a detachable design will be easy to maintain.
    READ MORE
  • Nov 13, 26
    What Should Manufacturers Test Before Mass Producing Plastic Sport Water Bottle Products?
    A sport water bottle leads a rough life. It gets shoved into backpacks, dropped on gym floors, left in hot cars, and washed more times than anyone bothers to count. So before a manufacturer jumps from prototype to full-scale production, there's a long list of things that need proving. Looks don't matter much if the cap leaks or the plastic cracks after a month. Testing is how you catch design flaws while they're still cheap to fix—not after thousands of units have shipped. For B2B buyers, understanding these quality checks makes supplier evaluation a whole lot easier. It also gives you a solid basis for setting product specifications. Verify Raw Material Quality and Food Contact Safety Start with the plastic. Sports bottles typically use Tritan copolyester, polypropylene (PP), polyethylene (PE), or PET. Each material behaves differently, so what works depends on how the bottle will be used, what temperatures it'll face, and how it's designed. Manufacturers need to verify raw material specs and pull together the relevant food-contact compliance documents. Testing might cover overall migration and specific migration under conditions that mirror actual use. Don't overlook lids, straws, silicone seals, and printed decorations—they often use different materials and come with their own compliance requirements. A BPA-free label isn't proof of complete food-contact safety. Assess the actual formulation and finished product against the regulations that apply in your target market. One claim on a spec sheet doesn't tell the whole story. Test Bottle Strength and Impact Resistance Sports bottles get carried in backpacks, gym bags, outdoor gear. Drops happen. Repeated handling takes a toll. Cracks, deformation, damage around the neck—all common. Impact testing shows how the product handles mechanical stress. Run samples from defined heights and orientations, then inspect the body, base, cap, and connection points. Compression testing reveals whether a bottle keeps its shape under external pressure—useful for products stuffed into tight bags or packed into bulk cartons. Document the test conditions so results can be compared across batches. Evaluate Leakage and Lid Sealing Performance Leakage is the problem you want to catch before mass production, not after. Even a structurally sound bottle fails if the cap, gasket, or spout is poorly designed. Checks worth running: Inversion testing: Fill, close per instructions, place upside down for a set period. Pressure testing: See whether the sealed container handles specified internal pressure. Repeated opening tests: Check threads, hinges, locking mechanisms after repeated use. Seal inspection: Look at silicone rings and other sealing parts for deformation or wrong positioning. Test different orientations and realistic usage conditions. Flip-top lids, push-pull spouts, integrated straws—they may need additional functional checks. Assess Temperature Resistance and Repeated Washing Performance A Plastic Sport Water Bottle might see warm beverages, cold storage, frequent cleaning. Set temperature limits based on the chosen plastic grade and product design. Temperature testing can reveal deformation, dimensional changes, discoloration, reduced sealing performance. Thermal cycling exposes weaknesses from repeated temperature swings. Cleaning tests matter for reusable bottles. Evaluate whether repeated washing affects surface, transparency, printed graphics, component fit. Only claim dishwasher compatibility after the finished product has been tested under the specified conditions. Not every plastic or decorative finish survives high-temperature cleaning—some fade, some warp, some just give up. Compare Essential Quality Tests Before Mass Production Test category Main purpose Common defects identified Food-contact testing Verify material compliance Excessive chemical migration Impact testing Assess drop resistance Cracks and breakage Compression testing Evaluate structural strength Deformation Leakage testing Check sealing performance Dripping and cap leakage Temperature testing Assess heat and cold resistance Warping and dimensional changes Washing tests Evaluate repeated cleaning performance Fading and surface deterioration Dimensional inspection Verify manufacturing accuracy Incorrect fit and inconsistent capacity Print adhesion testing Check decorative durability Peeling and fading Set testing frequency and acceptance criteria according to product risk, customer specs, and applicable standards. There's no universal formula—context decides. Inspect Printing, Appearance, and Assembly Quality Sports bottles often carry logos, measurement markings, color combinations, promotional graphics. These details shape brand presentation, especially for OEM and private-label orders. Inspect print alignment, color consistency, surface finish, adhesion. Decoration should survive normal handling and the cleaning conditions specified for the product. Assembly inspection covers cap alignment, thread engagement, straw positioning, gasket placement, moving components. Automated production improves consistency, but regular sampling and final inspection still matter. Machines drift. Samples don't lie. Conduct Pilot Production Before Approving Bulk Orders Prototype testing can't fully represent the variation that shows up in mass production. A pilot run lets you evaluate actual molding conditions, assembly efficiency, batch consistency. During this stage, quality teams should inspect samples from different production points. Record defect rates, dimensional measurements, leakage results, material batch info. Fix recurring problems before ramping up capacity—corrective actions might involve mold adjustments, material changes, process parameter tweaks, or assembly improvements. Suppliers should also keep inspection records and traceability procedures so quality issues can be investigated without chasing ghosts. Establish Reliable Quality Standards for Sports Bottle Production Successful mass production comes down to material verification, functional testing, and manufacturing process control. Set clear acceptance criteria before production begins. Keep records for each inspection stage. For B2B buyers, reviewing test reports, approved samples, and quality management procedures gives you a practical way to judge supplier capabilities. A well-tested Plastic Sport Water Bottle is more likely to perform consistently across large orders and survive whatever customers throw at it—literally and figuratively.
    READ MORE
  • Nov 09, 26
    How to Choose Suitable Plastic Materials for Cartoon Plastic Water Bottle Manufacturing?
    Cartoon water bottles sell because kids, students, and families like the characters and colors. For manufacturers, though, a cute design is only half the story. Material safety, durability, chemical compliance, and how easy the bottle is to clean—those matter just as much. Pick the wrong plastic and you've got a product that looks great but causes problems down the line. Choosing the right material helps ensure a Cartoon Plastic Water Bottle actually suits its intended use. Buyers and manufacturers need to understand the differences between common food-contact plastics and verify that finished products meet the regulations of their target markets. Why Material Selection Matters for Children's Water Bottles Children's bottles get dropped, handled roughly, exposed to temperature swings, washed repeatedly. The material has to hold its structural integrity without creating avoidable food-contact risks. Important selection factors: Food-contact safety: Materials must comply with applicable regulations for contact with drinking water. Impact resistance: The bottle should tolerate normal handling and accidental drops. Temperature resistance: Material properties must match the intended filling and cleaning conditions. Chemical stability: Materials should be evaluated for migration of substances into beverages. Cleaning performance: Smooth surfaces and suitable designs help reduce residue accumulation. Manufacturers should assess the complete product—lid, straw, seals, printing inks, decorative coatings. A safe bottle body doesn't automatically make every assembled component suitable for food contact. Compare Common Plastic Materials Used in Water Bottles Several plastics are used in reusable and disposable beverage containers. Suitability depends on application, formulation, processing conditions, and compliance documentation. Plastic material Main characteristics Typical considerations Tritan copolyester Clear, lightweight, and impact-resistant Verify specific food-contact compliance Polypropylene (PP) Lightweight and good chemical resistance Temperature limits depend on grade Polyethylene (PE) Flexible and resistant to many chemicals Often used in bottle components Polycarbonate (PC) Strong, transparent, and rigid Some grades raise BPA-related concerns PET Clear and lightweight Common in single-use beverage packaging Tritan copolyester often gets picked for reusable bottles because of its clarity and impact resistance. Still, buyers should request documentation for the exact grade and finished application. Polypropylene (PP) is another common option. Lightweight, suitable for certain reusable bottle components, caps, straws. Heat resistance varies according to formulation and manufacturing specs. Polyethylene (PE) comes in different grades—HDPE and LDPE. HDPE is common in beverage containers. LDPE is more flexible and may show up in selected components. PET is widely used in beverage packaging, particularly single-use bottles. Its suitability for repeated use depends on product design and manufacturer instructions. Understand BPA and Other Chemical Safety Concerns Bisphenol A (BPA) has drawn plenty of attention because of its use in certain polycarbonate plastics and epoxy resins. Manufacturers targeting children's products should carefully evaluate BPA-related requirements in their destination markets. But a BPA-free claim alone doesn't establish that a bottle is completely safe. Other substances—additives, colorants, stabilizers, processing residues—may also need evaluation. Food-contact testing should consider actual use conditions: beverage type, contact duration, temperature. Migration testing helps determine whether regulated substances transfer from materials into beverages under specified conditions. Manufacturers should obtain material declarations and relevant lab reports for the exact plastic grades used in production. Check the Safety of Cartoon Printing and Decorative Components Cartoon graphics are a major selling point, especially for children's products. Designs may be created through screen printing, heat transfer, in-mold decoration, or other methods. The printing process shouldn't compromise food-contact safety. Inks and coatings should be appropriate for their intended location and application. Designs on exterior surfaces should also resist peeling, fading, and abrasion during normal use. Other components need similar attention: Bottle lids: Should fit securely and use suitable food-contact materials. Straws: Must be easy to remove and clean when reusable. Silicone seals: Should maintain sealing performance without degrading during normal use. Decorative coatings: Should resist ordinary handling and avoid unwanted flaking. A well-designed product considers the safety of the complete assembly—not just the bottle body. Evaluate Manufacturing Quality and Compliance Testing Picking a material is step one. What happens on the production floor—injection molding, blow molding, printing, assembly—can still make or break the final product. So quality controls need to cover raw material identification, molding temperatures, dimensional accuracy, surface defects, and assembly consistency. Skip any of those and the finished bottle may not match the sample that got approved. Then there's testing. What gets checked depends on the market and the intended use, but a practical program usually includes: Quality test Purpose Overall migration testing Evaluates material transfer under specified conditions Specific migration testing Checks regulated chemical substances Impact testing Assesses resistance to accidental drops Leakage testing Checks lid, seal, and bottle performance Durability testing Evaluates performance after repeated use and washing Print adhesion testing Checks resistance to peeling and abrasion Requirements aren't the same everywhere. Selling into the United States means looking at applicable FDA food-contact requirements. Products headed for the European market need to meet relevant EU food-contact legislation and the material-specific rules that apply. Manufacturers should confirm the exact requirements for each destination before shipping, not after. Choose a Suitable Material for the Intended Product Design The right material depends on how the bottle will actually be used. For reusable children's bottles, Tritan or suitable PP grades may make sense, depending on clarity, impact performance, cleaning needs, and cost. For lightweight beverage packaging, PET or HDPE may fit better—especially if the product is designed for single use rather than repeated refills. Before mass production, buyers should ask for samples, review compliance documents, and test the finished bottle under realistic conditions. That means checking leakage, cleaning performance, print durability, and compatibility with the beverages it's meant to hold. A bottle that passes a lab test but fails after a week of school lunches isn't much help. Build Safer and More Reliable Cartoon Water Bottle Products Selecting suitable plastic materials means paying attention to food-contact compliance, mechanical performance, decorative components, and manufacturing controls. No single plastic is automatically the safest choice for every bottle design—context matters. A reliable Cartoon Plastic Water Bottle should use verified materials, appropriate printing systems, and tested components that meet the requirements of its target market. Combine responsible material selection with documented quality assurance, and manufacturers can develop attractive products that are also suitable for everyday use.
    READ MORE
  • Nov 06, 26
    Water Bottle Gift Boxes: Check Fit After the Accessories Are Added
    A box can fit an empty bottle and still fail to fit the product that will actually be sold. A carry strap, leaflet, spare part or protective insert changes the packing arrangement. If those pieces are added only after artwork is approved, the team may discover a tight lid, an awkward bulge or a bottle that moves too freely inside its presentation box. For distributors and promotional buyers, gift packaging should be reviewed as a complete sale unit. The goal is to establish the intended contents and packing method before the box dimensions are frozen. A digital artwork proof and a physical packing sample answer different questions, and both deserve a place in the approval file. List everything that goes inside The plastic straw bottle collection provides a product reference for this discussion; confirm the exact ordered version and its supporting documents before applying the checklist. Identify the exact bottle model, lid arrangement and accessories. State whether the bottle is packed assembled, how the strap is placed and where any leaflet or spare component belongs. A short contents list prevents the packaging supplier from designing around an incomplete sample. Do not substitute a different bottle simply because its stated capacity is similar. Body shape, lid height and projecting parts can change the required space. Use the actual ordered version or a clearly identified dimensional reference approved by the responsible product team. Check the closed box Place the full contents into the proposed packing arrangement and close the box using the intended method. Inspect whether the lid, latch or handle is pressed against the packaging. Check that opening and removing the bottle is practical without forcing the product or tearing the box. The box's internal dimensions are not the same as its external dimensions. Material thickness, folds and inserts reduce usable space. Ask which dimensions appear on the quotation and drawing, and keep those definitions consistent when the box is compared with a master carton. Packing element Sample check Record to retain Bottle Exact body and lid version Product identification Accessories Complete quantity and position Contents list Insert Fit around the actual product Approved arrangement photo Gift box Closed fit and removal sequence Internal and external dimensions Master carton Number and orientation of boxed units Carton packing plan These checks establish fit and packing identity. They do not prove transport performance. If the distribution route requires a particular packaging test, agree the relevant method and acceptance criteria separately with the responsible packaging team. Treat artwork as a physical layout An attractive flat proof may place important information across a fold, closure or cutout. Review the printed layout on a formed box or an accurate structural mock-up. Confirm the reading direction when the box is displayed and when multiple boxes are packed together. Use the approved dieline and revision. If the structure changes after artwork approval, review the affected panels again rather than assuming the original proof remains valid. A small dimensional adjustment can move a logo, barcode area or required product description closer to a fold. Confirm the full sale-unit contents before sizing the box. Distinguish internal dimensions from outside dimensions. Review the closed box with all accessories in place. Check artwork on the correct structural revision. Record how boxed units are arranged in the master carton. Keep mandatory market information within the review by the people responsible for it. This article does not establish labelling requirements for every market. The purchasing file should identify who checks those requirements and which approved text is supplied for printing. Make the packing method reproducible Photograph the approved contents before closure and write a brief packing sequence. If a strap is folded around the bottle, show the position rather than using a vague instruction such as “pack neatly.” The aim is a repeatable arrangement, not a requirement that operators interpret a styled marketing photograph. Identify any protective materials included in the approved sample. If those materials are changed for bulk production, review the effect on fit and the relevant packaging requirements. Avoid approving a padded sample and then comparing it with an unpadded commercial quotation as though the two contain the same packing specification. Where several bottle colours share one box design, confirm whether all fit the same insert and whether external identification is needed. A common presentation design can be useful, but the warehouse still needs a reliable way to pick the correct variant without opening every sale unit. Finish with a complete commercial basis The order should identify whether the quoted unit includes the bottle, accessories, gift box, insert and master carton. List exclusions clearly in the purchasing record so that a low packaging price is not mistaken for a complete ready-to-sell unit. At receiving, compare representative packed units with the approved arrangement and verify the carton quantity against the packing plan. Keep any discrepancies tied to the relevant batch or order information. A box that looks correct from outside may still contain a different accessory arrangement. Good gift packaging begins with the product that will actually be supplied. By reviewing full contents, closed-box fit and the master-carton arrangement together, buyers can reduce the chance that an attractive presentation design becomes a late-stage packing problem. If the order is intended for a particular campaign, confirm the final contents before releasing the printed packaging. A late request to add a leaflet or accessory should trigger another physical fit review, even when the artwork itself does not change.
    READ MORE
  • Nov 02, 26
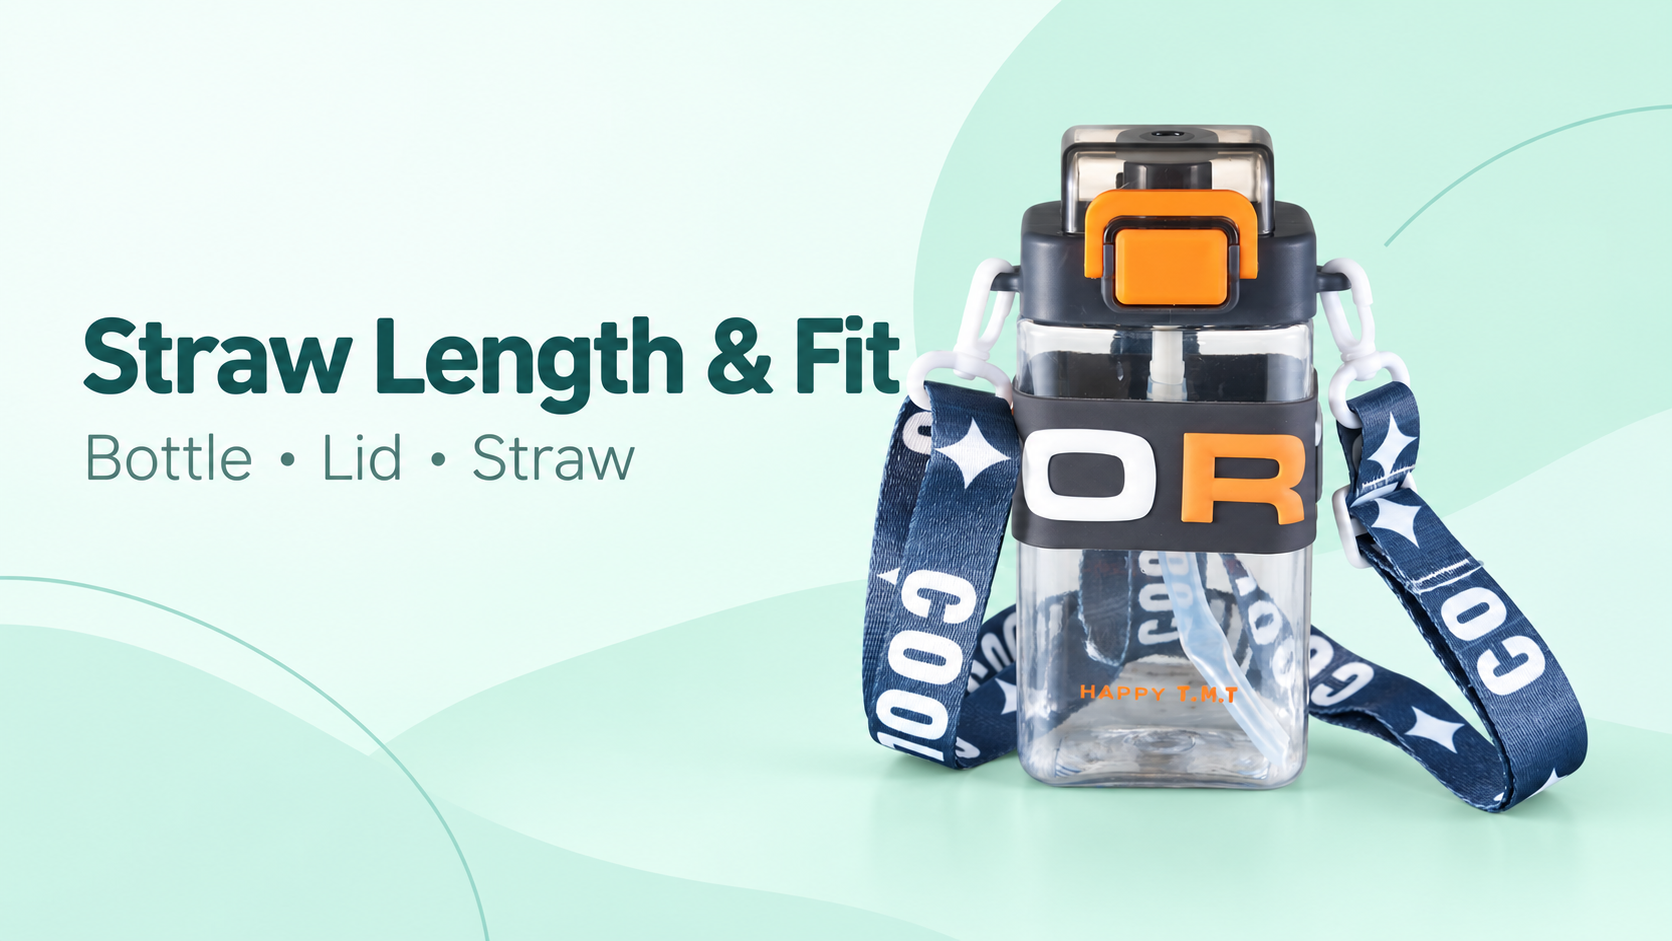
    Water Bottle Straw Length: Check the Lid and Bottle as One Set
    A straw looks like a simple accessory until two bottle sizes share similar lids and the parts become mixed. One straw may fail to reach the intended position; another may press against the bottom or sit awkwardly beneath the lid. For a bulk bottle order, the useful specification is the complete assembled set rather than a bag of apparently identical tubes. Buyers should review straw geometry with the exact bottle body and lid version. This is a fit and assembly exercise. It should not become an unsupported promise about leak resistance, drinking performance or suitability for every age group. Those claims need their own applicable evidence and assessment. Start with the assembled bottle The plastic straw bottle collection provides a product reference for this discussion; confirm the exact ordered version and its supporting documents before applying the checklist. Identify the bottle model, capacity version and lid arrangement. If the range contains several bodies, confirm whether they use the same straw or different lengths. Do not rely on colour alone to identify parts, especially where a customer order contains multiple colourways of the same model. Ask the supplier for the intended assembly arrangement. A photograph may show the supplied parts, but the buyer should still confirm which end connects to the lid and how the straw is intended to sit inside the bottle. Preserve that explanation with the approved sample. Measure the right reference points A loose straw's overall length is one measurement. Its position after assembly also depends on how far it enters the lid connection and on the bottle's internal geometry. Specify the reference points so that a second person can repeat the measurement without guessing. Bottom clearance should be reviewed on the actual assembled product. Do not prescribe a universal gap or assume that a longer straw always improves use. The appropriate arrangement depends on the product design. Ask the supplier to explain the intended fit and review the physical sample against it. Check What to record Common ambiguity Straw length Defined end-to-end measurement Comparing different reference points Lid engagement Intended insertion arrangement Measuring only the loose part Body version Exact bottle model Mixing similar-looking capacities Bottom position Assembled fit observation Assuming every body uses one length Replacement part Part identity and compatible version Ordering by colour alone Where the straw has shaped ends, bends or other distinctive features, record them as part of the component identity. A plain length value cannot describe every relevant feature. Keep the original part or a clear photograph available for later replacement enquiries. Review the sample through its normal assembly sequence Open the bottle, identify the parts and assemble them according to the supplier's instructions. Observe whether the straw connects as intended and whether the lid closes without obvious interference. If an issue appears, document the part combination before changing anything. Avoid trimming a sample to make it fit and then approving the original specification without a revision. That leaves the factory and receiving team with different reference products. Any agreed dimensional change should be recorded on the component specification and reflected in a new or clearly revised approval sample. Identify body, lid and straw versions together. Photograph the loose straw beside its assembled position. Use an agreed measurement method for overall length. Note any interference during the instructed assembly sequence. Keep altered trial parts separate from approved reference samples. A fit review is also an opportunity to confirm the cleaning instructions supplied for the complete product. The ability to remove a straw should not be assumed from its appearance. Follow the documented design and avoid introducing cleaning claims that have not been established for the material and assembly. Plan for mixed orders and replacements If two bottle versions use different straws, make the distinction visible in the component list and packing instructions. Ask how the supplier will keep the combinations identifiable during assembly and packing. The appropriate approach may be a part code, a labelled container or another agreed production control. For replacement stock, list compatible bottle and lid versions explicitly. A customer service team should not have to infer compatibility from a photograph of a clear tube. Keep replacement records linked to the original order and any later product revision. This is particularly useful when a bottle remains in a range for several seasons. The marketing name may stay the same while an internal part changes. A versioned component record protects the buyer from assuming that old and new spare parts are interchangeable. Approve what will actually be supplied Before releasing the bulk order, confirm whether the bottles arrive assembled and whether spare straws are included. Those are separate commercial choices. If spare parts are supplied, identify their quantity and packaging so they are not confused with components needed to complete the bottles themselves. On receipt, compare representative finished bottles with the approved set and review the supplied part identification. Record discrepancies before distributing replacements into stock. A correct overall bottle count does not prove that every internal component matches the approved combination. Straw length is therefore best treated as an assembly detail with a measurable component requirement. By keeping body, lid and straw together in the approval record, buyers make the order easier to inspect and make later service questions easier to answer without inventing a universal fit rule. For a sample approval meeting, keep the loose components beside the finished bottle until the review is complete. Seeing both states makes it easier to identify which fit observation belongs to which part, and avoids treating an assembly photograph as a full component specification.
    READ MORE
  • Oct 30, 26
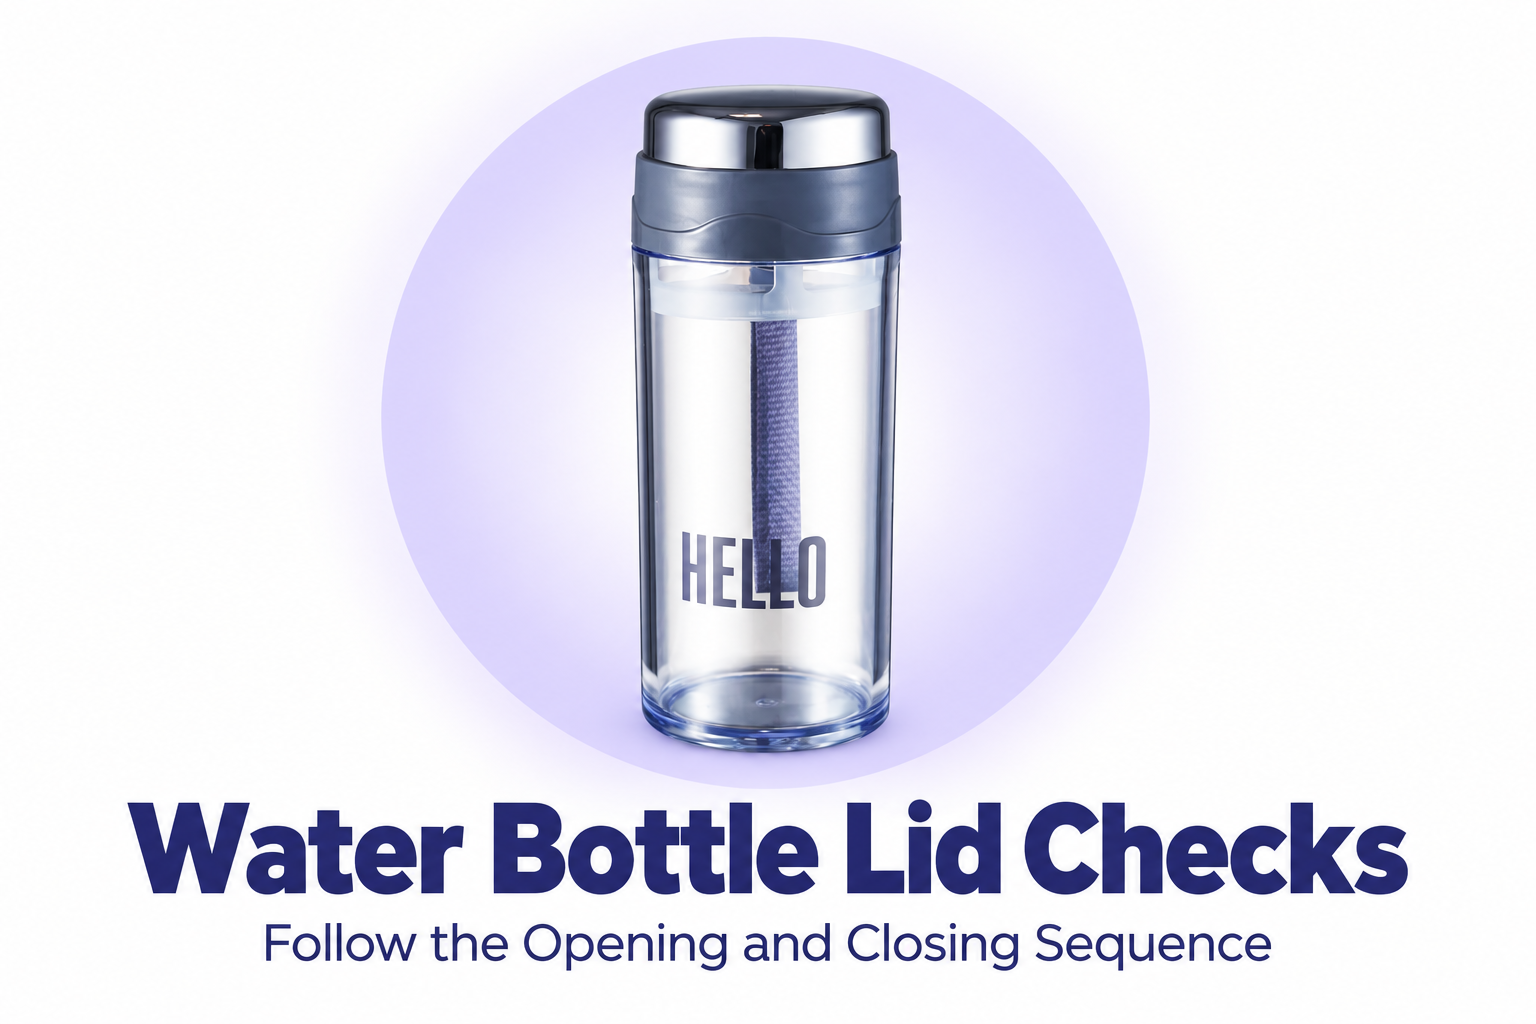
    Water Bottle Lid Checks: What Happens Between Open and Closed?
    An assembled bottle can look finished in a photograph while leaving the buyer unsure how its lid behaves in a user's hands. The first turn, the final seated position and the steps between drinking and packing it away are all part of the product experience. Water bottle lid checks should follow that sequence instead of stopping at an image of a closed cap. For brands and distributors, this is an opportunity to make the sample review specific. The objective is to identify the actual operation, confirm what the supplier intends and turn the result into clear product information. It is not a substitute for a defined performance test or permission to describe an untested bottle as leakproof. One sample, one complete operating sequence Begin with the exact model and lid version. Plastic infuser bottles may combine a cap, internal component, seal and carrying feature in different ways. Identify which parts are supplied and obtain the instructions that apply to the selected version. Read the instructions before operating the sample. Note whether the user turns, lifts, presses or releases anything and in what order. Do not force a component because a visually similar bottle opens differently. A confusing step is a question for the supplier, not an invitation to improvise a new method. Keep the bottle and its original parts together through the review. Swapping lids between similar samples can conceal a fit concern or create a mismatch unrelated to the ordered product. Record the sample reference so later observations refer to the same assembly. Opening: can the user understand the starting point? Observe the grip area and any indication of how the cap is released. Ask whether the intended movement is understandable from the supplied instructions and product markings. Do not infer a one-handed function or a lock from a shape that merely resembles those features. Look at what becomes loose or removable during opening. A cap, seal or infuser should be described according to the actual design. If a part must remain in a particular position, ask how that requirement will be communicated without relying on a verbal demonstration at the sample meeting. The opening step also reveals access for filling. Review it with the intended use information supplied for the product. Avoid adding hot-liquid, dishwasher or other suitability statements that have not been confirmed for the offered material and construction. Closing: distinguish alignment from sealing performance Follow the bottle lid closing sequence exactly as instructed. Note the starting engagement and final position. Water bottle cap alignment should be reviewed with the body, handle or drinking feature where relevant, rather than considered as an isolated cap photograph. A cap that looks seated is an observation about the assembly. It does not establish sealing performance under transport, pressure, temperature or repeated use. If the buyer needs a specific performance claim, agree the method and acceptance criteria with the supplier and obtain evidence for that exact construction. Ask the supplier how users should recognize that the lid is properly closed. Instructions should not rely on an undefined request to tighten as much as possible. The manufacturer's intended method is the relevant reference, including any limits or precautions for the design. Stage in the sequence Observation to record Question to resolve Before opening Model, lid and supplied components Are all parts the correct version? Releasing the cap Required action and grip location Does the instruction describe the actual movement? After opening Loose or exposed components What must remain assembled or be retained? Beginning closure Alignment and engagement How does the user start the intended connection? Final position Seated appearance and nearby features How is correct closure indicated? After approved care Assembly and instructions Can the parts be refitted as specified? Seals and removable parts need their own explanation If a seal can be removed for care, obtain the approved removal and refitting instructions. Its location and orientation should be clear in the relevant product information. Do not assume that every visible ring is user-removable or that every gasket fits either way. Review the sequence after the permitted care procedure, using the same components. A sample that closes easily before disassembly may still leave an instruction gap when the user must refit an internal part. Document that gap with photographs and ask for the correct procedure. Keep this review separate from material compliance. Understanding how a seal fits does not establish its composition or regulatory status. Any required food-contact information should be requested for the offered component and target market through the appropriate documentation process. Turn observations into usable sample decisions Write down what was seen, what was confirmed and what remains unanswered. A note such as lid good is difficult to use later. A record identifying the cap version, operation and agreed instruction revision provides a clearer purchasing reference. Where a repeated-operation test is required, define it separately. The number of cycles, conditions and pass criteria should come from the agreed verification plan. Opening a sample several times during a meeting should not become a published durability figure or an unsupported service-life claim. Photographs can support the record if they show the critical action and component identity. Use real sample views rather than a diagram that adds a mechanism not present on the product. Keep captions descriptive and avoid words such as guaranteed sealing unless the claim is supported and approved. Before approving the retail instructions Match the instruction to the actual bottle and lid version. Show the required opening action in its intended order. Explain loose parts and any permitted seal refitting. Describe how correct closure is recognized. Keep performance claims tied to a defined evidence record. Recheck instructions when the lid or internal components change. The strongest sample review follows the same journey as the user: opening, filling, closing, drinking and approved care. Send the observations to the supplier with the sample reference so the final instructions describe the bottle that will actually be delivered.
    READ MORE
  • Oct 26, 26
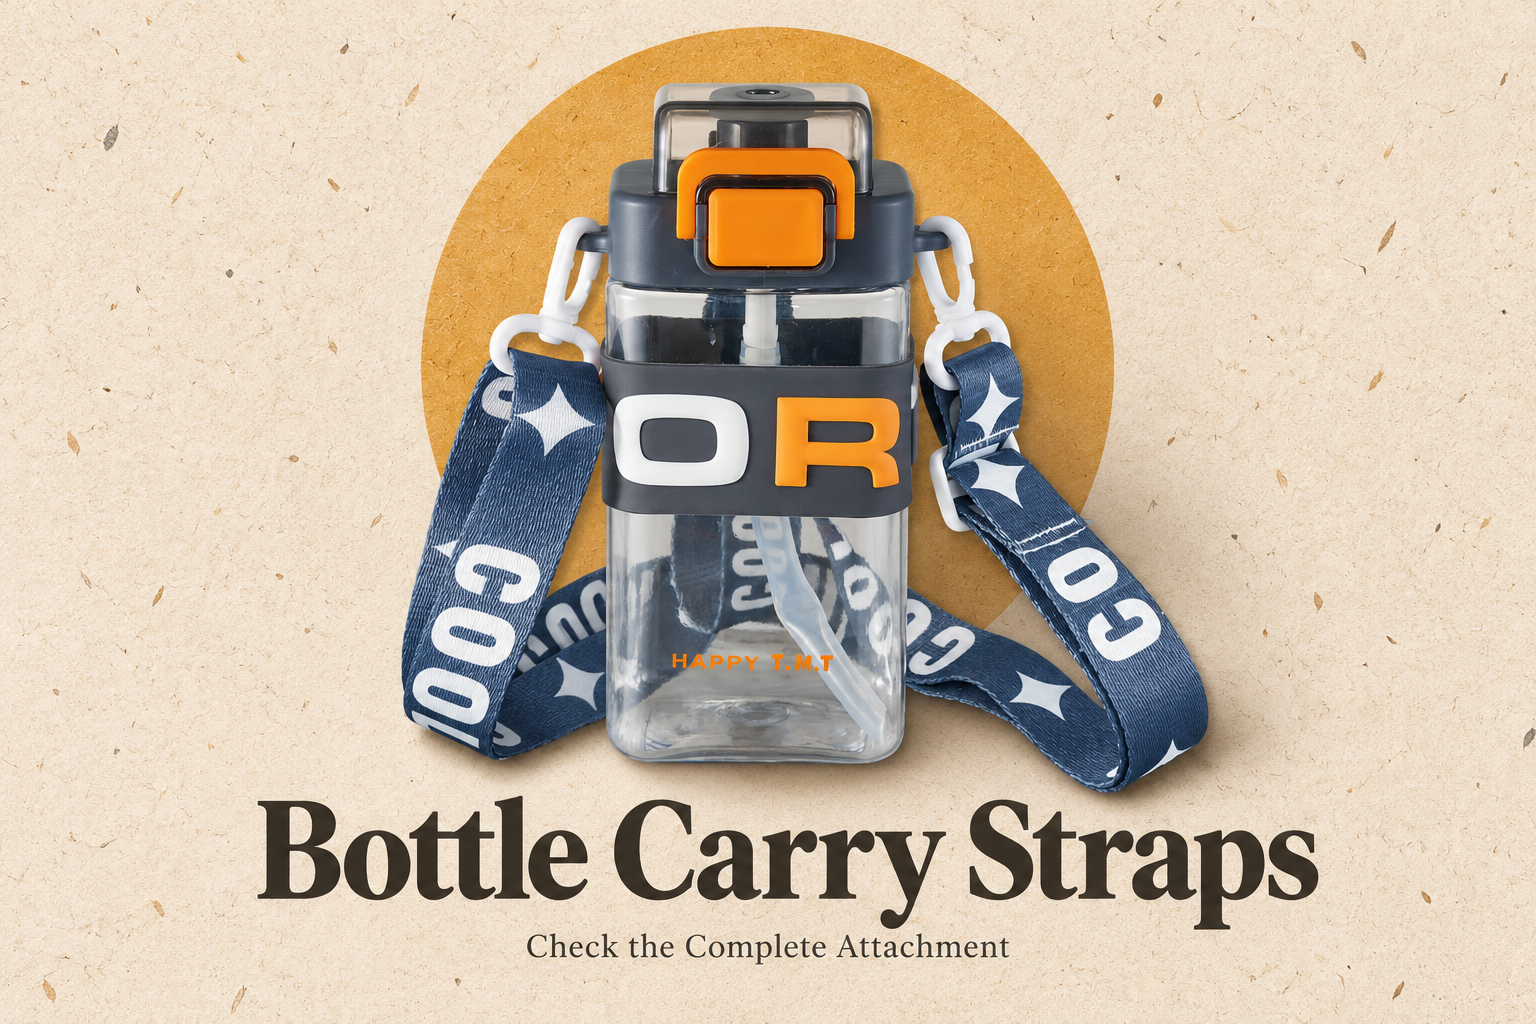
    How Should Buyers Specify Water Bottle Carry Straps and Attachment Points?
    A carry strap is often described in a quotation as a short accessory line. On the finished bottle, however, the strap, clips, adjustment hardware and bottle attachment points form one combination. A change to any of these parts can change how the product is carried or packed. Buyers should review that combination before agreeing that two offers include the same accessory. This is a purchasing and sample-review task rather than a reason to assume a universal strap strength. A photograph can establish an arrangement, but it cannot establish a working load, durability result or suitability for every user. Water bottle carry straps need an identifiable specification and a review method agreed for the actual intended market. Start at the bottle, not at the fabric Choose the bottle model first. Within the plastic straw bottle collection, note where the strap connects and which pieces belong to the lid, bottle sleeve or body. A supplier may offer different combinations across a range. Similar strap colours do not establish that their clips fit every bottle. Ask for a clear photograph of both attachment points with the strap fitted. The record should make it possible to distinguish the bottle-side ring or loop from the removable clip. If an attachment is moulded into another part, identify that part as well. This makes a later lid or sleeve change visible to the person buying the accessory. Do not ask a supplier to reproduce a strap from one image while silently substituting the bottle. Instead, identify the complete sample by model and revision. Where a customer supplies its own strap, obtain confirmation of the mating interface before describing the combination as approved. Follow the carrying sequence Review the sample in the order someone would use it: attach the strap, adjust it, carry the bottle, set it down and remove the strap if removal is intended. Each step raises a different question. A fabric swatch addresses appearance; it says nothing about whether a clip can be fitted without forcing an attachment point. Confirm the supplied number of clips and the correct orientation at each end. Check that adjustment hardware is present and identify how it is intended to be used. Observe whether the attached strap interferes with the lid, latch or drinking opening. Review how the loose length sits when the bottle is set down. Request instructions for removal and refitting where these actions are intended. Record observations without treating an informal handling session as a certified test. If a buyer needs a defined mechanical test, specify the method, conditioning, sample quantity and acceptance criteria for technical review. The supplier's response should identify the tested configuration rather than make an unsupported promise about all future versions. Adjustment is a specification, not just a feature name The words adjustable strap leave several details unresolved. Agree what length is being described, where it is measured, and whether the stated range includes the clips. Ask the supplier to show the measurement on an illustration or sample photograph. This reduces the risk of comparing an overall assembly length with fabric length alone. User suitability also needs its own review. Do not infer child suitability, an age grade or a safety claim from a colourful print. Share the intended users and sales market with the responsible product team, and request the relevant assessment and instructions for that exact accessory arrangement. Separate appearance approval from interface approval A printed strap can look correct while the clip shape or adjustment arrangement differs from the agreed sample. Keep the visual reference alongside an accessory bill of materials. Buyers can then approve colour and artwork without accidentally accepting a change to the attachment interface. Item What the approval record should identify What should not be assumed Strap fabric Colour reference, pattern and agreed width That a photograph establishes fibre composition End fittings Clip shape, quantity and mating points That similar clips are interchangeable Adjustment Hardware and agreed measurement basis That every quoted length includes the same parts Bottle interface Model, lid or sleeve version, attachment locations That another bottle uses identical geometry Packing Strap fitted or separate, folding and identification That the display sample represents shipping condition Keep decorative artwork separate from any required use or care information. If a graphic runs across the strap, review its orientation on the assembled product, including what is visible after length adjustment. Avoid using the accessory print to imply a material or performance claim that has not been confirmed. A sample record that follows the complete assembly Before bulk packing, decide whether the strap arrives fitted, clipped at one end or packed separately. Each arrangement affects the receiving check. A separate accessory needs an unambiguous place in the packing list; a fitted accessory needs protection from avoidable tangling or pressure during the agreed packing process. Bring these points into the customisation discussion before the order is released. Provide the selected bottle reference, strap artwork, accessory quantities, packing arrangement and approval photographs together. Ask the supplier to identify any difference between the sample assembly and the quoted production assembly. The most useful handover is concise enough for the packing team to follow. It should name the accepted combination, show both attachment points and explain which substitutions require renewed approval. Keep this record with repeat orders instead of relying on the phrase same strap as last time. When a complaint or discrepancy appears, the same record also helps the buyer isolate whether the issue concerns appearance, a missing part or a different interface.
    READ MORE
  • Oct 23, 26
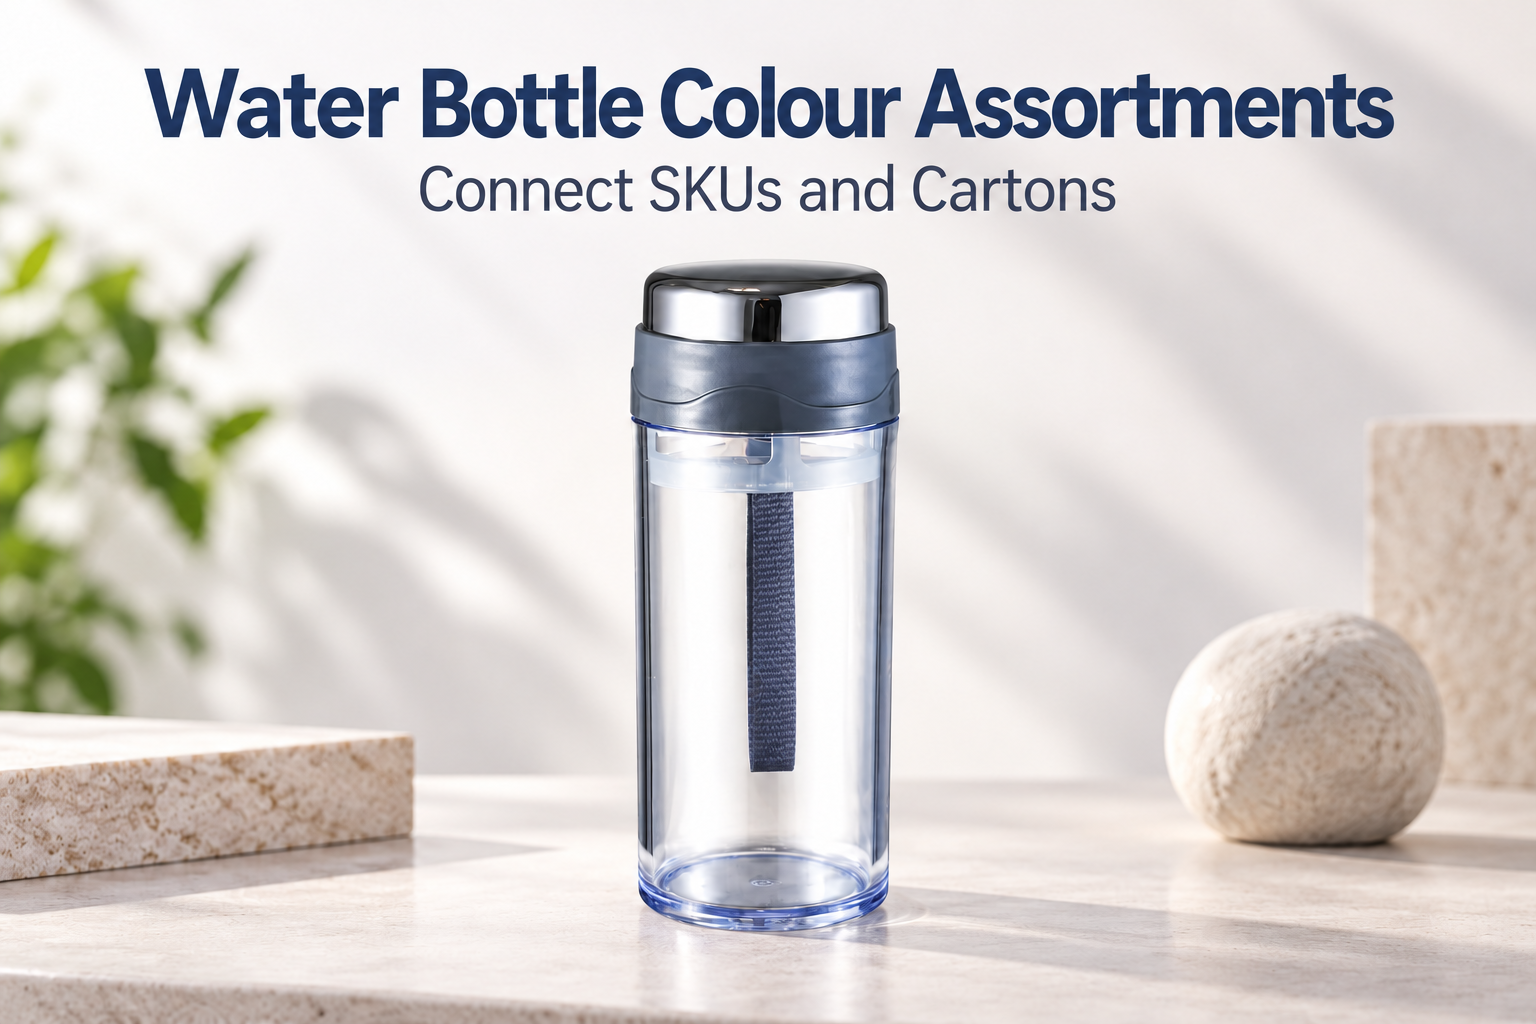
    Water Bottle Colour Assortments: Specify the Mix Before Bulk Packing
    A purchase order for assorted water bottles can sound clear until production and packing begin. Does assorted mean an equal split, a fixed ratio or whatever colours are available? Does the colour refer to the bottle body, the lid or both? Water bottle colour assortments need a written map connecting the approved configuration with quantities and cartons. For brands, importers and distributors, this is a stock-control decision as well as an appearance decision. A precise assortment record helps retail replenishment, online fulfilment and receiving inspection. It also gives the supplier a practical basis for quoting and identifying any proposed changes before goods are packed. Define the bottle configuration before the colour mix Start with the model and its complete set of parts. Identify the bottle body, lid, handle or strap, infuser and any supplied accessories. Do not assume that a lid colour shown in one photograph is available with every body or capacity in the range. When reviewing the plastic infuser bottle range, confirm the offered combination for the selected model. An image is a useful visual reference, but the quotation should state what is actually included. Keep structural options separate from colour options so a substitution does not quietly change the product configuration. If transparent, translucent and opaque parts are offered, describe them distinctly. They can create different appearances even when a similar colour name is used. Ask the supplier how the proposed finish and colour will be represented in the approval sample. Approve a reference that purchasing and production share Colour names such as blue or grey are convenient labels but weak production references. Agree how the colour will be specified for the actual material and surface. A physical sample can be useful where appearance is important; retain its identity and approval date with the order. Digital photographs help communicate the intended combination but screens and lighting can change the impression. Where an agreed colour reference system is used, confirm how it relates to the moulded component rather than assuming that a screen swatch defines the finished result. Review the assembled bottle as well as separate pieces. The appearance of a lid against a clear body can differ from its appearance on a white background. Keep the complete approved combination available to the person checking production samples and repeat deliveries. Turn the assortment into explicit SKU quantities Assign a stock reference to each approved combination. Record its quantity rather than relying on the word assorted. An equal split should be stated explicitly, including how any remainder is handled when the order quantity does not divide evenly. For a ratio-based order, show both the ratio and the resulting unit quantities. Purchasing and production should not have to calculate different totals independently. If colour availability or minimum order arrangements affect the split, resolve those details before approval instead of leaving packing staff to choose. Keep replacement seals, lids or other service components aligned with the relevant model where they are included. Colour similarity does not establish part compatibility. A revised accessory reference may require a change to the SKU record even when the outside bottle looks unchanged. Build a bottle colour packing plan Planning field What to specify Who needs it Product configuration Model, capacity and included parts Supplier and purchasing team Colour reference Approved sample or agreed identifier Production and quality team SKU quantity Units for each complete colour combination Planning and stock control Inner-pack mix Single colour or exact mixed arrangement Packing team and retailer Master-carton mix Colour quantities per carton type Warehouse and receiving team Identification Labels and packing-list references Fulfilment and distribution team Use a separate line for every carton arrangement. If most cartons contain one mix but the final carton contains a balance, describe that balance explicitly. The packing list should make it possible to reconcile total quantities without opening every carton. Choose mixed or single-colour cartons deliberately Mixed colour bottle cartons can suit a retailer that replenishes a fixed assortment. Single-colour cartons may be more useful where orders are picked by individual SKU. Neither arrangement is automatically better; choose the method that matches the destination's stock-handling process. Tell the supplier whether cartons will be sent directly to stores or opened in a central warehouse. A mixed inner pack that works for store allocation can create extra sorting work for online fulfilment. Consider the full route before approving a packing arrangement based only on total carton count. Include labels in the review. A carton marked only assorted bottle may not tell receiving staff which mix is inside. Agree the product reference, colour quantities and any customer label requirements, and keep sensitive internal purchasing information off consumer-facing packaging. Control changes between sample and shipment Require approval for a change to the agreed colour combination or packing ratio. A substitute may look acceptable to production staff but conflict with product photography, an online listing or a retailer's assortment plan. Record the decision and update the affected references together. Receiving inspection should compare the shipment with the approved map. Check the identity of sampled units, the assembled colour combination and the carton mix. Use an agreed sampling arrangement rather than describing a few opened cartons as confirmation of every unit. Retain the final packing record for repeat orders. A later enquiry can then identify the previous combination precisely instead of asking for the same assorted colours. If the product or available colours have changed, the supplier can flag the difference against a clear reference. Send an assortment request that can be packed Identify the exact bottle model and supplied components. Approve colour references for each assembled combination. List unit quantities for every SKU. Define the inner-pack and master-carton mix separately. Agree carton identification and packing-list details. Require written approval for changes to colours or ratios. A complete colour map connects appearance approval with warehouse quantities. Send the intended retail or distribution arrangement with the enquiry so the supplier can review the combination and packing structure together, before the order becomes a set of mixed cartons.
    READ MORE
  • Oct 19, 26
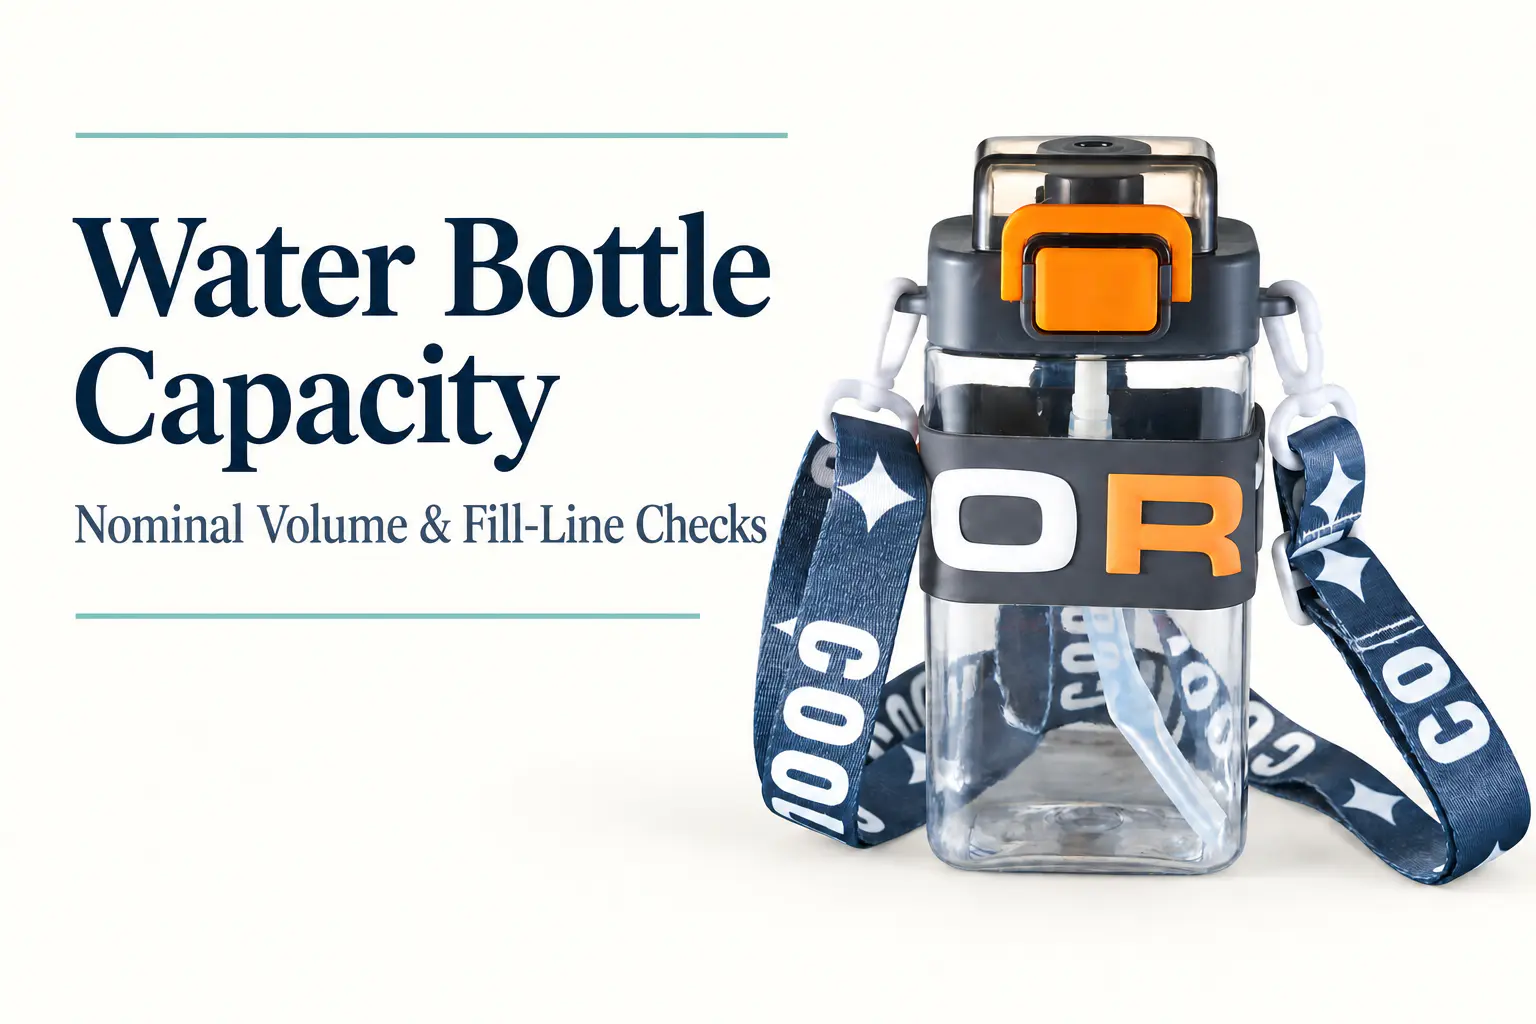
    Water Bottle Capacity Markings: Define the Volume Before Printing
    A printed scale can make a reusable bottle easier to understand, but it also creates a specification that needs checking. A capacity shown in a product title, the highest line on the body and the volume available with the lid fitted may describe different things. Water bottle capacity markings should be defined before artwork is released. For private-label buyers, the useful question is how the stated volume relates to the actual product and intended filling practice. A clear reference makes supplier comparisons more meaningful and helps avoid conflicting numbers on the bottle, packaging and online listing. Define the claimed capacity Ask what the nominal bottle capacity represents for the offered model. Does it refer to a defined fill line, another specified level or a different measurement convention? Obtain the supplier's explanation rather than assume that every catalogue uses the same basis. When comparing the plastic straw bottle range, identify the exact body and closure combination. A similar shape can be offered in several sizes, and optional parts may affect the intended filling arrangement. Connect the capacity statement to the product code being purchased. Do not estimate volume from outside dimensions or a product photograph. Wall shape, internal features and the selected fill reference all matter. If the capacity is important to the buying brief, request a documented measurement method and the relevant result for the sample. Distinguish a fill reference from total internal space A bottle is not necessarily intended to be filled to its absolute top. The lid, straw or other components may require a particular filling practice, depending on the design. Ask the supplier to identify the recommended fill level and any relevant use instructions. The purpose is to avoid a contradiction between the printed number and the way the product is meant to be used. If a marketing description refers to one basis while the highest line uses another, explain the distinction or revise the description before launch. Keep temperature and liquid-use limitations separate from the capacity claim. A volume label does not establish suitability for hot drinks, carbonated liquids or other uses. Include only the instructions supported by the offered product documentation. Choose units that the intended customer can read Decide which units are required for the market and listing. If more than one scale is used, label each clearly and have the artwork checked for consistency. Do not place unlabeled numbers beside the scale and expect the customer to infer their meaning. The artwork should state which unit system is intended. A broad abbreviation can become ambiguous across markets, so resolve the required wording with the relevant reviewer. Keep the approved unit labels consistent across the bottle, carton and digital product information. Avoid adding too many competing scales or decorative messages around the same area. The marking should remain readable against the body colour and normal contents. A technically correct number loses practical value if the user cannot tell which line belongs to it. Check line positions on the real product Bottle fill-line approval requires the actual bottle, not only a flat artwork file. Ask how the line positions are established and how the proposed scale will be checked. The procedure should identify the sample, fill reference, measuring equipment and agreed acceptance criteria. Do not assume that equally spaced printed lines represent equal volume increments on a shaped bottle. The supplier should establish the line locations for that body geometry. A graphic designer should not create the scale by dividing the visible height into equal sections without technical input. If the body design changes, review the scale again. A new shoulder, base or cross-section may affect the relationship between liquid height and volume. Reusing an old decoration file without checking the new product can carry a hidden mismatch into production. Use a capacity approval record Approval field What to record Why it matters Model identity Body, size and closure references Connects the scale to one product Capacity basis Defined level and measurement method Explains the nominal volume claim Unit system Exact units and printed wording Avoids ambiguous or conflicting scales Artwork position Revision and alignment reference Makes the approved line locations reproducible Sample review Observed measurements and agreed criteria Documents what was actually evaluated Public wording Bottle, packaging and listing descriptions Keeps customer-facing information consistent This is a purchasing record, not a declaration that a bottle is a calibrated measuring instrument. If a buyer intends to make a precision measurement claim, that requirement needs its own technical and applicable regulatory review. Approve the artwork on a filled sample Discuss bottle customisation options with readability in mind. Review the printed sample empty and under the intended viewing conditions with suitable contents. Check whether the markings are visible against the bottle colour and whether nearby decoration interferes with the scale. Confirm the numbering sequence, unit labels and line alignment. Check every visible value rather than approving the overall appearance alone. A missing zero or displaced line may be easy to overlook in a small image but significant on the finished product. If the product uses a sleeve or strap, check the assembled condition too. A scale hidden by an accessory may be less useful than the flat artwork suggests. Decide which markings should remain visible in ordinary use and record the approved arrangement. Keep production and product listings aligned Once the sample is approved, retain the artwork revision and capacity reference with the order. Ask how proposed changes to the body or printing position will be communicated. Changes should be reviewed before the supplier uses the revised combination for production. Confirm what the capacity number means for the selected model. Agree the units, fill reference and checking method. Review the scale on the actual printed bottle. Check visibility with the supplied accessories fitted. Use the same approved capacity wording in packaging and listings. Send the supplier your intended capacity statement and decoration requirements together. That connects the purchasing claim with the physical product and gives the team a clear basis for approving a scale that customers can read and understand.
    READ MORE
  • Oct 16, 26
    Fruit Infuser Bottle Design: Make Everyday Cleaning Practical
    A fruit infuser bottle contains more than a clear body and a colourful lid. The basket, lid passages and seals create additional surfaces that contact the drink. If those parts are difficult to reach or their removal is unclear, the product's attractive presentation can hide an inconvenient daily care routine. Fruit infuser bottle design should therefore be reviewed through filling, drinking, emptying, cleaning and drying. For brands and distributors, this is an opportunity to connect the product's physical construction with instructions that customers can follow. A complete sample reveals the care route more clearly than a photograph of an assembled bottle. Review the basket and bottle together Plastic infuser cups may use different basket positions and attachment arrangements. Check the specific model rather than assuming that all baskets lift out in the same way. The basket's length, opening and position affect loading and access after use. A removable infuser basket should be understandable to remove and refit according to the manufacturer's instructions. Inspect the connection and any retaining features. If the user must rotate or release a part, the instructions should show that step without inviting force on the wrong component. Consider the food pieces the product is intended to hold. A wide basket opening may make some pieces easier to load, while fine perforations change the surfaces that need cleaning. Do not describe a basket as suitable for every ingredient merely because an illustration shows fruit inside it. Follow the drink through each component Map which surfaces contact the liquid during filling and ordinary use. The body and basket are obvious, but lid passages, a drinking opening and seals can also matter. Identify them before preparing a care guide or a materials enquiry. This component view also supports documentation review. A material description for the bottle body does not automatically cover every separate part. Keep the selected assembly and its component materials identifiable, including colourants or other changes relevant to the finished item. Food-contact requirements depend on the destination market and intended conditions. FDA guidance, for example, distinguishes food types and conditions of use. This background does not certify a bottle; it explains why the buyer must connect the supplied materials and evidence with the intended beverage, temperature and contact conditions. Make infuser bottle cleaning access visible Infuser bottle cleaning access includes the basket interior, perforations, bottle shoulder and lid's internal features. Review what can be reached by the approved cleaning method. A large main opening does not prove that every smaller recess is accessible. Inspect whether parts create narrow spaces where residue may remain. Ask the manufacturer to explain the intended cleaning route for those areas. The care guide should describe practical access rather than relying on an easy-clean claim with no supporting steps. Use a representative complete sample when assessing the routine. A loose basket on a desk may seem easy to wash, but the user must first release it from the lid or bottle. Include that connection in the evaluation and record which parts are intended for routine removal. Distinguish removable from washable A component being removable does not establish that every cleaning method is permitted. Confirm whether the selected parts may be cleaned in a dishwasher, and under what instructions, before making that claim in a listing. Treat the lid, basket and body separately if their guidance differs. Likewise, do not add boiling, steam or sterilising instructions from another product. Heat tolerance depends on the actual materials and construction. The bottle's intended drink temperature and its allowed cleaning temperature are related information, but they are not automatically identical. For seals, show how to remove and replace them only when the manufacturer intends that action. Explain their orientation where it matters. A guide that encourages dismantling an unspecified part can create more confusion than one that clearly marks the approved care components. Include drying and reassembly Cleaning instructions should continue beyond rinsing. Review how the permitted parts are dried before reassembly and storage. A small cavity in a lid can remain wet after the outside appears dry, so a useful guide considers internal access as well as the visible surface. Show the correct completed assembly. A missing or incorrectly positioned seal can change the product's behaviour, while a loosely fitted basket can affect use. Photographs or simple diagrams should match the actual model and component revision. Keep care instructions available after purchase. A short printed guide can provide the essential steps, while an accessible product page can carry fuller illustrations. Avoid linking customers to a general catalogue that leaves them uncertain which lid and basket belong to their bottle. Avoid unsupported beverage promises An infuser basket does not establish that the bottle is suitable for carbonated drinks, hot liquids or every acidic ingredient. Those uses need confirmation for the exact assembly. Marketing should follow the manufacturer's defined use rather than infer compatibility from a plastic category name. BPA-free wording, where supported, answers one materials question. It does not by itself explain all intended use conditions or demonstrate every food-contact requirement. Ask for documents that identify the actual materials and their relevant scope. Do not claim that fruit infusion purifies water, creates a medical benefit or prevents contamination without appropriate evidence. The practical purpose can be described directly: the basket holds approved ingredients while the bottle carries the drink. Clear use and care information offers value without extending into unsupported health claims. Approve care content with the product Before a bulk order, keep the bottle, component list and care guide together. Check that removal directions, cleaning methods and reassembly images correspond to the selected model. If a lid or basket changes, review the instructions at the same time. An illustrative brand review might compare two bottles with similar capacity. One has a basket that releases separately; the other attaches to the lid. Their capacity may be alike, but the cleaning sequence differs. The retail content should explain that practical difference accurately. A successful infuser bottle offers a care routine that users can understand. Review the drink-contact surfaces, preserve material identity and make cleaning access explicit. These steps turn an appealing design into a product supported by useful everyday instructions.
    READ MORE
  • Oct 12, 26
    Custom Water Bottle Printing: Approve the Artwork on the Actual Bottle
    A logo approved on a flat artwork sheet can look different when it reaches a curved water bottle. The shape changes what is visible from the front, a handle may interrupt the intended view, and a lid colour may make a carefully selected print colour appear less clear. These are decoration questions that should be resolved before a bulk order reaches production. Custom water bottle printing works best when the artwork and the bottle are reviewed together. For promotional product buyers, private label brands and distributors, the approval should identify the actual bottle version, decoration area and appearance reference. An attractive digital mockup is useful for discussion, but it does not settle every manufacturing detail. Map the bottle's usable decoration area When selecting plastic straw bottles or another bottle style, ask the manufacturer which surfaces are available for the proposed decoration method. Include seams, contours, handles and other features in that discussion. The largest visible surface is not necessarily the largest practical print area. Request a template or dimensioned decoration guide for the selected model where available. A template for a similar bottle should not be reused without confirmation. Even a small change in body shape can affect artwork placement and the view from different angles. Mark the intended front of the bottle in relation to its lid and handle. A water bottle print position should be understandable when the item is assembled for normal use. If the lid can be fitted in more than one orientation, discuss what that means for a design that depends on exact alignment. Prepare artwork that can be quoted Supply the artwork in the format requested by the manufacturer. Identify the intended size, colours and placement rather than sending only a logo image. If the file includes several alternatives, make clear which version is the proposed production design. Ask the supplier to review small text, fine lines and other details for the proposed process and substrate. A design that looks clear on a large monitor may be difficult to reproduce at the final size. Keep revisions visible so both parties know which artwork has been accepted. For a promotional order, consider how the design will be viewed. A broad wraparound image may be appropriate for decoration, while a small front logo may be easier to identify in a shelf display. The choice should come from the intended use and the manufacturer's confirmed capabilities, not an assumption that any digital image can be transferred unchanged. Connect the artwork to the manufacturing proposal Review the available customisation options with the supplier and ask which method is proposed for the actual bottle. Record the agreed process in the quotation. Do not infer the method from the visual effect of a catalogue example. The process discussion should cover the bottle material, surface finish and intended decoration. Where more than one method is available, compare the supported appearance and care requirements rather than choosing from a generic description of durability. Any performance claim should be supported for the particular combination. If the proposed artwork changes after quotation, ask whether the price, preparation work or schedule changes too. An added colour, a different print area or a new placement may affect the production plan. Treat those as revisions to review, even when the bottle itself remains unchanged. Agree colour references for the assembled item Printed colour, bottle colour and lid colour should be reviewed as a set. A screen rendering is an unreliable final reference because displays and lighting differ. Ask what physical colour references or samples can be used to establish the agreed appearance. Distinguish the requested colour from the acceptable production result. Where the buyer needs a specific matching system or reference, identify it in the enquiry and ask the supplier to confirm what can be achieved. Do not write an exact match promise into a sales listing without that agreement. Transparent or translucent bottles can make background conditions relevant to the visual review. Examine the proposed design on the actual body under appropriate ordinary viewing conditions. Record whether the approval concerns an empty bottle and how the item's appearance will be described in retail imagery. Review printed water bottle samples Printed water bottle samples should identify the bottle model, artwork revision, decoration process and colour references. Check the assembled item from the front and other relevant views. Include the position of the print relative to the lid, handle and measurement markings where these are present. Ask the supplier how the sample relates to the planned production process. A handmade appearance sample and a production representative sample can serve different purposes. Record what was actually approved so the buyer does not later expect the sample to demonstrate conditions it never evaluated. An illustrative order might include the same brand design on a round bottle and a shaped bottle. The artwork could need separate positioning or scaling for each. Approving the round version does not establish that the shaped version presents the logo equally well. Separate decoration claims from product claims Decoration approval should not be treated as proof of food contact suitability, temperature limits or cleaning compatibility. Those questions concern the supplied product and its components as well as the decoration. Request the appropriate information for the intended use and destination market. Follow the manufacturer's confirmed care instructions for the printed item. Do not add dishwasher safe, scratch resistant or permanent print claims because they sound useful for a promotional listing. If those claims matter to the order, specify the evidence and evaluation required before using them. Keep mandatory information and decorative artwork in separate discussions. The buyer may need labels or instructions beyond the logo design. Establish who supplies and checks that information, rather than assuming that a successful artwork proof covers every requirement for sale. Release production with one approval record Bottle artwork approval should connect the approved file, sample and purchase order. Include the bottle code, print position, design dimensions, agreed colours and packaging presentation. Identify whether mixed designs are packed separately and how the warehouse distinguishes them. Set a clear rule for changes after approval. A substitute lid colour or another bottle body should trigger a review where it affects appearance or compatibility. The manufacturing team should not have to choose between conflicting artwork attachments. The final approval is most useful when someone who was absent from the design discussion can understand it. Keep one current artwork revision and a traceable sample reference. That gives the supplier a defined production target and gives the buyer a fair basis for checking the delivered printed bottles.
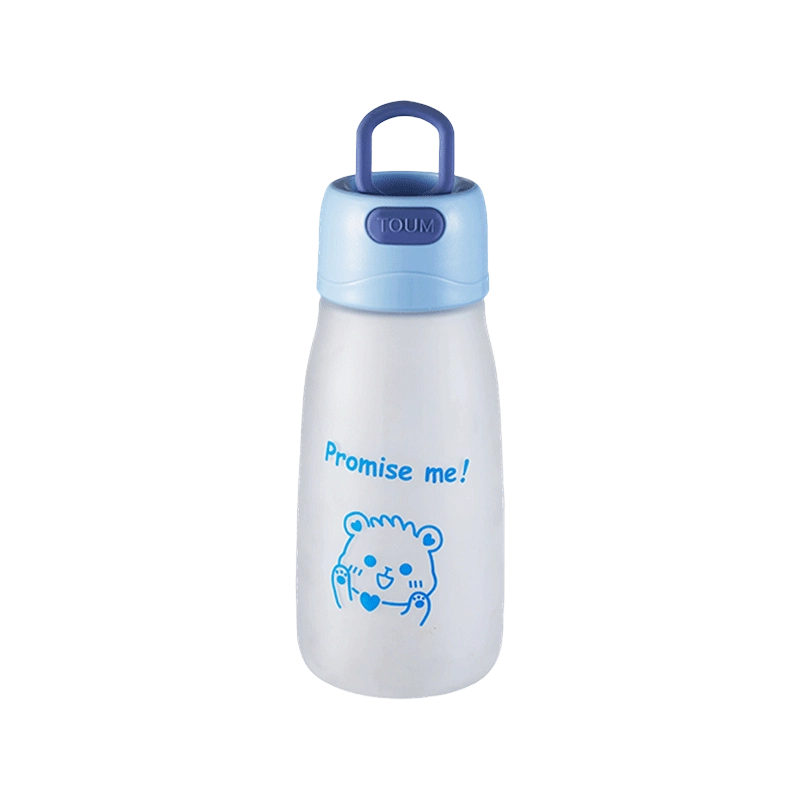
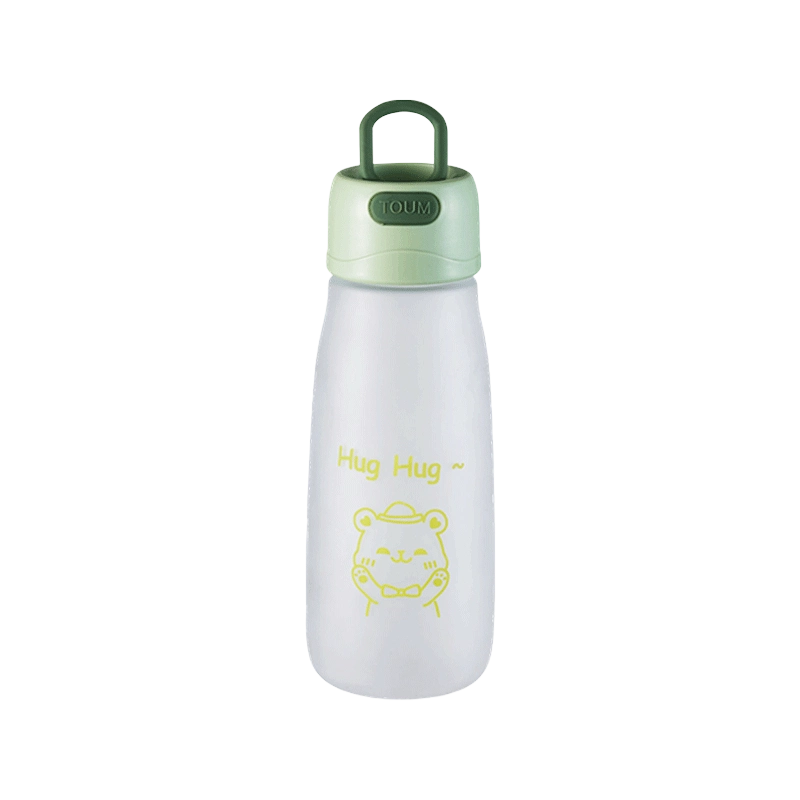
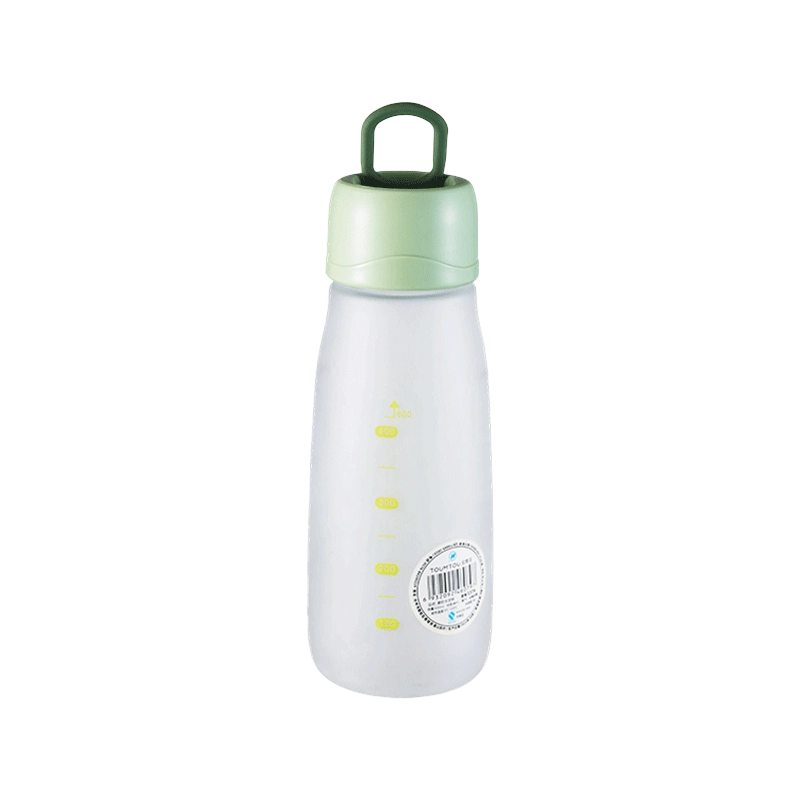
    READ MORE
Message Feedback
Industry knowledge