


 English
 عربى
Water Bottle Straw Length & Assembly Fit

Water Bottle Straw Length: Check the Lid and Bottle as One Set
A straw looks like a simple accessory until two bottle sizes share similar lids and the parts become mixed. One straw may fail to reach the intended position; another may press against the bottom or sit awkwardly beneath the lid. For a bulk bottle order, the useful specification is the complete assembled set rather than a bag of apparently identical tubes.
Buyers should review straw geometry with the exact bottle body and lid version. This is a fit and assembly exercise. It should not become an unsupported promise about leak resistance, drinking performance or suitability for every age group. Those claims need their own applicable evidence and assessment.
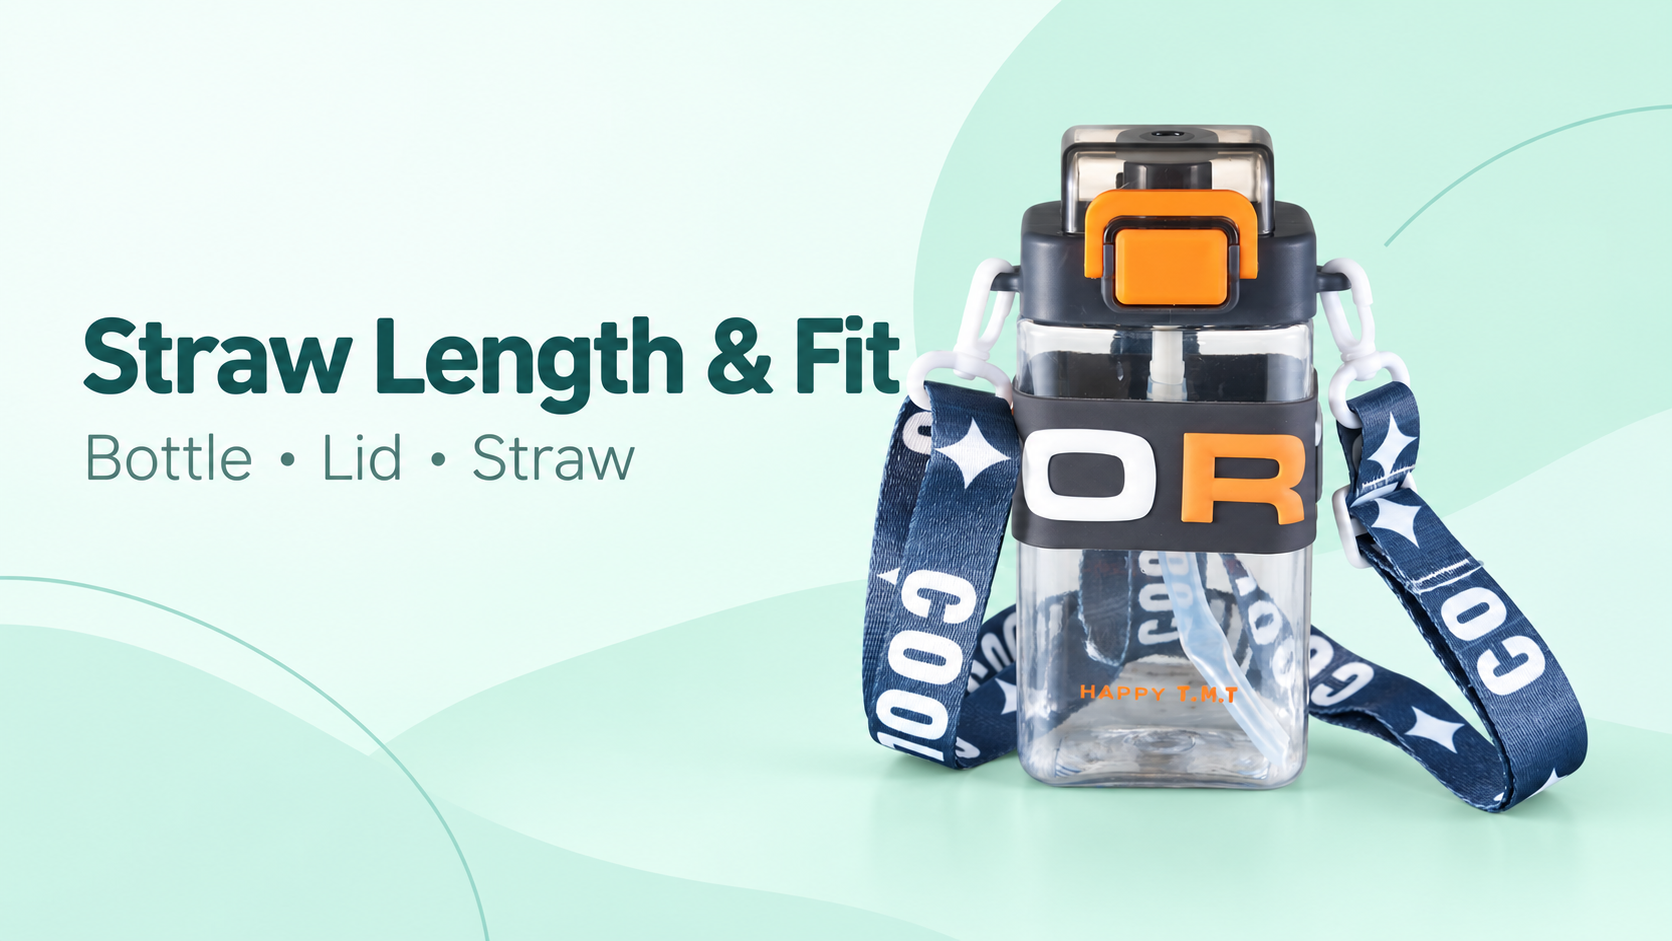
Start with the assembled bottle
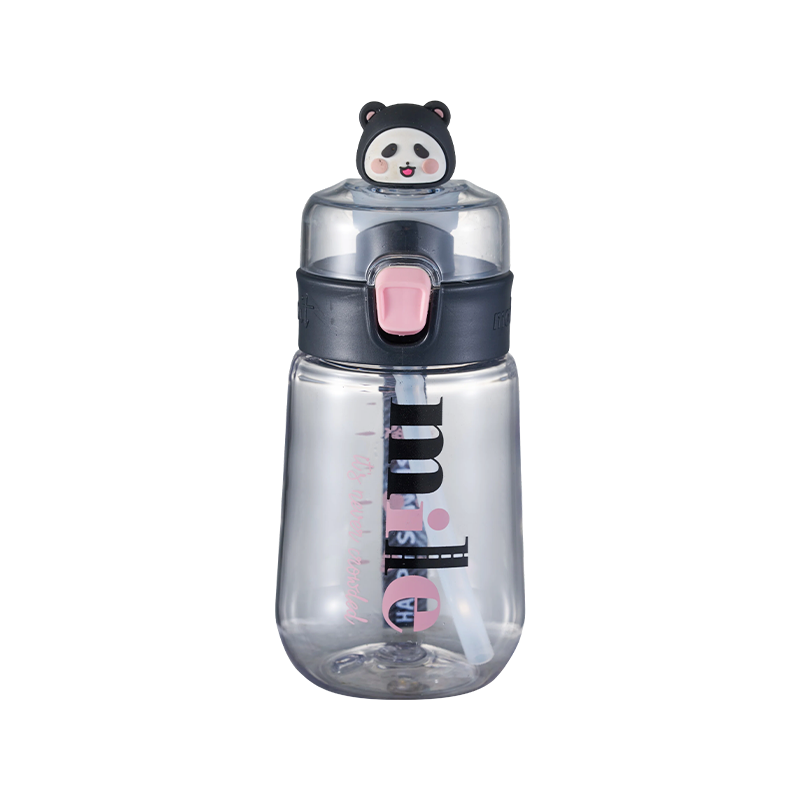
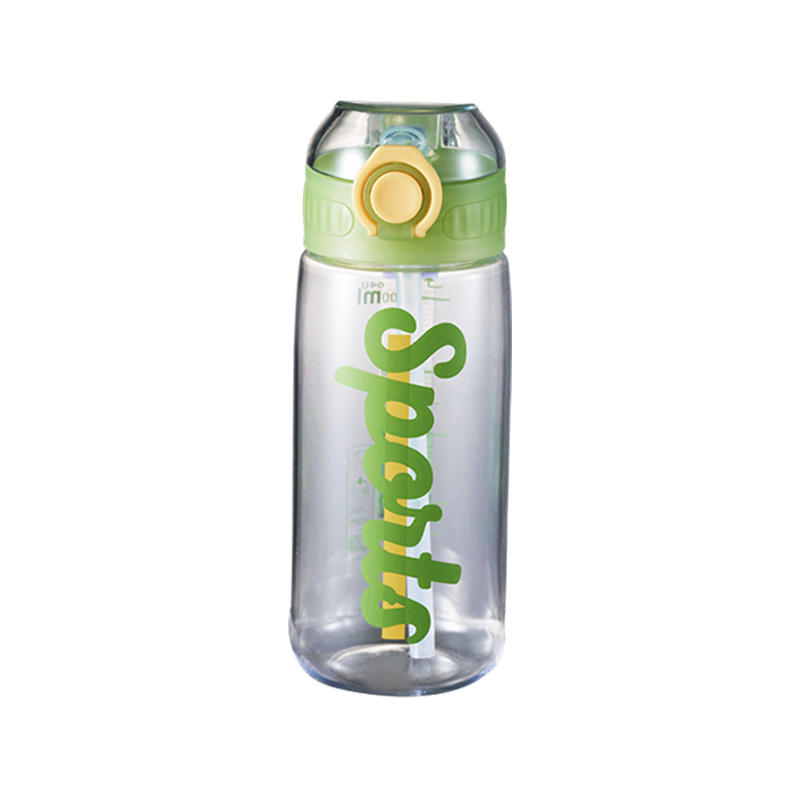
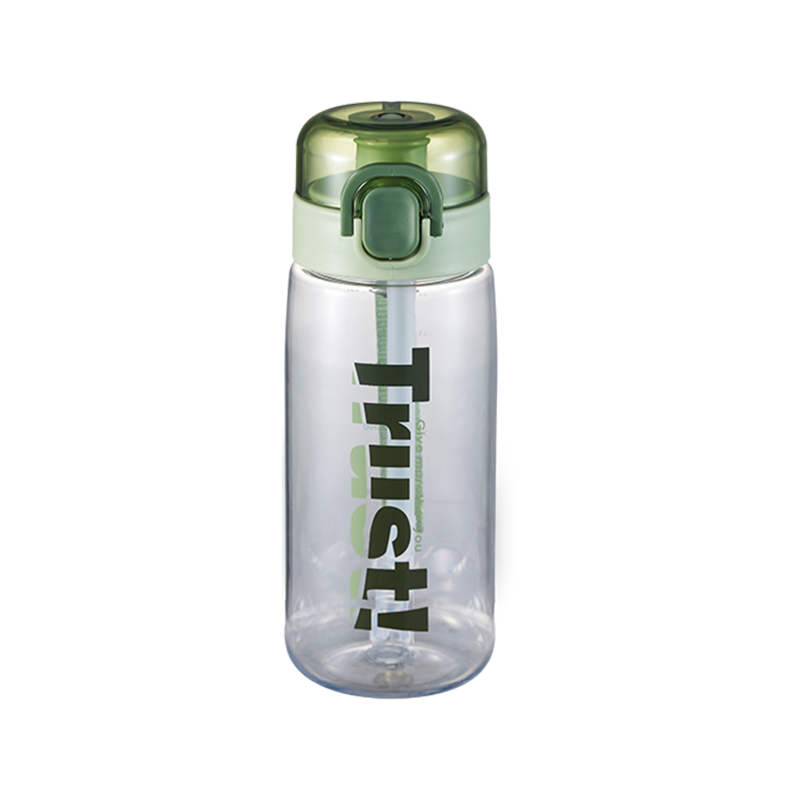
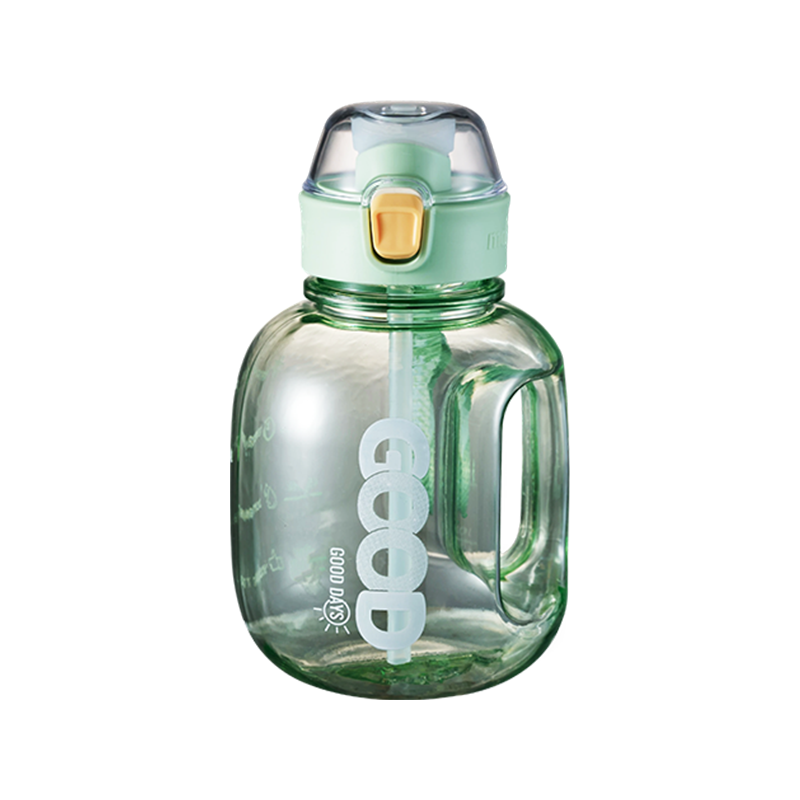
The plastic straw bottle collection provides a product reference for this discussion; confirm the exact ordered version and its supporting documents before applying the checklist.
Identify the bottle model, capacity version and lid arrangement. If the range contains several bodies, confirm whether they use the same straw or different lengths. Do not rely on colour alone to identify parts, especially where a customer order contains multiple colourways of the same model.
Ask the supplier for the intended assembly arrangement. A photograph may show the supplied parts, but the buyer should still confirm which end connects to the lid and how the straw is intended to sit inside the bottle. Preserve that explanation with the approved sample.
Measure the right reference points
A loose straw's overall length is one measurement. Its position after assembly also depends on how far it enters the lid connection and on the bottle's internal geometry. Specify the reference points so that a second person can repeat the measurement without guessing.
Bottom clearance should be reviewed on the actual assembled product. Do not prescribe a universal gap or assume that a longer straw always improves use. The appropriate arrangement depends on the product design. Ask the supplier to explain the intended fit and review the physical sample against it.
| Check | What to record | Common ambiguity |
|---|---|---|
| Straw length | Defined end-to-end measurement | Comparing different reference points |
| Lid engagement | Intended insertion arrangement | Measuring only the loose part |
| Body version | Exact bottle model | Mixing similar-looking capacities |
| Bottom position | Assembled fit observation | Assuming every body uses one length |
| Replacement part | Part identity and compatible version | Ordering by colour alone |
Where the straw has shaped ends, bends or other distinctive features, record them as part of the component identity. A plain length value cannot describe every relevant feature. Keep the original part or a clear photograph available for later replacement enquiries.
Review the sample through its normal assembly sequence
Open the bottle, identify the parts and assemble them according to the supplier's instructions. Observe whether the straw connects as intended and whether the lid closes without obvious interference. If an issue appears, document the part combination before changing anything.
Avoid trimming a sample to make it fit and then approving the original specification without a revision. That leaves the factory and receiving team with different reference products. Any agreed dimensional change should be recorded on the component specification and reflected in a new or clearly revised approval sample.
- Identify body, lid and straw versions together.
- Photograph the loose straw beside its assembled position.
- Use an agreed measurement method for overall length.
- Note any interference during the instructed assembly sequence.
- Keep altered trial parts separate from approved reference samples.
A fit review is also an opportunity to confirm the cleaning instructions supplied for the complete product. The ability to remove a straw should not be assumed from its appearance. Follow the documented design and avoid introducing cleaning claims that have not been established for the material and assembly.
Plan for mixed orders and replacements
If two bottle versions use different straws, make the distinction visible in the component list and packing instructions. Ask how the supplier will keep the combinations identifiable during assembly and packing. The appropriate approach may be a part code, a labelled container or another agreed production control.
For replacement stock, list compatible bottle and lid versions explicitly. A customer service team should not have to infer compatibility from a photograph of a clear tube. Keep replacement records linked to the original order and any later product revision.
This is particularly useful when a bottle remains in a range for several seasons. The marketing name may stay the same while an internal part changes. A versioned component record protects the buyer from assuming that old and new spare parts are interchangeable.
Approve what will actually be supplied
Before releasing the bulk order, confirm whether the bottles arrive assembled and whether spare straws are included. Those are separate commercial choices. If spare parts are supplied, identify their quantity and packaging so they are not confused with components needed to complete the bottles themselves.
On receipt, compare representative finished bottles with the approved set and review the supplied part identification. Record discrepancies before distributing replacements into stock. A correct overall bottle count does not prove that every internal component matches the approved combination.
Straw length is therefore best treated as an assembly detail with a measurable component requirement. By keeping body, lid and straw together in the approval record, buyers make the order easier to inspect and make later service questions easier to answer without inventing a universal fit rule.
For a sample approval meeting, keep the loose components beside the finished bottle until the review is complete. Seeing both states makes it easier to identify which fit observation belongs to which part, and avoids treating an assembly photograph as a full component specification.
Related Products
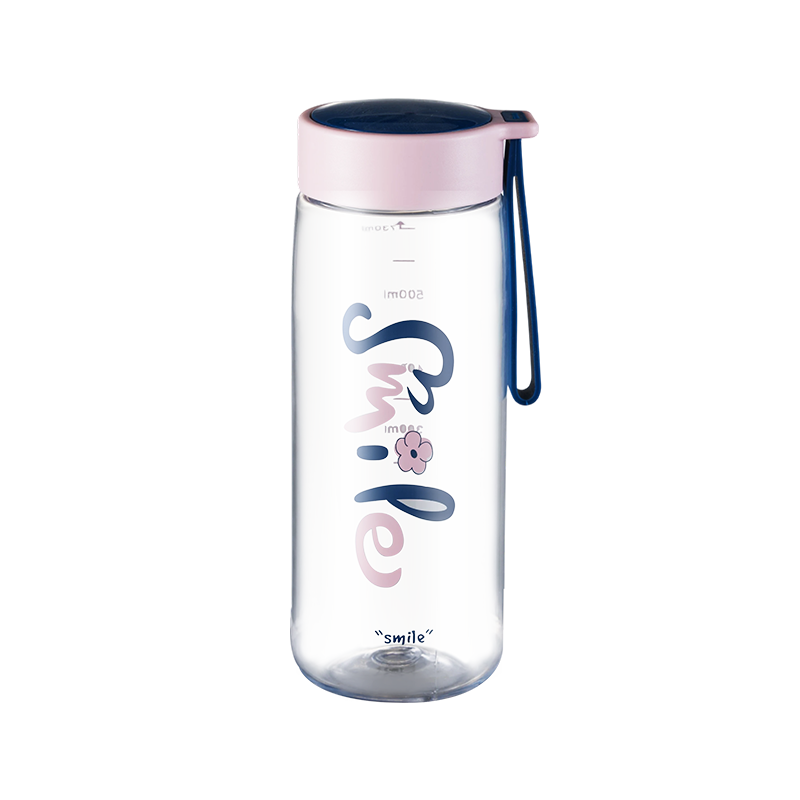
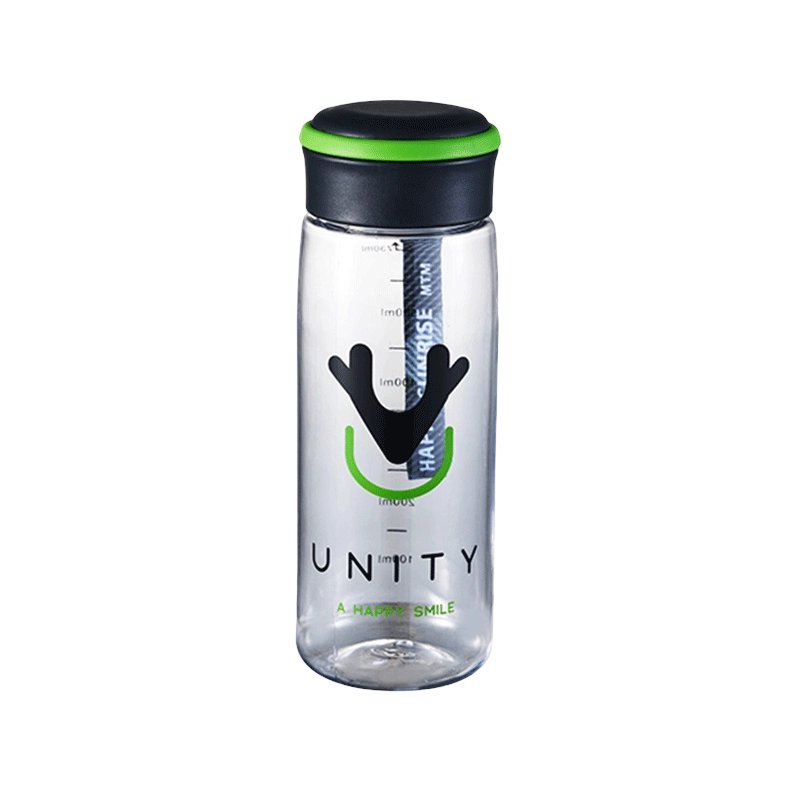
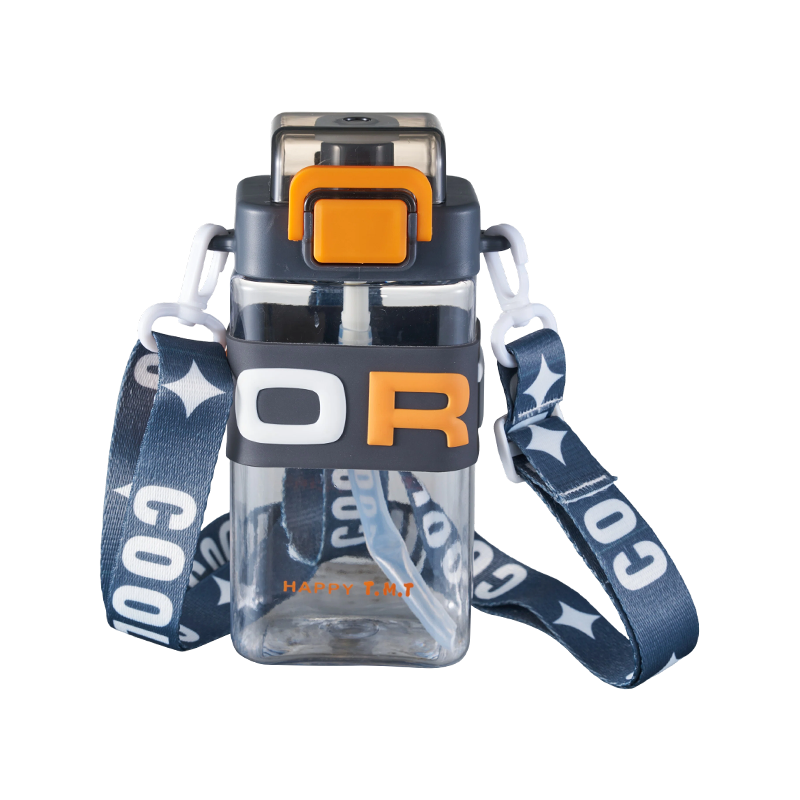
We specialize in the production and sales of plastic water cups, and also provide customization services
and comprehensive after-sales support.
QUICK LINKS
CONTACT US
- Address:No. 1 Shuangyou Road, Nancheng Street, Huangyan District, Taishan City, Zhejiang Province
- Tel: +86-19957687783
- Email: [email protected]
- Whatsapp: +86-19957687783
MOBILE
Copyright © Taizhou Huangyan Zuohao Plastic Factory.
All Rights Reserved.
